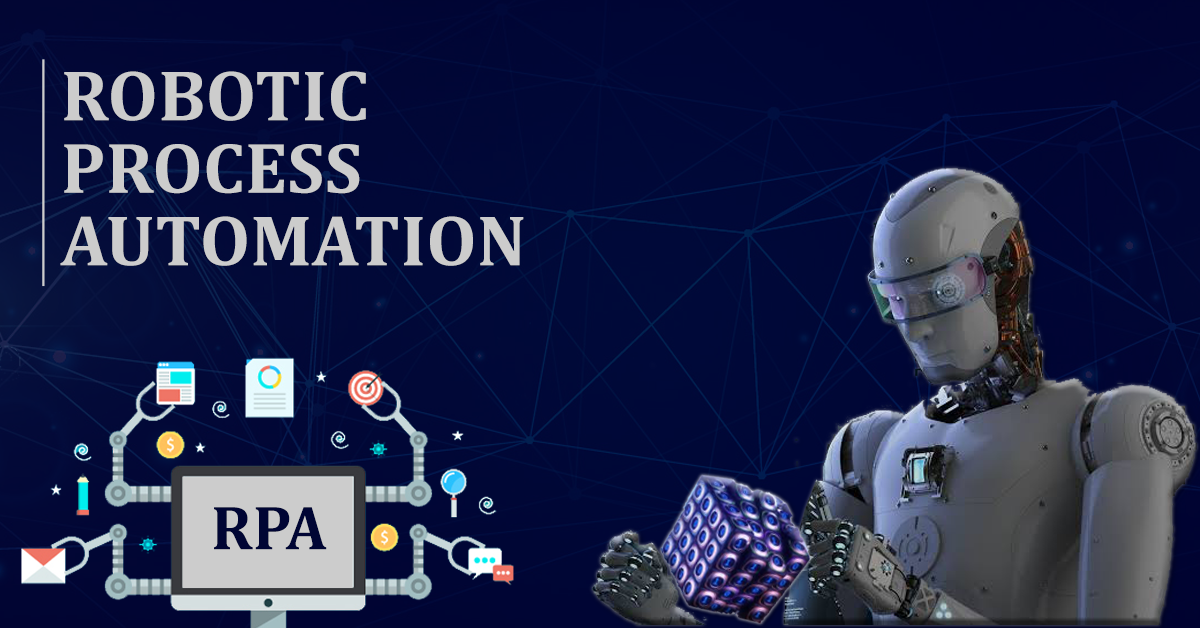
The rise of Robotic Process Automation (RPA) has made tools like UiPath essential for IT professionals. UiPath is the most widely used tool for RPA globally, enabling IT departments to deploy software robots that effortlessly collect and interpret data to automate routine tasks.
Anyone who wants to become a part of the world of automation must master this tool. This tutorial will provide a comprehensive, step-by-step guide for UiPath Installation, covering all the necessary prerequisites for installing UiPath Studio and UiPath StudioX.
UiPath is a leading Robotic Process Automation (RPA) platform used to automate repetitive, rule-based business tasks, such as data entry, report generation, application integration, and system monitoring. It allows organizations to build software robots that interact with applications the same way humans do, but with better speed and accuracy.
Installing UiPath is the first step toward creating, testing, and deploying automation workflows. A proper installation ensures that UiPath Studio, Robots, and Orchestrator work seamlessly together. This will enable stable automation development, execution and centralized control. Whether you are a beginner exploring RPA or an enterprise deploying automation at scale, a correct UiPath setup is critical for you.
UiPath offers multiple installation options depending on usage type, scale and deployment needs. Understanding these installation types helps you choose the right setup before starting.
UiPath Community Edition is a free version designed for individual learners, students and small teams. It includes UiPath Studio and attended/unattended robots with limited orchestration features. This edition is ideal for learning automation concepts, building personal projects and experimenting with UiPath features without licensing costs.
Community Edition is easy to install using the UiPath Installer and requires minimal configuration. It automatically connects to UiPath Automation Cloud, making it suitable for beginners who want a quick setup without managing infrastructure.
UiPath Enterprise Edition is intended for organizations deploying automation in production environments. It provides advanced features such as enterprise-grade security, role-based access control, advanced orchestration and premium support.
Enterprise installation usually involves custom configuration, license activation and integration with organizational systems such as Active Directory, databases, and monitoring tools. This edition supports both cloud-based and on-premises deployments and requires careful planning to ensure scalability and compliance.
UiPath Orchestrator is a web-based application used to manage, schedule, monitor and control UiPath robots centrally. It is a core component in enterprise automation setups.
Before starting a UiPath installation, it is important to verify that your system meets the required hardware and software specifications to avoid installation failures or performance issues.
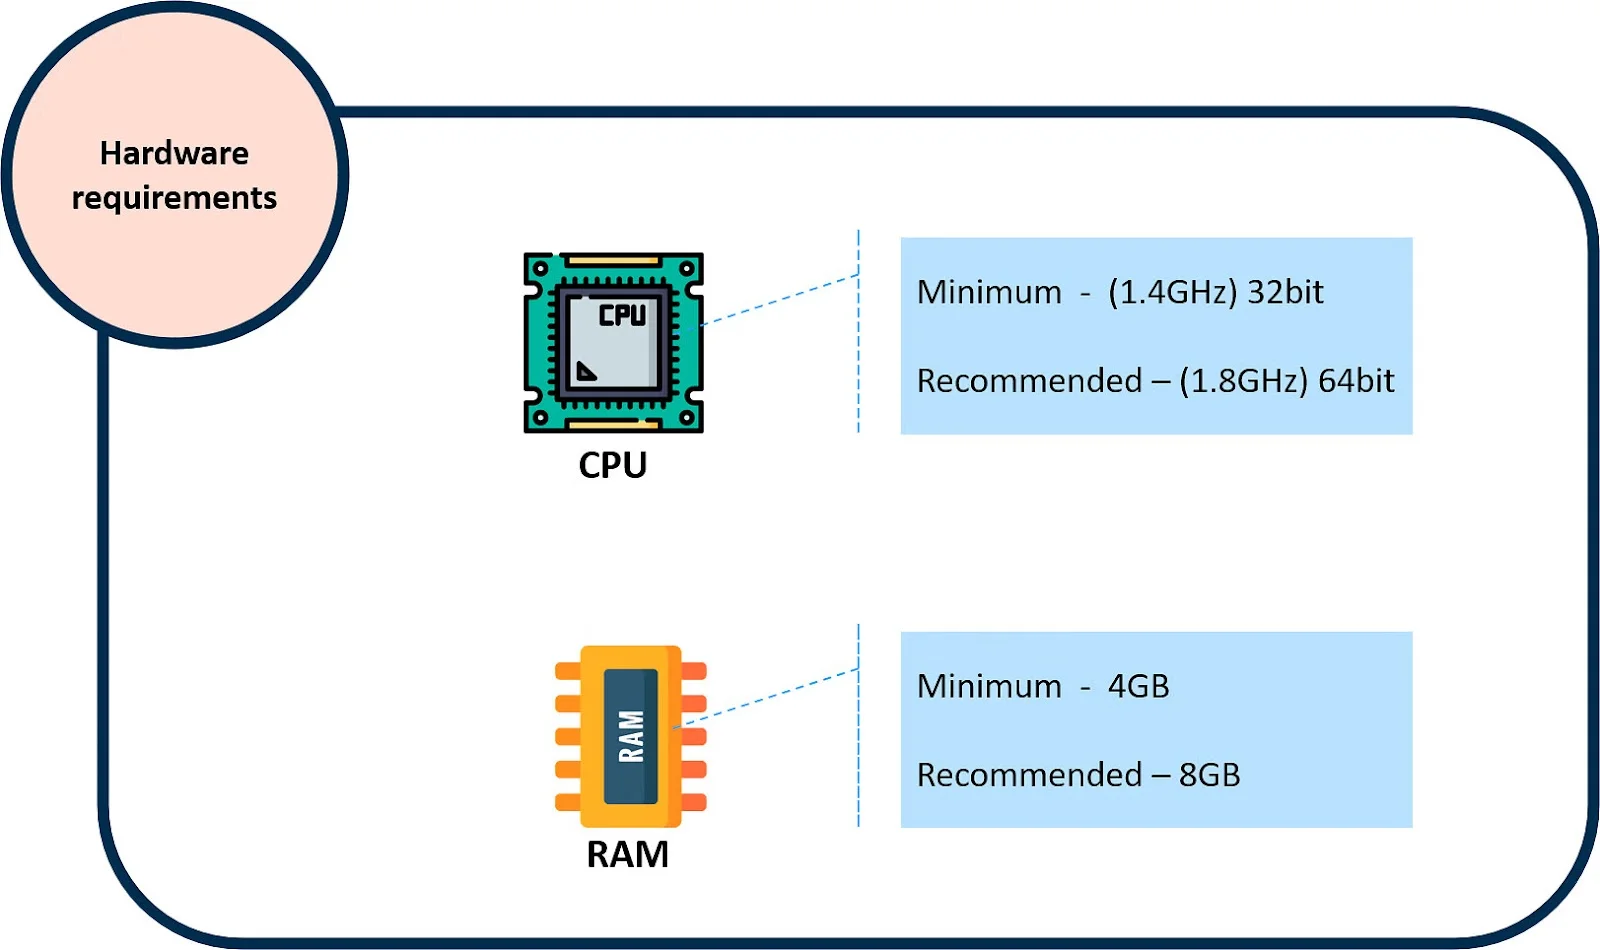
UiPath does not require high-end hardware, but minimum specifications must be met for stable operation.
For Orchestrator or enterprise deployments, server-grade hardware is recommended to handle concurrent robots and workloads efficiently.
UiPath Studio and Robots are supported only on Windows operating systems.
For Orchestrator installation, additional requirements include IIS, SQL Server, valid SSL certificates, and proper firewall configuration.
Note: Different UiPath Installation techniques require different prerequisites and steps to follow. We will discuss the community edition installation, which is also one of the most used ones. Let's begin with the prerequisites:
The prerequisites for UiPath Studio installation can be classified into two essential categories: hardware and software. Note that UiPath Studio is exclusively for the Windows OS.
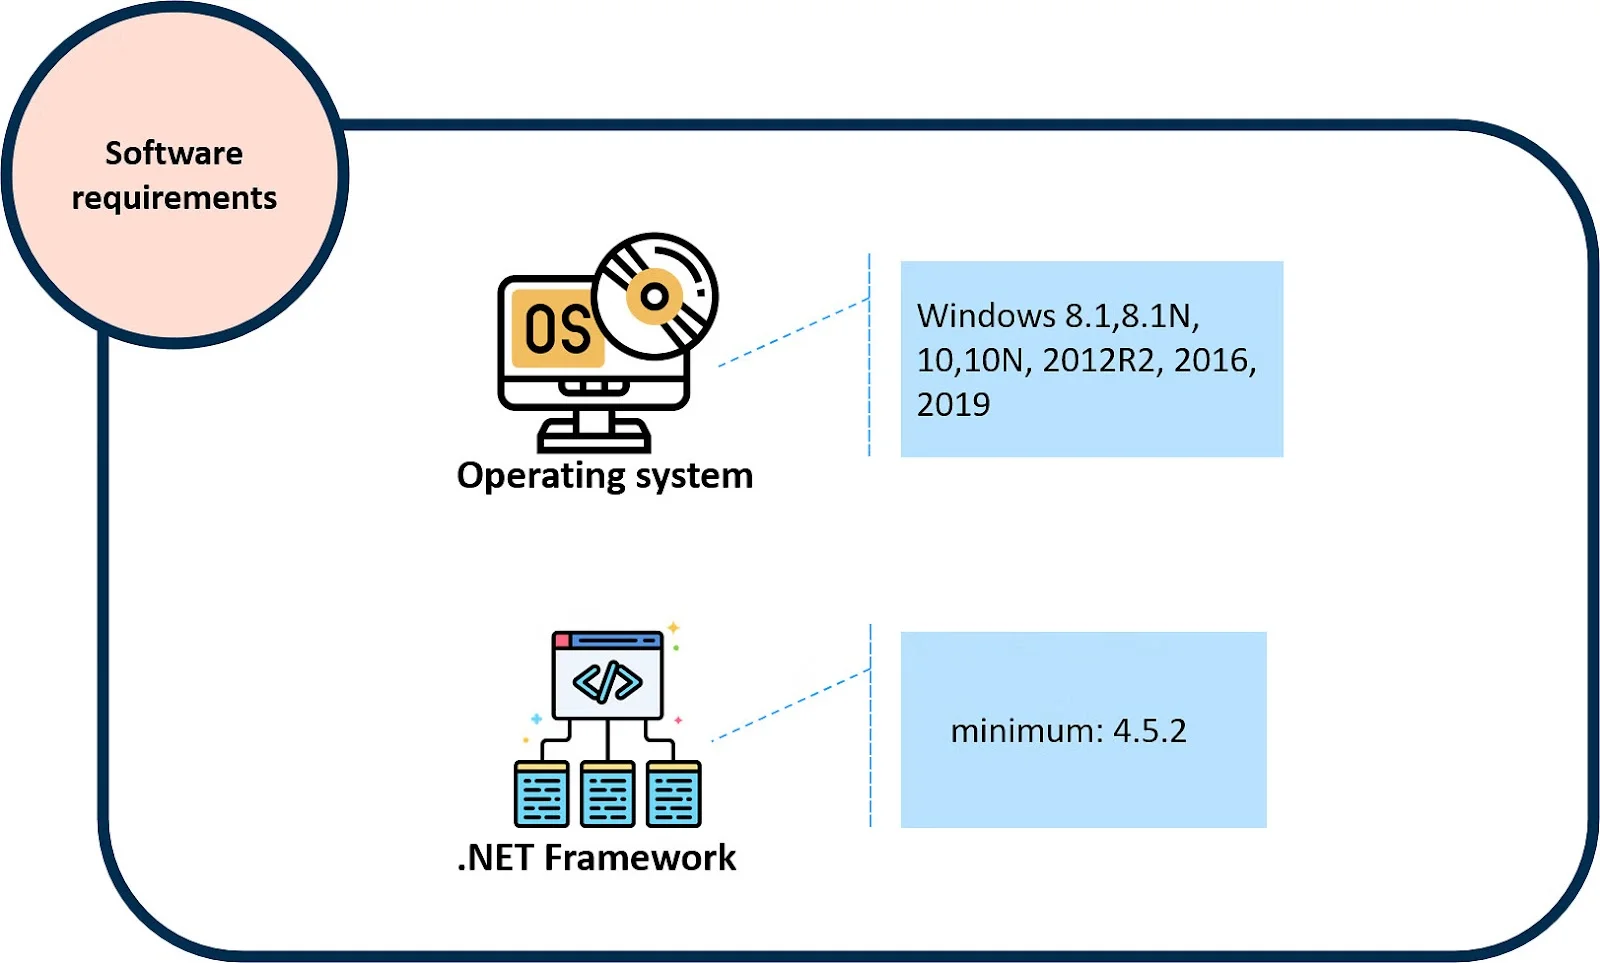
Follow these steps to install the free UiPath Community Edition for development purposes.
Step 1. Visit UiPath's official website - uipath.com and click on 'Try UiPath for Free'.
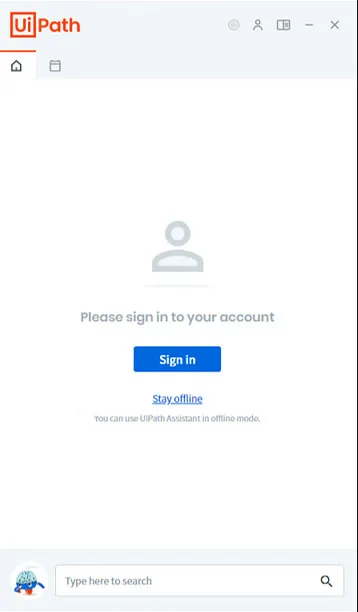
Step 2. The next step is to sign up with your Email ID or preferred service. If you have an existing account, you can directly sign in to the UiPath Automation Cloud.
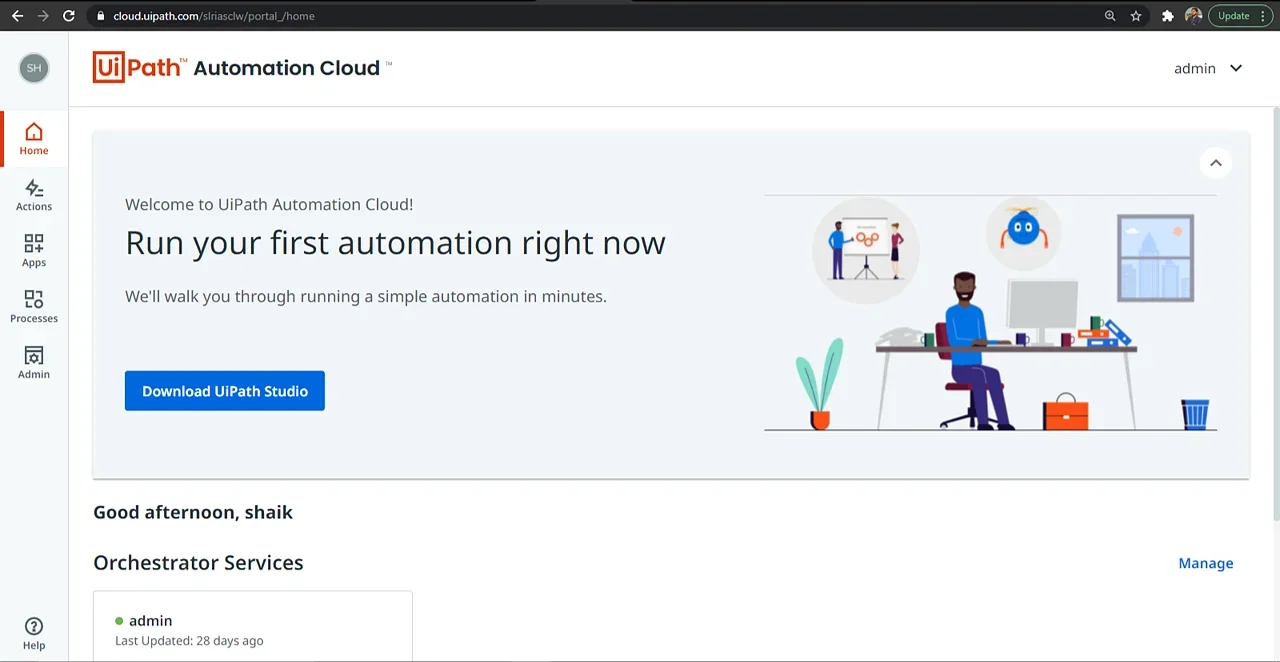
Step 3. Once you are signed in, navigate to the Resource Center and click on 'Download Studio'. After the download is complete (the `.exe` file), run the setup file to begin the installation.
Step 4. The installer will first ask you to connect to the cloud or choose a license. Select 'Community License' since it is free and click 'Continue with Sign In' or 'Standalone License' if applicable.
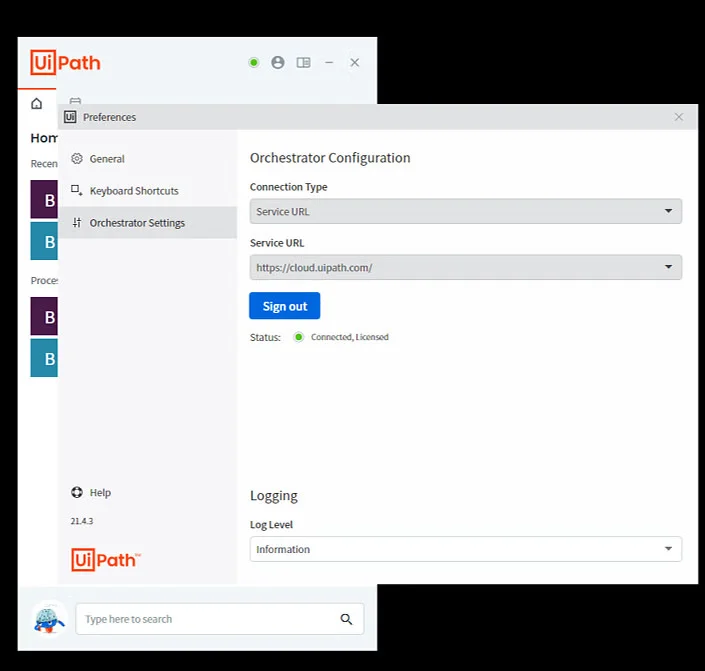
Step 5. You will be prompted to pick a profile. For most new users and developers, select UiPath Studio Pro Community for full functionality.
Step 6. Under the 'Update Channel' option, you can choose 'Preview' to receive all the latest updates and features rolled out by UiPath, or 'Stable' for maximum reliability.
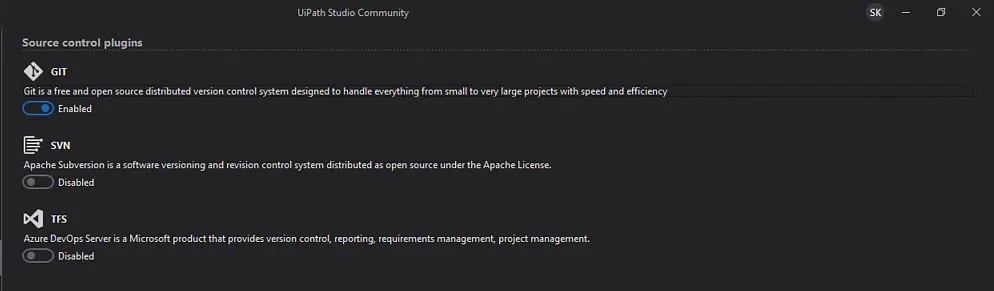
Step 7. Pick the appropriate control supports based on your applications (e.g., extensions for Excel, SAP, etc.) and then click on 'Continue'.
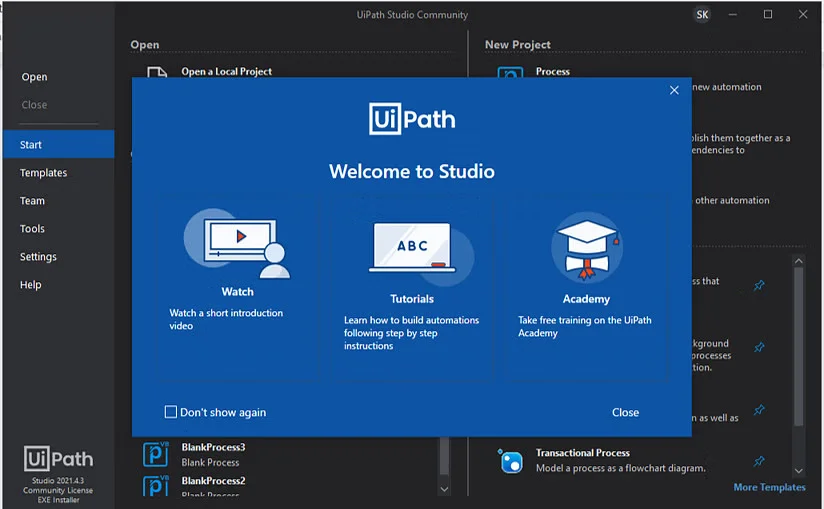
Step 8. You're all set! UiPath Studio will launch, often providing a tutorial video and an introduction to help beginners get started easily.
To confirm a successful installation, click on Process in the UiPath Studio start screen and create a new project. You can immediately begin your automation journey by building a simple "Hello World" message box and running your first robot.
Even with correct prerequisites, users may encounter issues during UiPath installation. Some common problems include the installer not launching, activation failures, missing dependencies or browser extensions not working.
These issues are often caused by outdated Windows updates, missing .NET components, insufficient permissions or antivirus restrictions. You can deal with these issues by ensuring administrator access, updating the operating system and verifying internet connectivity resolves most problems.
For extension-related issues, enabling browser plugins directly from UiPath Studio usually fixes the issue. Identifying and resolving these problems early prevents automation failures later in production environments.
A well-planned post-install process reduces downtime, improves reliability and prepares your UiPath environment for scalable automation. The following are some of the best practices that will help ensure long-term stability and performance.
The demand for RPA developers in India, particularly in tech hubs like Bangalore, Pune, and Hyderabad, remains high. Companies are rapidly adopting automation to reduce operational costs, making UiPath certification a highly valued skill.
Related Article- How to Become a Robotic Process Automation Developer?
This tutorial on UiPath Installation is designed to eliminate any initial hassles for beginners. By completing the installation, you have taken the critical first step toward becoming a proficient RPA developer. To truly become a pro in UiPath and accelerate your career in India's growing automation industry, start with the best structured learning resources.
Ans. UiPath Robot and UiPath Studio can only be installed on a Windows laptop or desktop (Windows 8.1, 10, or 11).
Ans. There are two main types of installation deployment: Quick (User Mode), typically for the Community Edition on personal machines, and Custom (Service Mode), typically for enterprise deployment on servers.
Ans. The main components of the UiPath platform are - UiPath Robot, UiPath Studio, and UiPath Orchestrator.
No, UiPath does not require coding. It mainly uses drag and drop activities.
Course Schedule
| Course Name | Batch Type | Details |
| UiPath Training | Every Weekday | View Details |
| UiPath Training | Every Weekend | View Details |