HTML is one of the first skills interviewers test when hiring front-end and web developers. Whether you are a fresher preparing for your first job or an experienced developer aiming for a better opportunity, a strong understanding of HTML can make a real difference.
Based on my experience conducting and taking technical interviews, I have found that HTML questions go beyond definitions and basic syntax. Interviewers often test how well you understand semantic HTML, forms, accessibility, SEO, and real-world scenarios. Even experienced candidates can struggle with these questions if their fundamentals aren’t clear.
In this guide, you will find 50 HTML interview questions and answers which covers everything from basic HTML concepts to advanced topics, HTML5 features, and practical, scenario-based questions. You’ll also find related questions on CSS and JavaScript to help you prepare for a wider range of front-end interviews.
Let’s get started!
Read Also: What is Node.js?
The following interview questions for freshers cover the core ideas that every beginner must know. Interviewers use them to check your foundation.
HTML (HyperText Markup Language) is the basic language used to organize content and define the structure of web pages. It is not a programming language as it is a markup language that uses a system of tags to annotate text, images and other media so web browsers know exactly how to format and display them on the screen.
It is used for following reasons:
HTML5 is the fifth major version of HTML, designed to structure web content and support modern website features.
HTML5 introduced several improvements over earlier versions which include semantic elements for better content structure, built-in support for playing audio and video, and graphics capabilities using Canvas and SVG. It also made the DOCTYPE declaration shorter and easier to understand and follow.
HTML5 is still being developed and changed in the present.
An HTML tag is the markup written inside angle brackets that defines the beginning or end of an element. An HTML element consists of the opening tag, the content and the closing tag, when applicable.
For example:
| <p>Hello, World!</p> |
In this example, <p> is the opening tag, </p> is the closing tag and the complete <p>Hello, World!</p> is the HTML element.
Some elements like <img> and <br>, are void elements and do not have closing tags.
HTML attributes give extra information about an element. You write them inside the opening tag as name and value pairs.
| <a href="https://example.com" target="_blank">Visit Example</a> <img src="logo.png" alt="Company logo" width="200"> |
Common attributes include:
| Attribute | Purpose |
| href | Sets the link destination |
| src | Sets the source file of an image, video or script |
| alt | Gives alternative text for an image |
| id | Gives an element a unique identifier |
| class | Groups elements for styling or scripting |
| style | Adds inline CSS |
Every HTML document follows the same structure:
| <!DOCTYPE html> <html lang="en"> <head> <meta charset="UTF-8"> <meta name="viewport" content="width=device-width, initial-scale=1.0"> <title>Page Title</title> </head> <body> <h1>Hello, World!</h1> <p>This is my first web page.</p> </body> </html> |
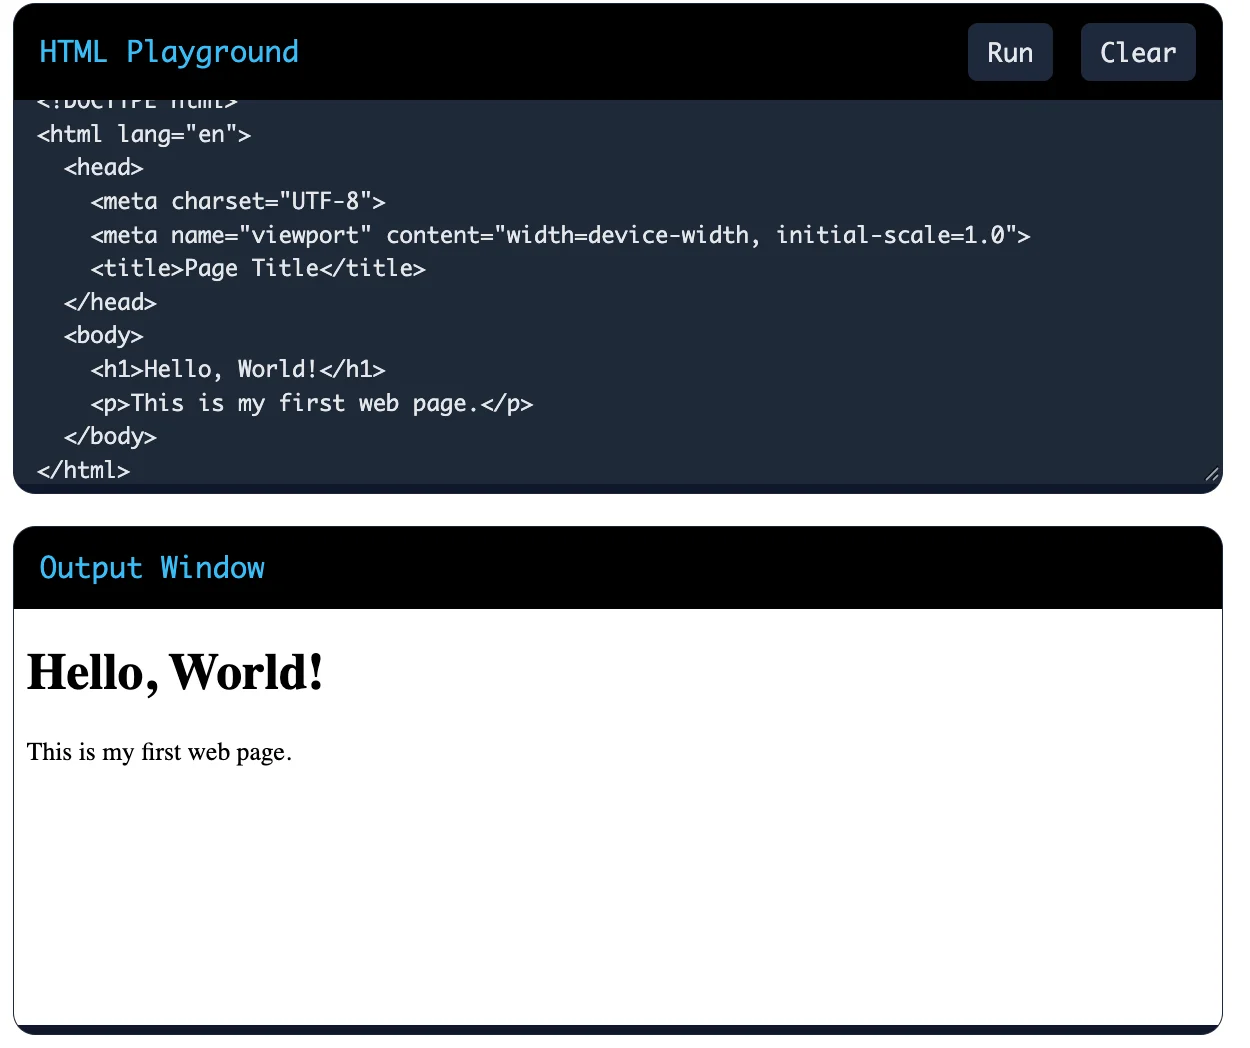
The <!DOCTYPE html> declaration will tell your browser which version of HTML the page uses. In HTML5, it tells the browser to render the page in standards mode.
Without a DOCTYPE, browsers switch to quirks mode. In quirks mode, the browser imitates old behavior and your layout may look different across browsers.
The declaration is not an HTML tag and it is not case-sensitive.
Block-level elements start on a new line and take the full width available and Inline elements stay in the flow of the text and take only the width they need.
| Feature | Block-level | Inline |
| Starts on a new line | Yes | No |
| Width | Full width | Content width |
| Accepts width and height | Yes | No (except replaced elements like <img>) |
| Examples | <div>, <p>, <h1> to <h6>, <ul> and <section> | <span>, <a>, <strong> and <img> |
An id must be unique on a page. A class can repeat on many elements.
| <div id="main-header">Header</div> <p class="note">First note</p> <p class="note">Second note</p> |
Use id for one specific element, such as a link target or a JavaScript hook. Use class for shared styles. An element can also have several classes, but only one id.
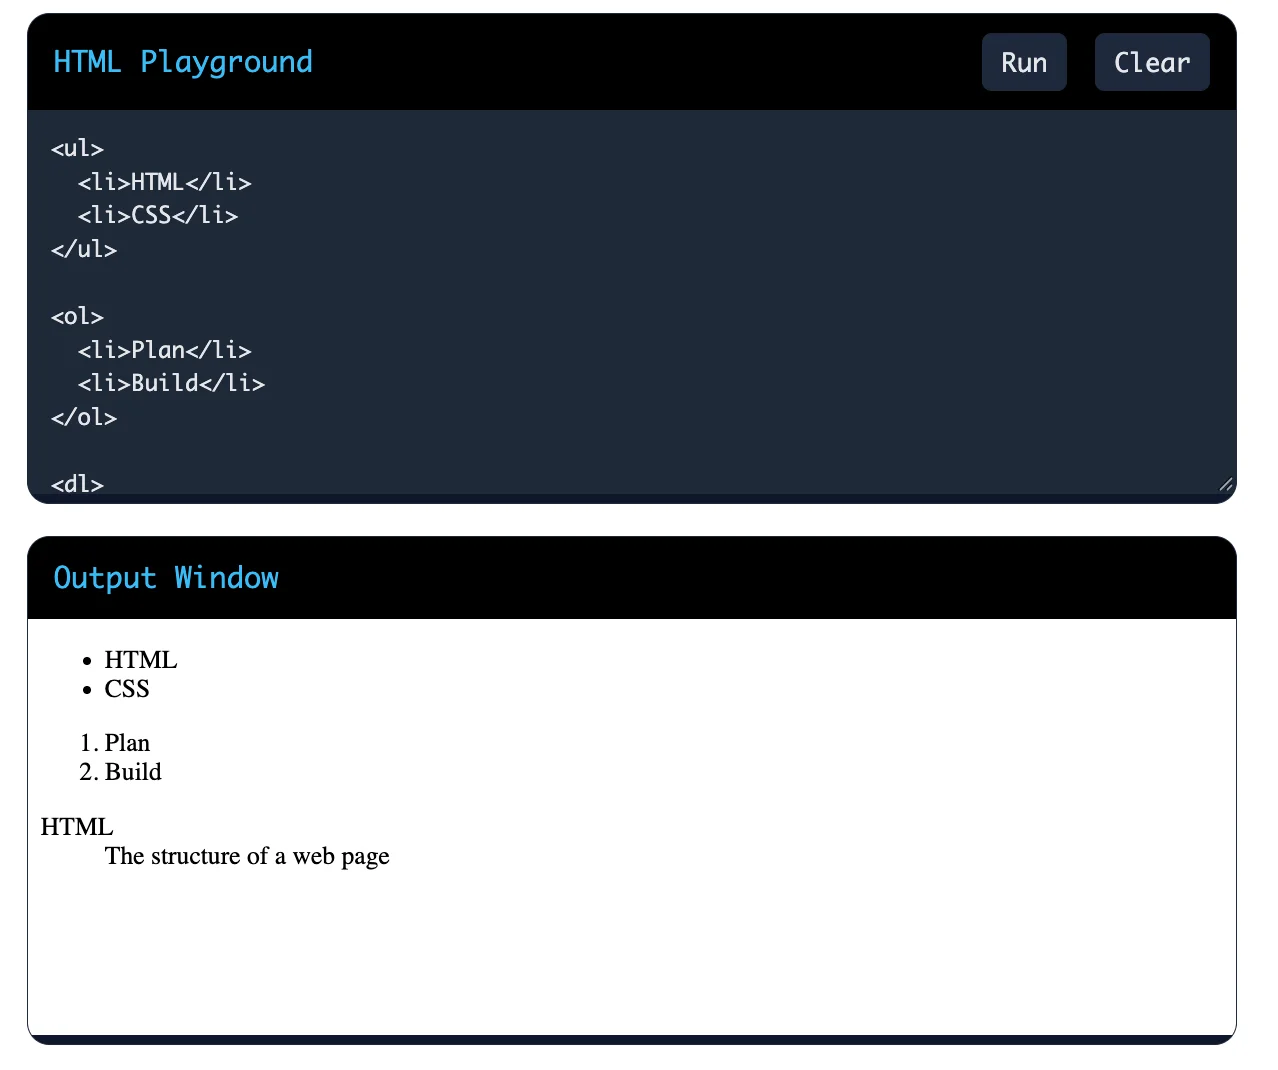
HTML has three types of lists:
| <ul> <li>HTML</li> <li>CSS</li> </ul> <ol> <li>Plan</li> <li>Build</li> </ol> <dl> <dt>HTML</dt> <dd>The structure of a web page</dd> </dl> |
Use the <a> tag for links and the <img> tag for images.
| <a href="https://example.com">Go to Example</a> <img src="photo.jpg" alt="A team working at a desk"> |
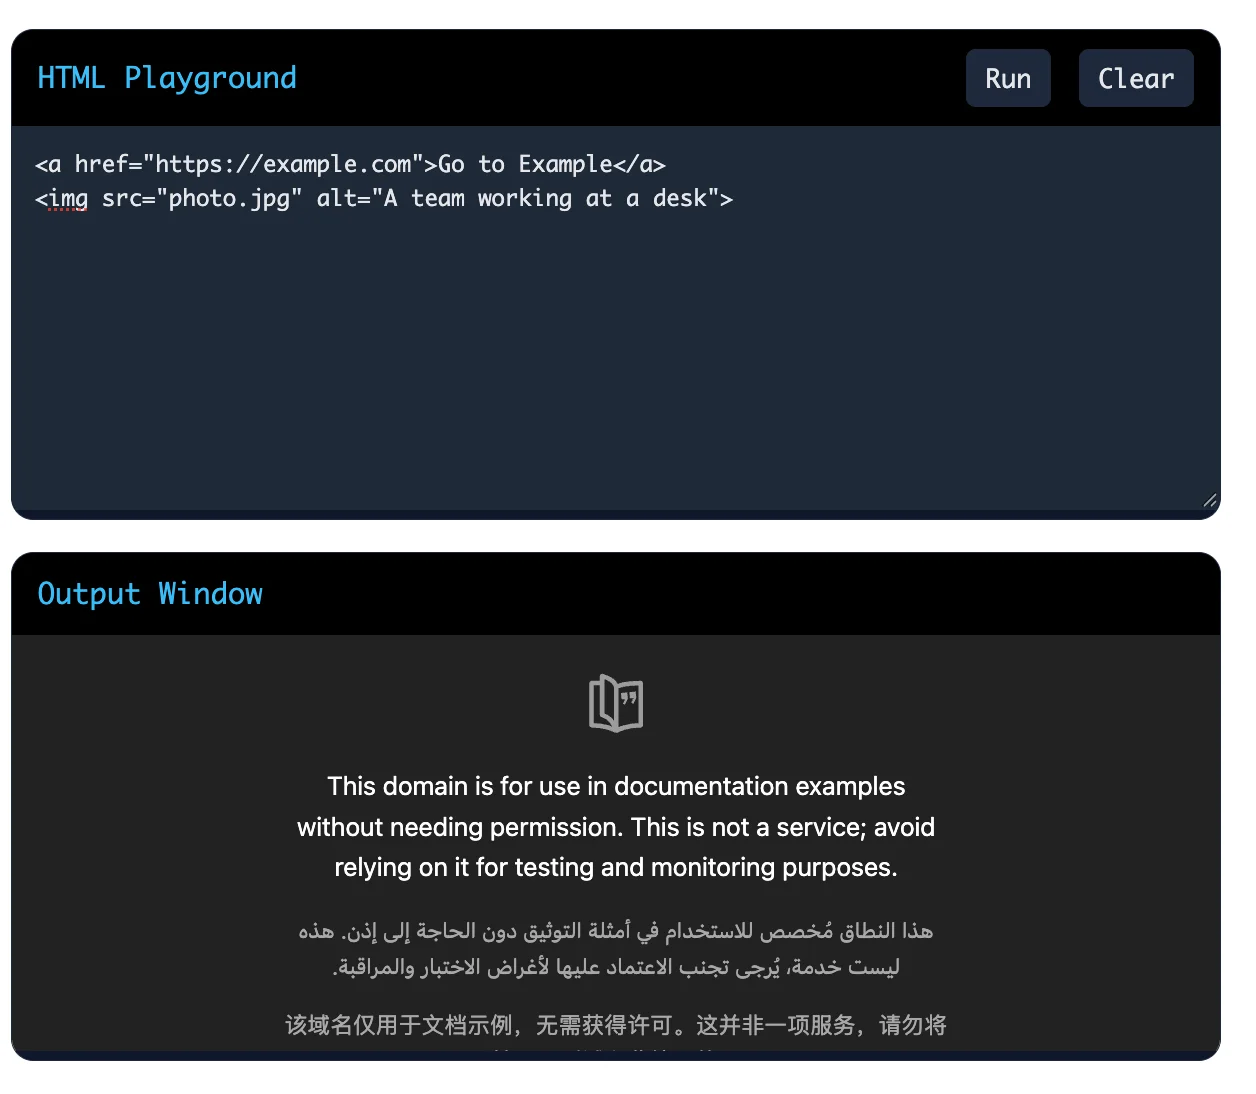
Always write meaningful alt text. Screen readers read it aloud and search engines use it to understand the image. If the image fails to load, the browser shows the alt text instead.
Also Explore: How to Learn JavaScript?
These questions test how well you use HTML in real projects. The interviewer will expect follow-up questions on each answer.
Semantic elements describe their meaning, not just their looks. Examples are <header>, <nav>, <main>, <article>, <section>, <aside> and <footer>.
They matter for three reasons:
Both elements are generic containers with no meaning of their own. The <div> is a block-level element and the <span> is an inline element.
| <div class="card"> <p>Price: <span class="highlight">$20</span></p> </div> |
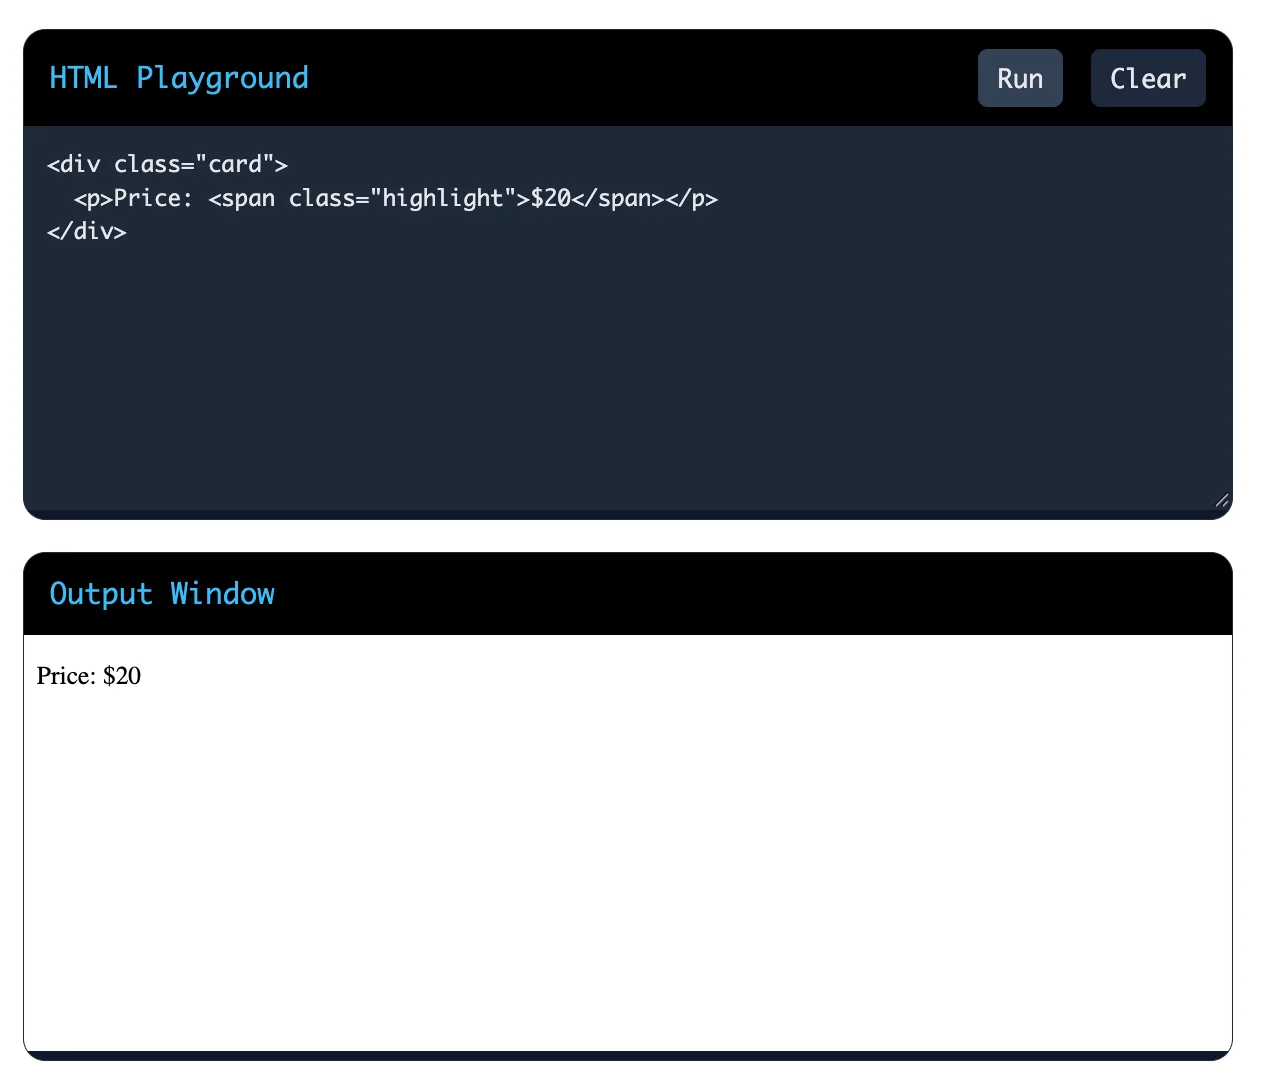
Use <div> to group larger sections. Use <span> to style a small part of the text. Always check first whether a semantic element fits better.
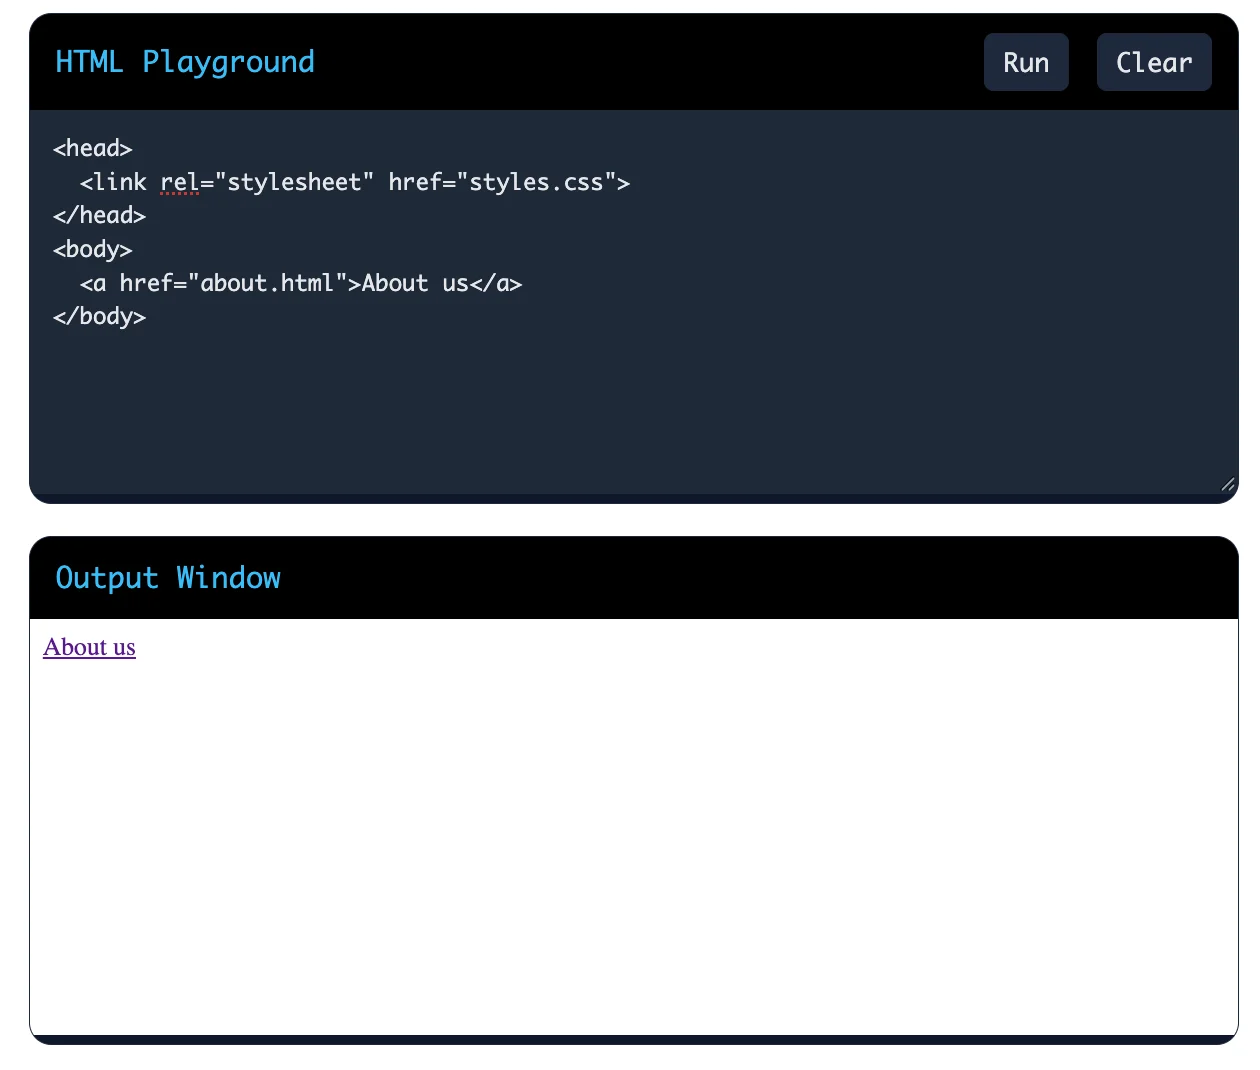
The <a> tag creates a clickable hyperlink in the page body. Users see it and click it.
The <link> tag lives in the <head>. It connects the page to external resources, such as stylesheets and icons. Users do not see it.
| <head> <link rel="stylesheet" href="styles.css"> </head> <body> <a href="about.html">About us</a> </body> |
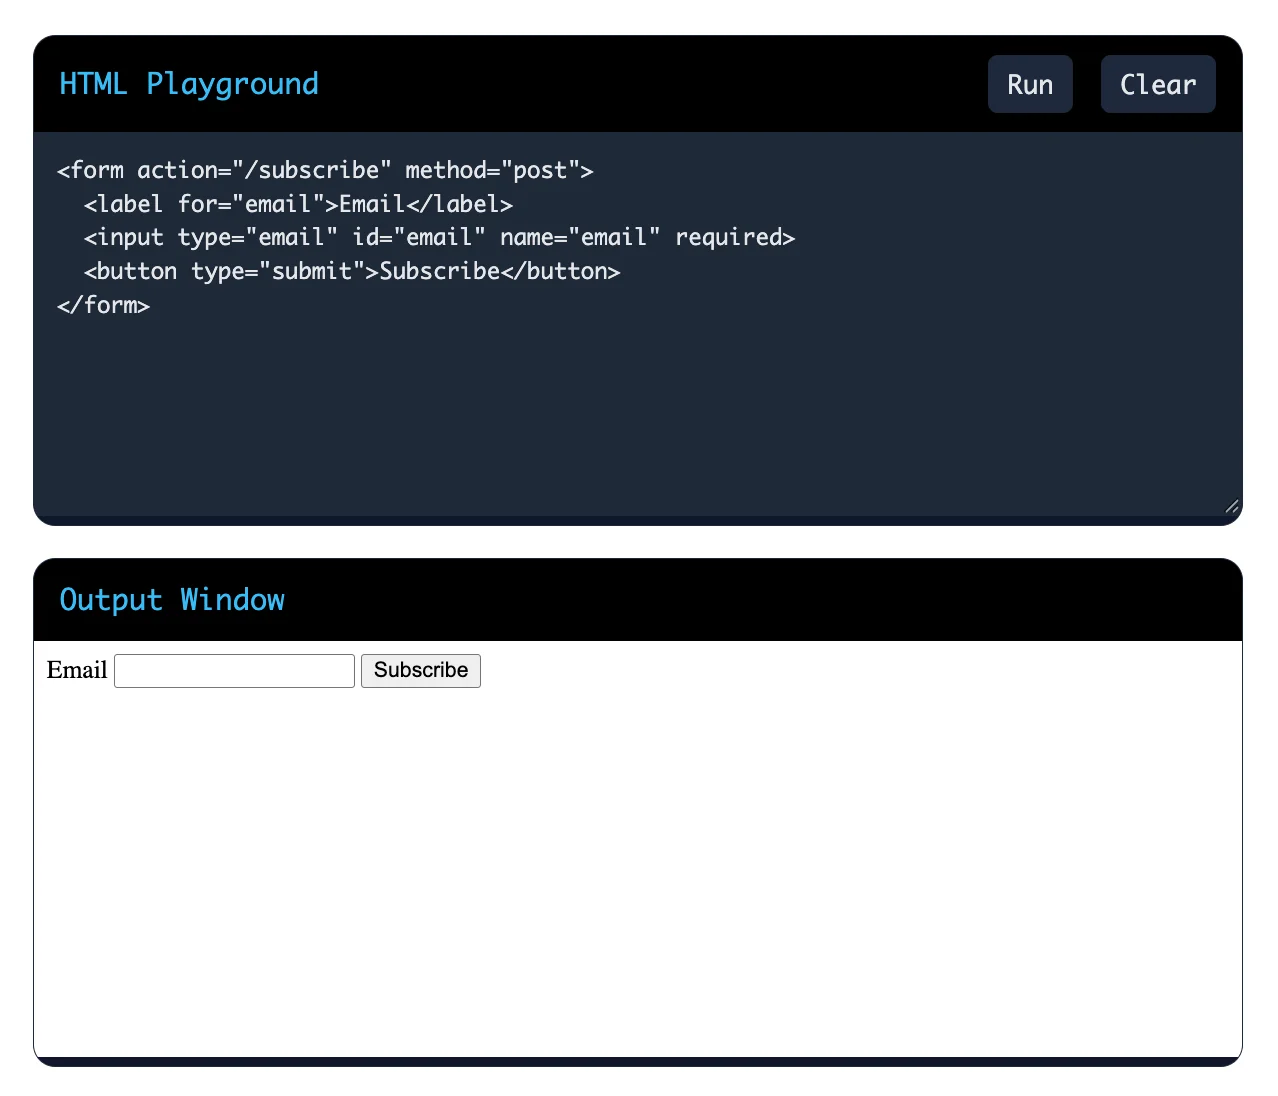
A form collects user input and sends it to a server. The <form> element wraps the fields. Its action attribute sets where the data goes and its method attribute sets how the data travels.
Common form elements include:
| <form action="/subscribe" method="post"> <label for="email">Email</label> <input type="email" id="email" name="email" required> <button type="submit">Subscribe</button> </form> |
| Feature | GET | POST |
| Data location | In the URL as query parameters | In the request body |
| Visibility | Visible in the URL and history | Not shown in the URL |
| Data size | Limited by URL length | Much larger |
| Best for | Searches and filters | Logins, signups and file uploads |
| Can be bookmarked | Yes | No |
| <input type="text" name="zip" required pattern="[0-9]{5}" placeholder="12345"> |
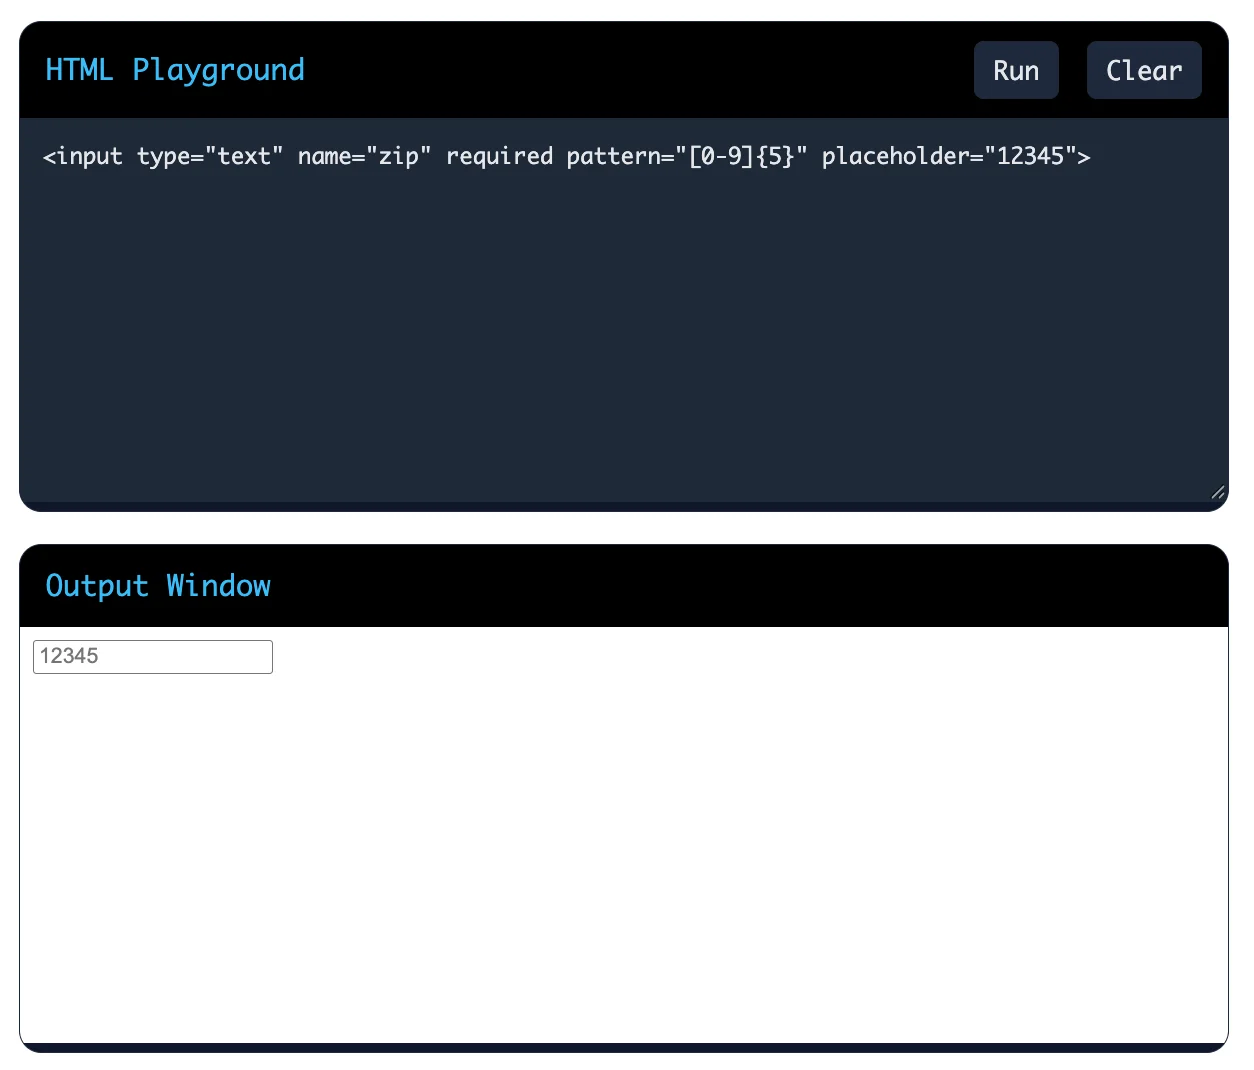
A placeholder is not a replacement for a <label>. Screen readers and users need real labels.
Use the <audio> and <video> elements. Add the controls attribute so users can play, pause and change the volume.
| <video controls width="640" poster="preview.jpg"> <source src="movie.mp4" type="video/mp4"> <source src="movie.webm" type="video/webm"> <track kind="captions" src="captions.vtt" srclang="en" label="English"> Your browser does not support the video tag. </video> <audio controls> <source src="song.mp3" type="audio/mpeg"> </audio> |
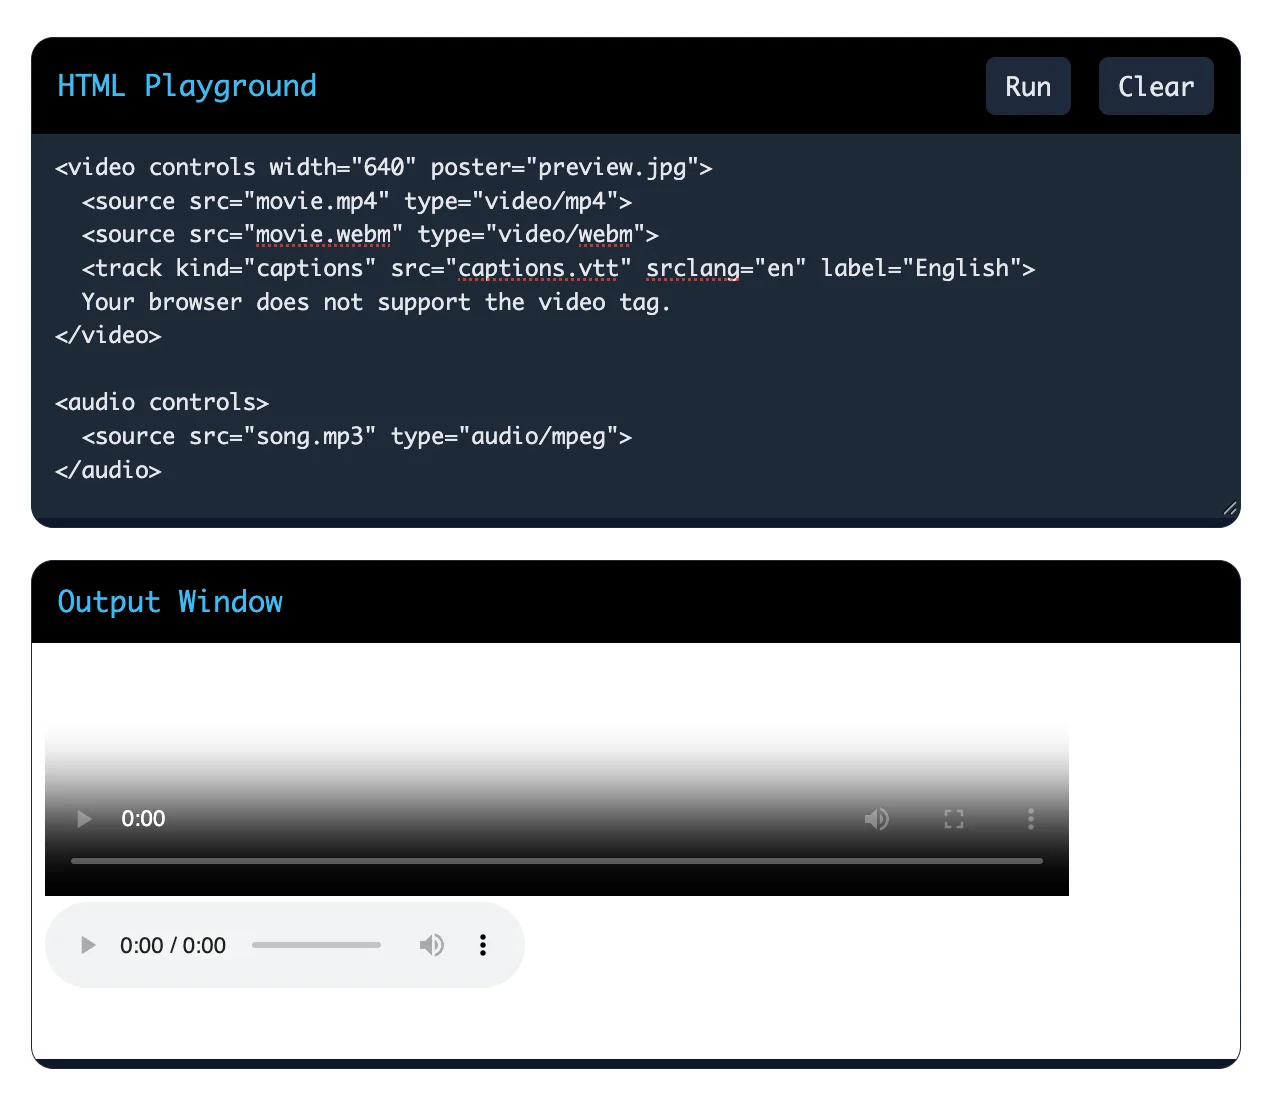
Provide several formats for better browser support. Add captions with <track> for accessibility.
Both pairs look the same in the browser, but they carry different meanings.
Screen readers can stress <strong> and <em> in speech. Use them when meaning matters and use <b> and <i> for style only.
HTML entities are special codes that display reserved or hard-to-type characters. They start with & and end with;.
| Character | Entity |
| < | < |
| > | > |
| & | & |
| " | " |
| Non-breaking space | |
| © | © |
Without entities, the browser may read a < as the start of a tag and break your page.
Follow these steps:
| <label for="name">Full name</label> <input id="name" type="text"> <button aria-expanded="false" aria-controls="menu">Menu</button> |
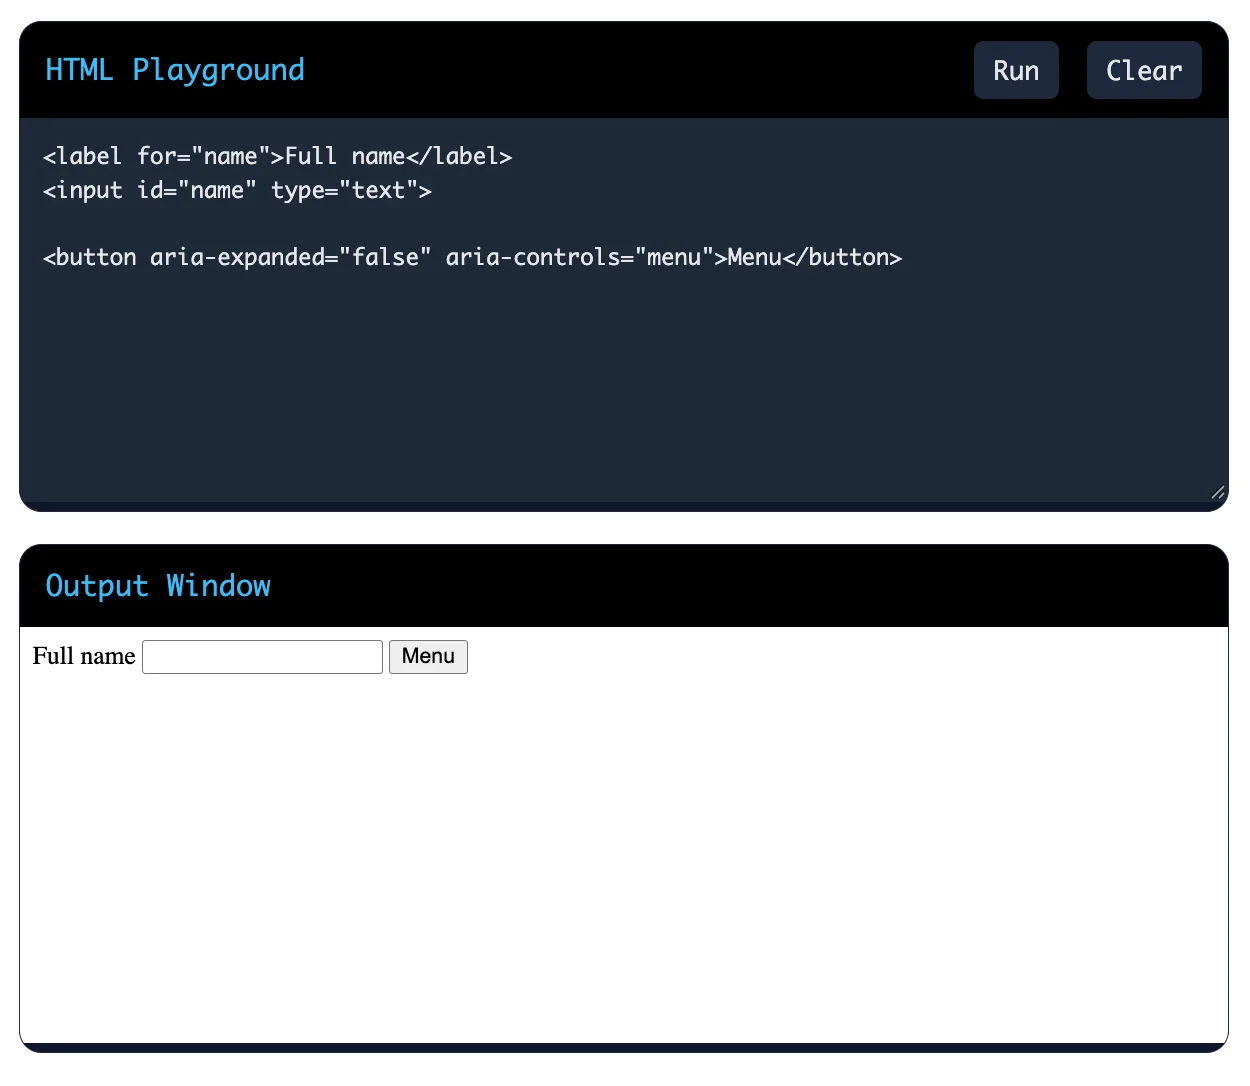
The first rule of ARIA is simple: do not use ARIA if a native HTML element already does the job.
Read Also: What is an API (Application Programming Interface)?
Senior interviews focus on performance, security, accessibility and modern HTML features. These advanced HTML interview questions need clear, confident answers.
The <img> element embeds an image. The <figure> element wraps self-contained content, such as an image, chart or code block, along with an optional <figcaption>.
| <figure> <img src="chart.png" alt="Sales growth from 2024 to 2026"> <figcaption>Sales grew 40% over two years.</figcaption> </figure> |
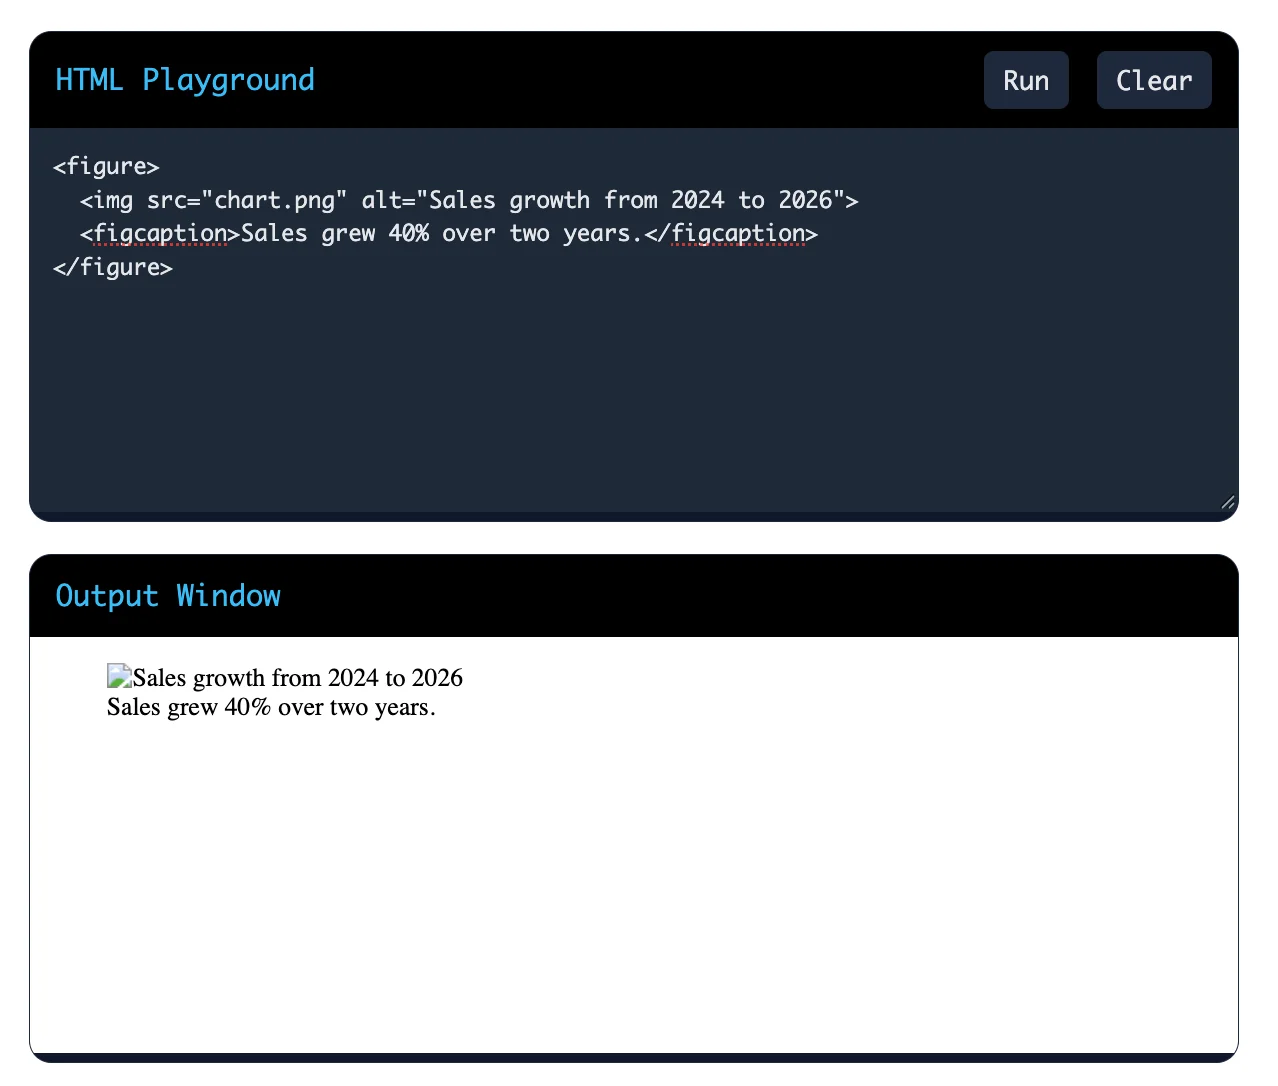
The <figure> links the caption to the content in a way that assistive technologies understand.
| <progress value="70" max="100">70%</progress> <meter value="0.6" min="0" max="1" low="0.3" high="0.8">60%</meter> |
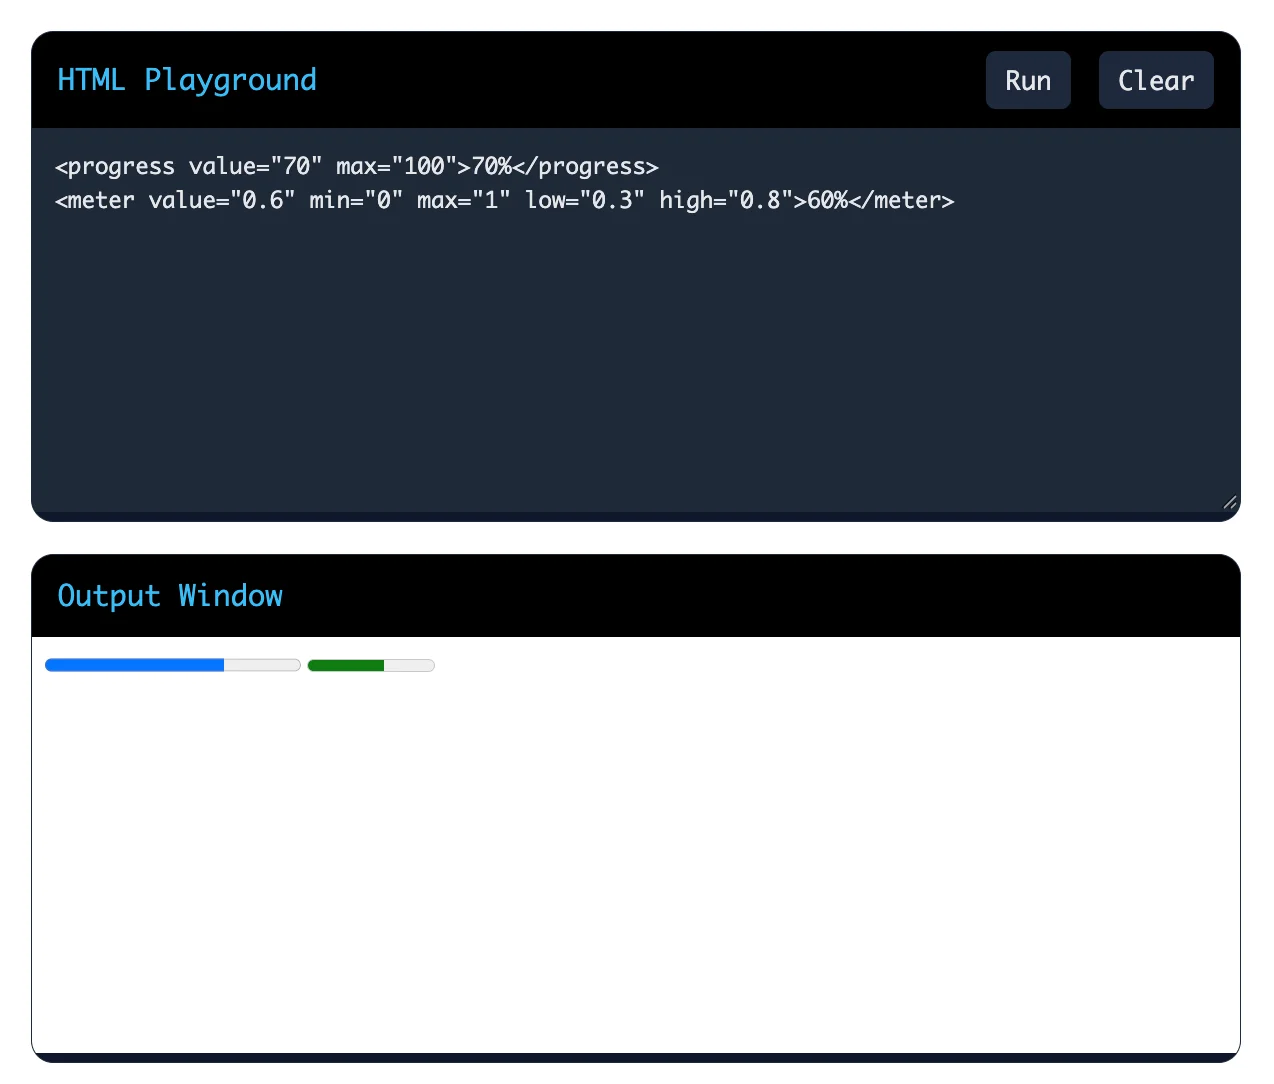
Progress moves forward over time. A meter is a fixed measurement.
The <template> element holds HTML that the browser parses but does not render. Its content stays inactive. Images do not load and scripts do not run until JavaScript clones the template into the page.
| <table> <tbody id="table-body"></tbody> </table> <template id="row-template"> <tr> <td class="name"></td> </tr> </template> <script> const template = document.getElementById("row-template"); const clone = template.content.cloneNode(true); clone.querySelector(".name").textContent = "Asha"; document.querySelector("#table-body").appendChild(clone); </script> |
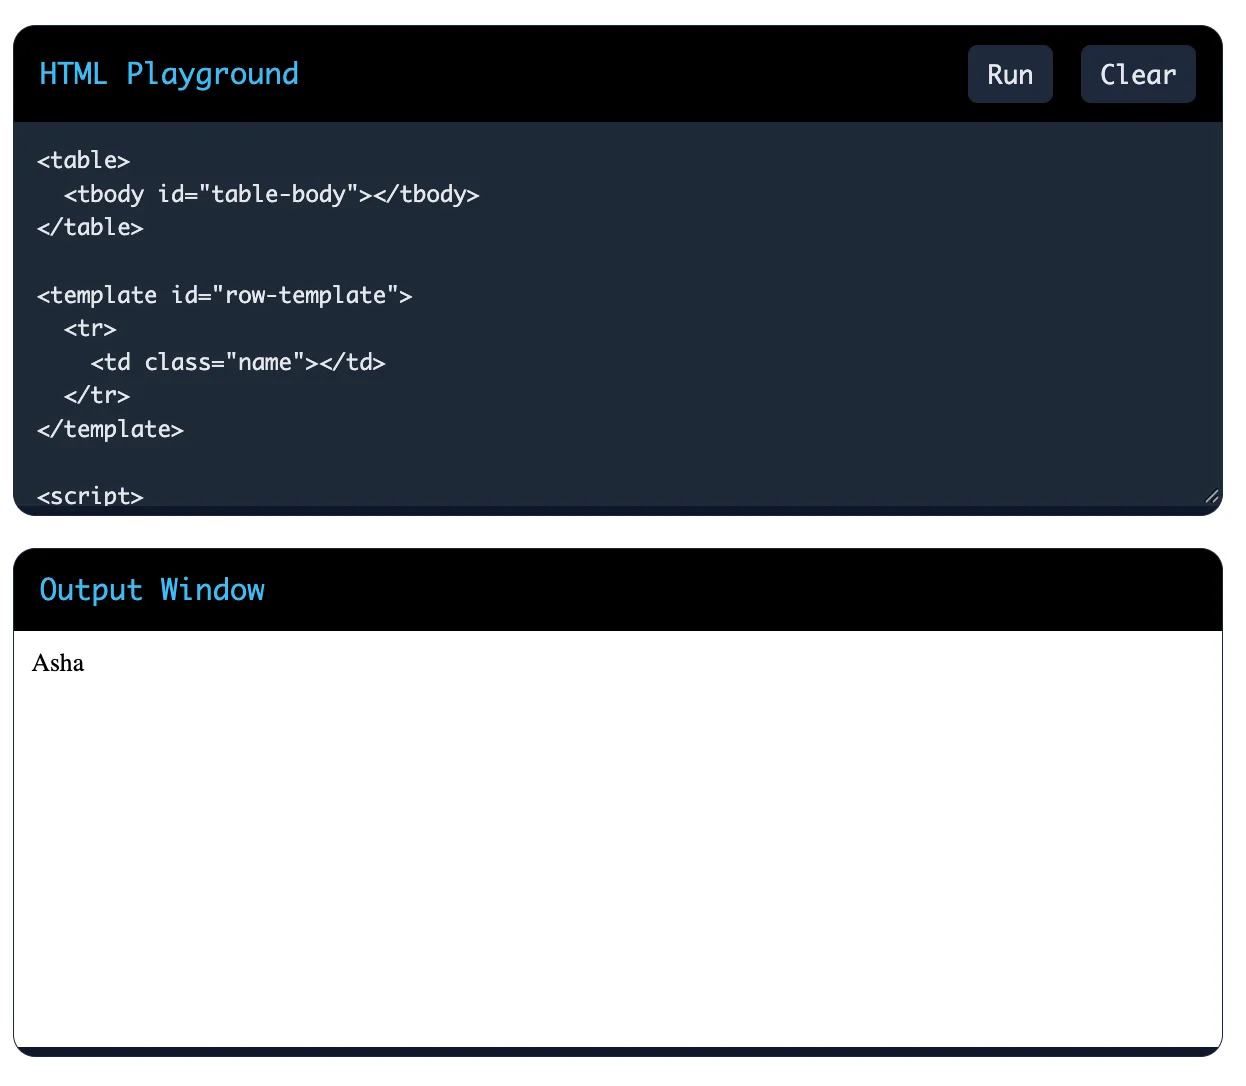
Developers use templates for repeated items, such as table rows and cards.
Web Components let you build reusable elements that work in any framework. They rest on three browser features:
| <script> class UserCard extends HTMLElement { connectedCallback() { const shadow = this.attachShadow({ mode: "open" }); shadow.innerHTML = ` <p>Hello, ${this.getAttribute("name")}</p> `; } } customElements.define("user-card", UserCard); </script> <user-card name="Asha"></user-card> |
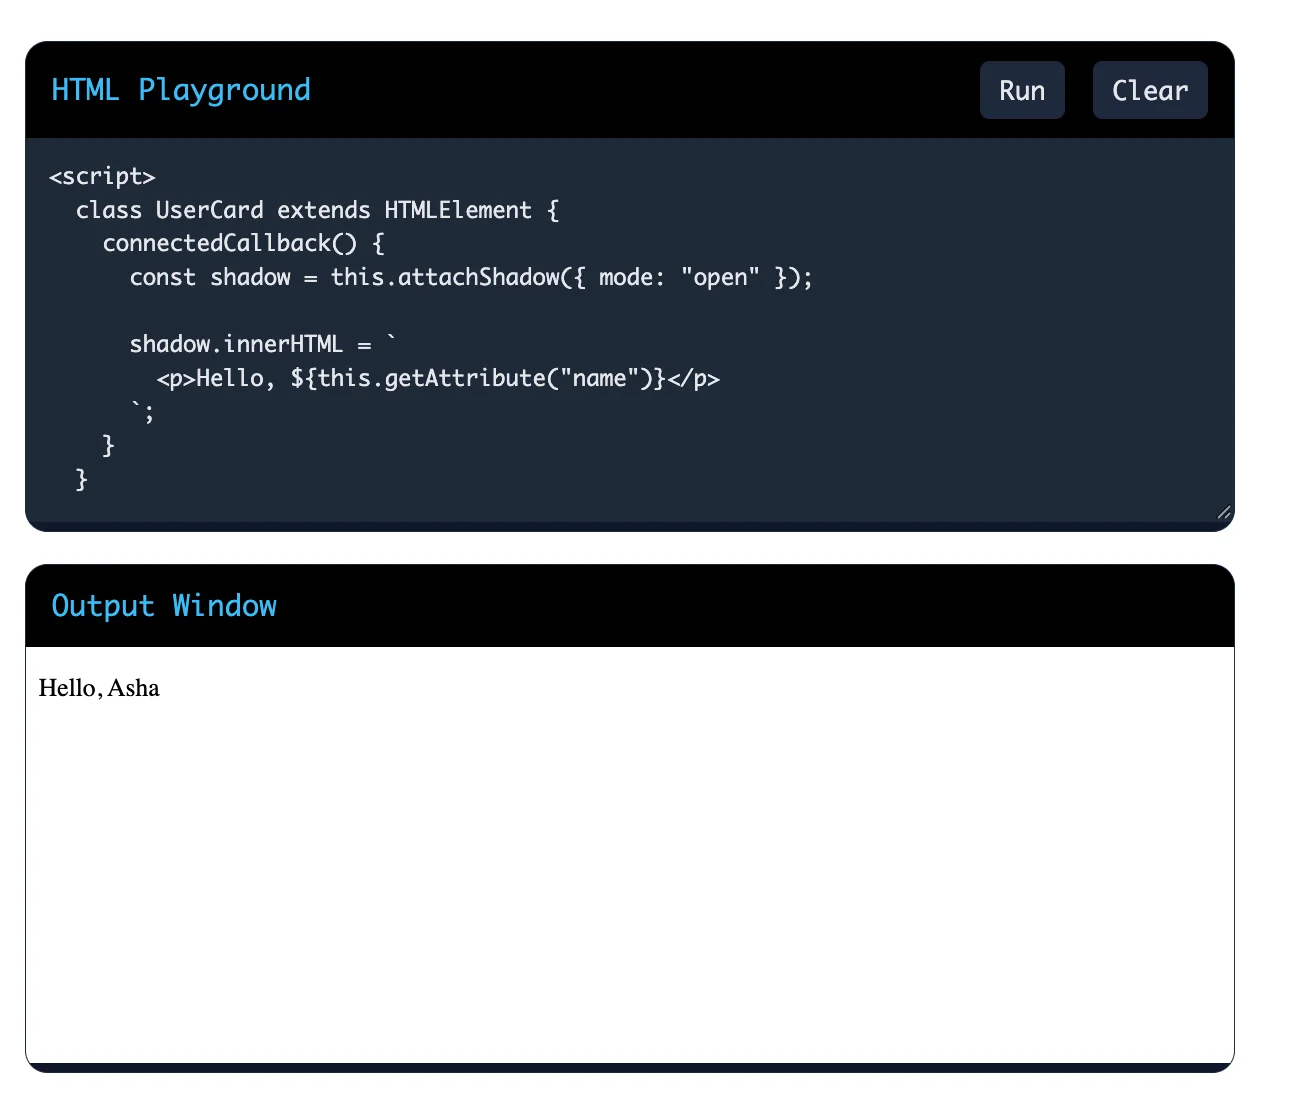
Custom element names must contain a hyphen.
| Feature | <canvas> | <svg> |
| Type | Pixel-based (raster) | Vector-based |
| Drawing | JavaScript API | XML markup |
| Scaling | Loses quality when scaled | Stays sharp at any size |
| DOM elements | One element only | Each shape is a DOM element |
| Best for | Games and heavy animation | Icons, logos and charts |
Choose SVG for sharp graphics with events and accessibility. Choose canvas for thousands of fast-changing objects.
The srcset attribute lists several image files with their widths. The sizes attribute tells the browser how wide the image will appear in the layout. The browser then picks the best file for the screen size and pixel density.
| <img src="photo-800.jpg" srcset="photo-400.jpg 400w, photo-800.jpg 800w, photo-1600.jpg 1600w" sizes="(max-width: 600px) 100vw, 50vw" alt="Mountain view"> |
Mobile users download smaller files, so the page loads faster and uses less data.
Do not lazy-load the main image above the fold. That slows down your Largest Contentful Paint. Always set width and height to prevent layout shifts.
The <dialog> element creates native dialogs. Call showModal() to open it as a modal. The browser then traps focus inside the dialog, adds a backdrop, closes the dialog on the Escape key and makes the rest of the page inert.
| <dialog id="confirm"> <form method="dialog"> <p>Delete this item?</p> <button value="cancel">Cancel</button> <button value="confirm">Delete</button> </form> </dialog> <button id="open">Delete</button> <script> const dialog = document.getElementById("confirm"); document.getElementById("open").addEventListener("click", () => dialog.showModal()); </script> |
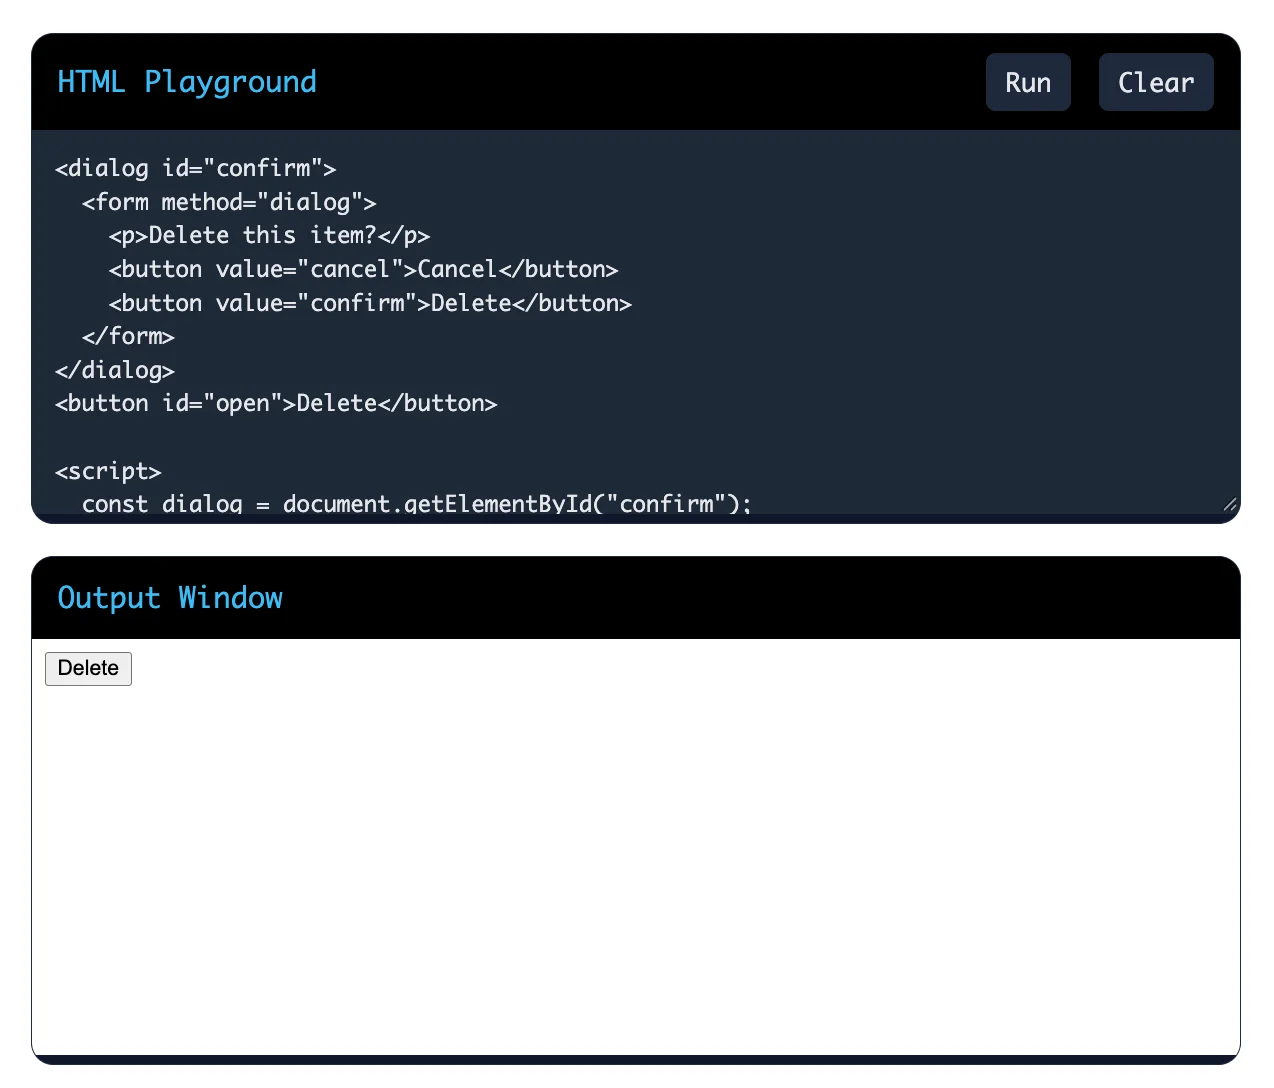
A form with method="dialog" closes the dialog on submit and stores the clicked button's value in dialog.returnValue. Add a clear heading or aria-labelledby for better screen reader support.
Embedded pages can bring several risks: clickjacking, malicious scripts, unwanted popups, redirects and data leaks.
You can reduce these risks with iframe attributes:
To stop other sites from embedding your pages, set the Content-Security-Policy: frame-ancestors header on your server.
These three goals often support each other. Clean semantic HTML helps users, search engines and screen readers at the same time.
Also Read: Classes and Objects in Java
Most front-end interviews mix all three languages. These HTML, CSS and JavaScript interview questions check how well you connect them.
HTML creates the skeleton of the website, whilst CSS shapes that skeleton into something visually appealing. JavaScript adds functionality to the site. Imagine a house: HTML represents the foundation and the walls. CSS is the paint and wallpaper, while JavaScript is the plumbing and wiring in the house.
The browser starts by interpreting HTML. It then constructs the DOM, applies CSS and runs JavaScript, which continuously modifies HTML and CSS.
Both hide an element from view. The difference is in priority and purpose.
A CSS rule like display: block can override the hidden attribute, but it cannot override a stronger display: none rule. Use hidden for content that is not relevant right now. Use CSS when the hiding depends on design or screen size.
CSS selectors are used to find and target specific HTML elements on a webpage. They help us apply styles to elements like headings, paragraphs and buttons.
For example, we use p to target paragraphs, .class to target elements with a specific class and #id to target an element with a specific ID. In Selenium, CSS selectors help us find elements for automated testing.
| Type | Where you write it | Best for |
| Inline | In the style attribute | Quick one-off changes |
| Internal | In a <style> tag inside <head> | Single-page styles |
| External | In a separate .css file linked with <link> | Full websites |
External CSS is the best choice for most projects. The browser caches the file and one file can style many pages.
The Document Object Model (DOM) is a tree that represents your page. JavaScript uses it to find and change elements.
| <!DOCTYPE html> <html lang="en"> <head> <meta charset="UTF-8"> <title>HTML Playground</title> </head> <body> <h1>Original Heading</h1> <ul> <li>Existing item</li> </ul> <script> const title = document.querySelector("h1"); title.textContent = "New heading"; title.setAttribute("id", "main-title"); const item = document.createElement("li"); item.textContent = "New item"; document.querySelector("ul").appendChild(item); </script> </body> </html> |
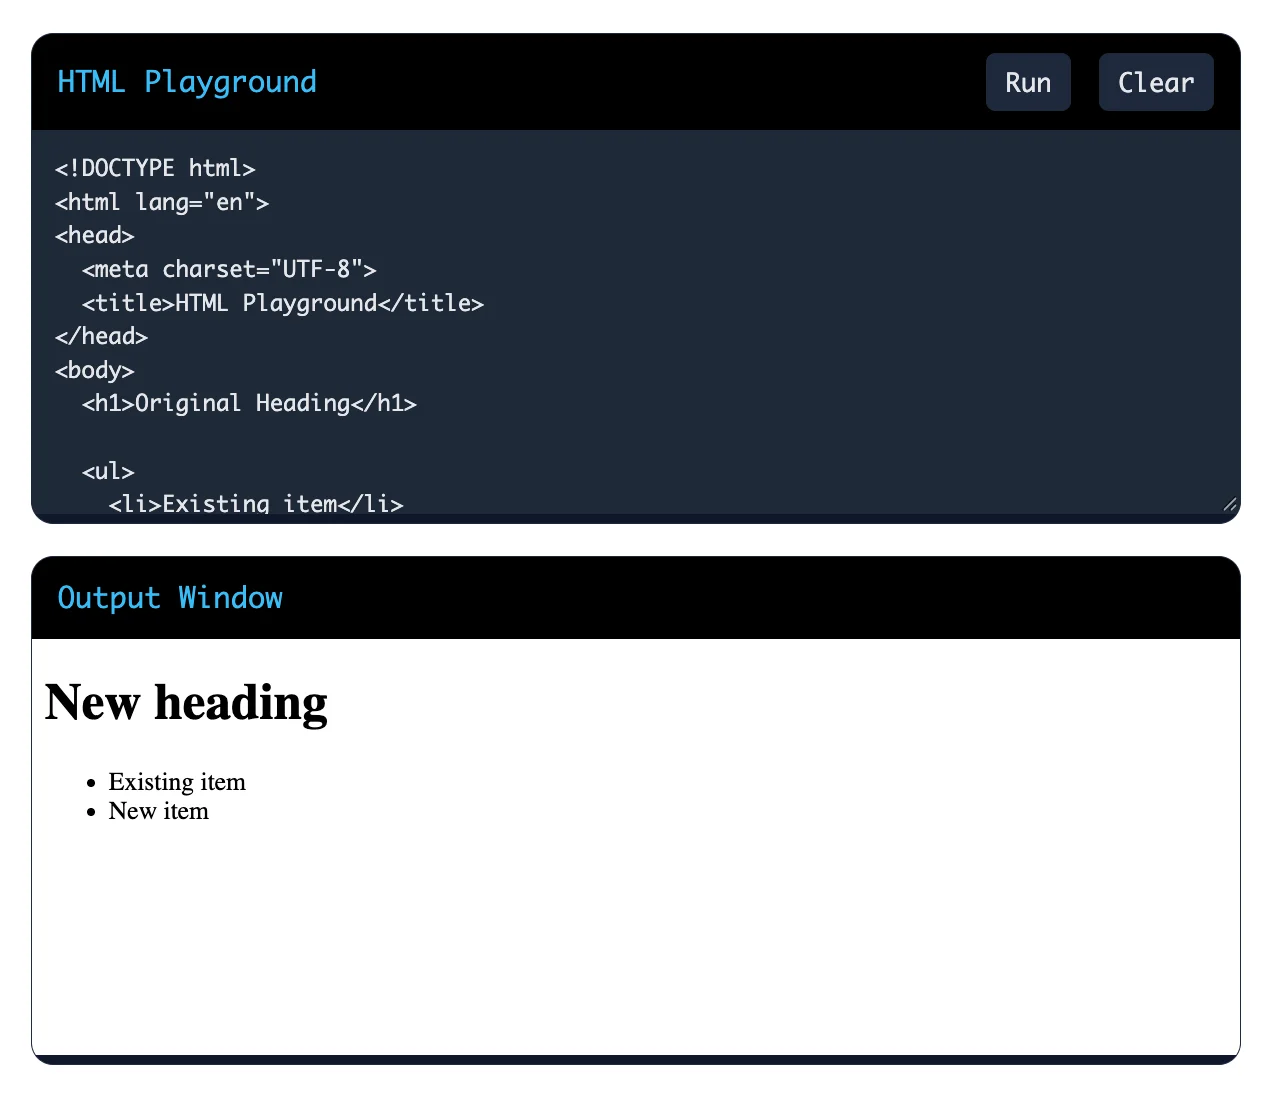
Common methods include getElementById, querySelector, querySelectorAll, createElement and appendChild. Prefer textContent over innerHTML when you insert plain text, because innerHTML can open the door to XSS attacks.
An event listener waits for an event, such as a click or a key press and then runs a function.
| <!DOCTYPE html> <html lang="en"> <body> <button id="save">Save</button> <ul> <li>First item</li> <li>Second item</li> </ul> <script> const button = document.querySelector("#save"); button.addEventListener("click", () => { console.log("Saved!"); }); document.querySelector("ul").addEventListener("click", (event) => { if (event.target.matches("li")) { console.log(event.target.textContent); } }); </script> </body> </html> |
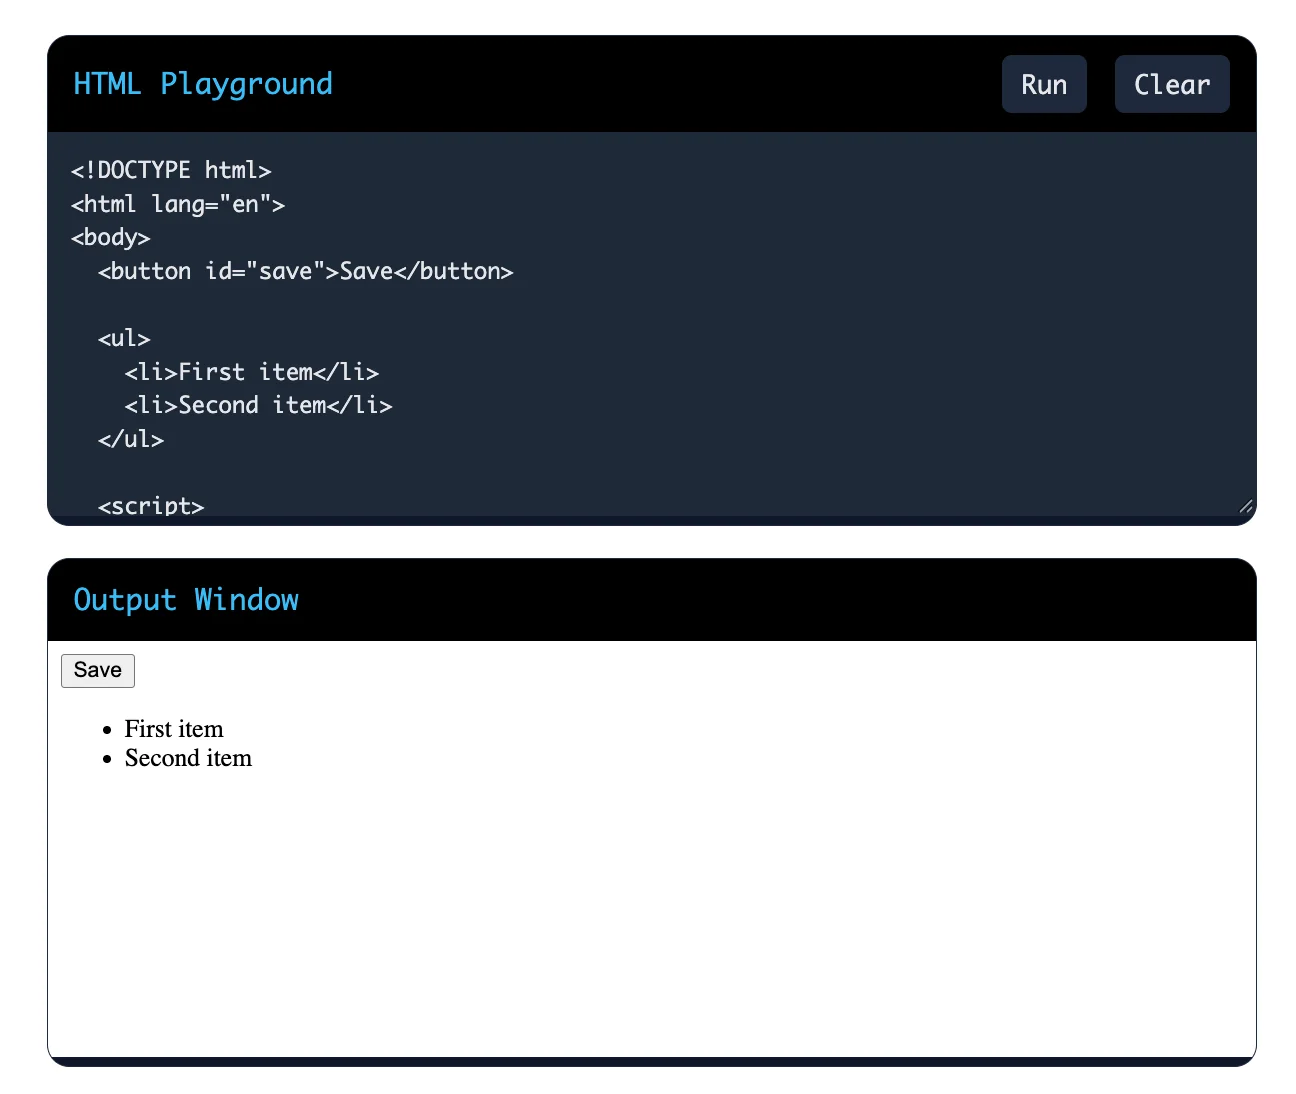
Use the classList property.
| <!DOCTYPE html> <html lang="en"> <body> <div class="box hidden">Hello, world!</div> <script> const box = document.querySelector(".box"); box.classList.add("active"); box.classList.remove("hidden"); box.classList.toggle("open"); console.log(box.classList.contains("active")); </script> </body> </html> |
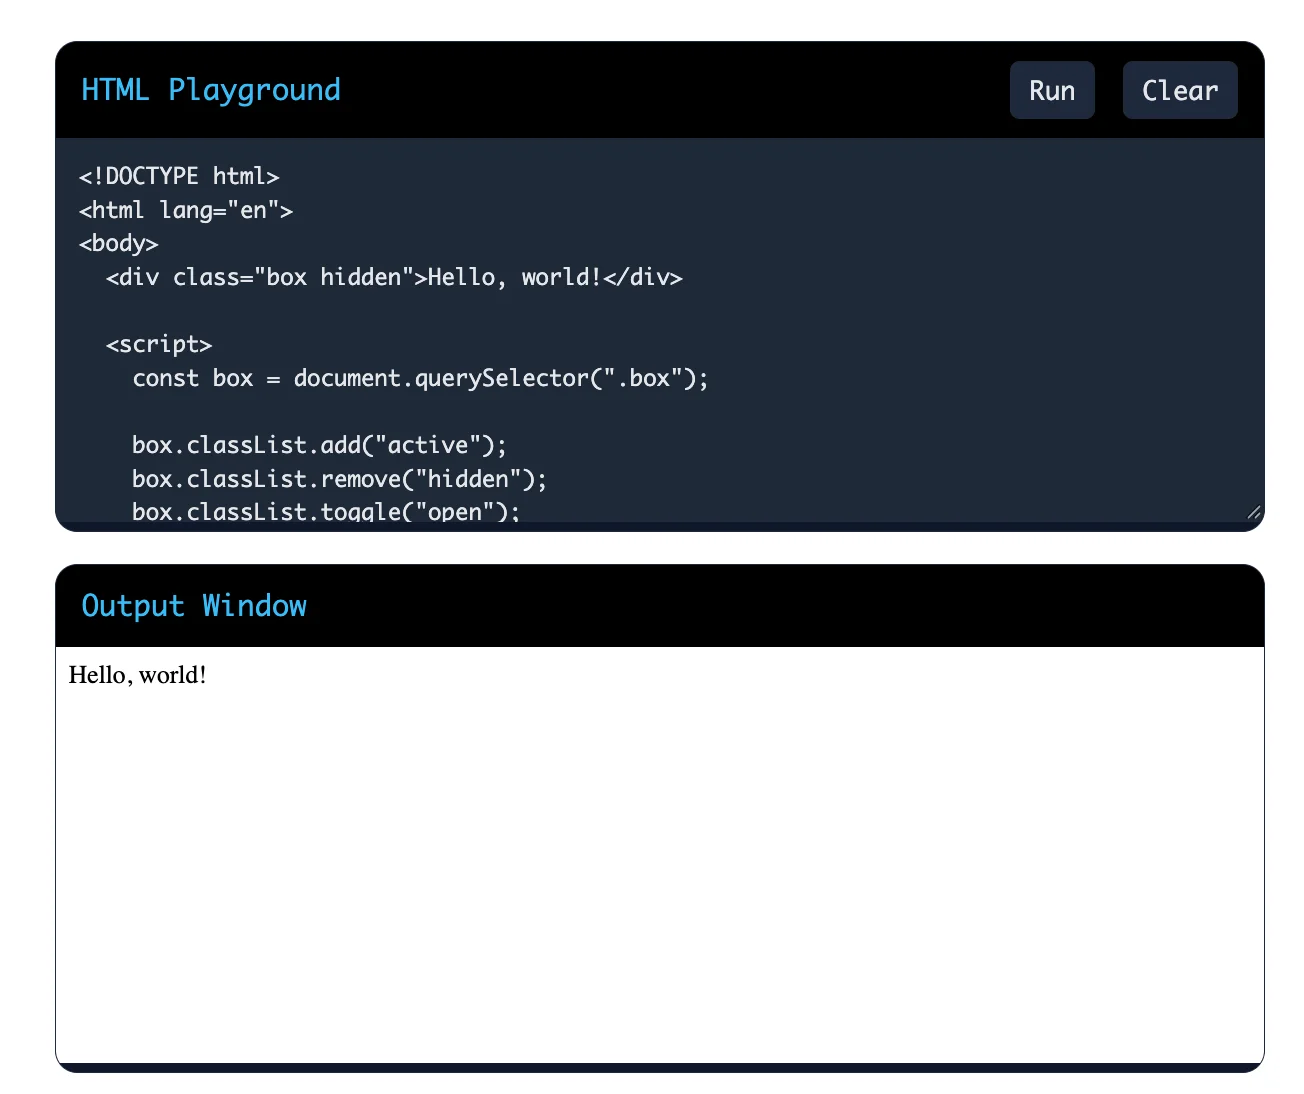
This approach is cleaner and safer than editing the className string by hand.
HTML validation uses attributes like required, min, max, minlength, pattern and type="email". The browser checks the data and shows built-in messages. It is fast and needs no code.
JavaScript validation gives you full control. You can write custom rules, change error messages and check fields against each other.
Use both. Start with HTML attributes and add JavaScript for custom logic. Never rely on client-side validation alone, because users can bypass it. Always validate again on the server.
Media queries apply CSS rules only when conditions match, such as a minimum screen width. First, add the viewport meta tag in your HTML.
| <!DOCTYPE html> <html lang="en"> <head> <meta name="viewport" content="width=device-width, initial-scale=1.0"> <style> .container { display: grid; grid-template-columns: 1fr; gap: 16px; } .box { background: #e0f2fe; padding: 24px; border-radius: 8px; } @media (min-width: 768px) { .container { grid-template-columns: 1fr 1fr; } } @media (min-width: 1200px) { .container { grid-template-columns: repeat(3, 1fr); } } </style> </head> <body> <div class="container"> <div class="box">Item 1</div> <div class="box">Item 2</div> <div class="box">Item 3</div> </div> </body> </html> |
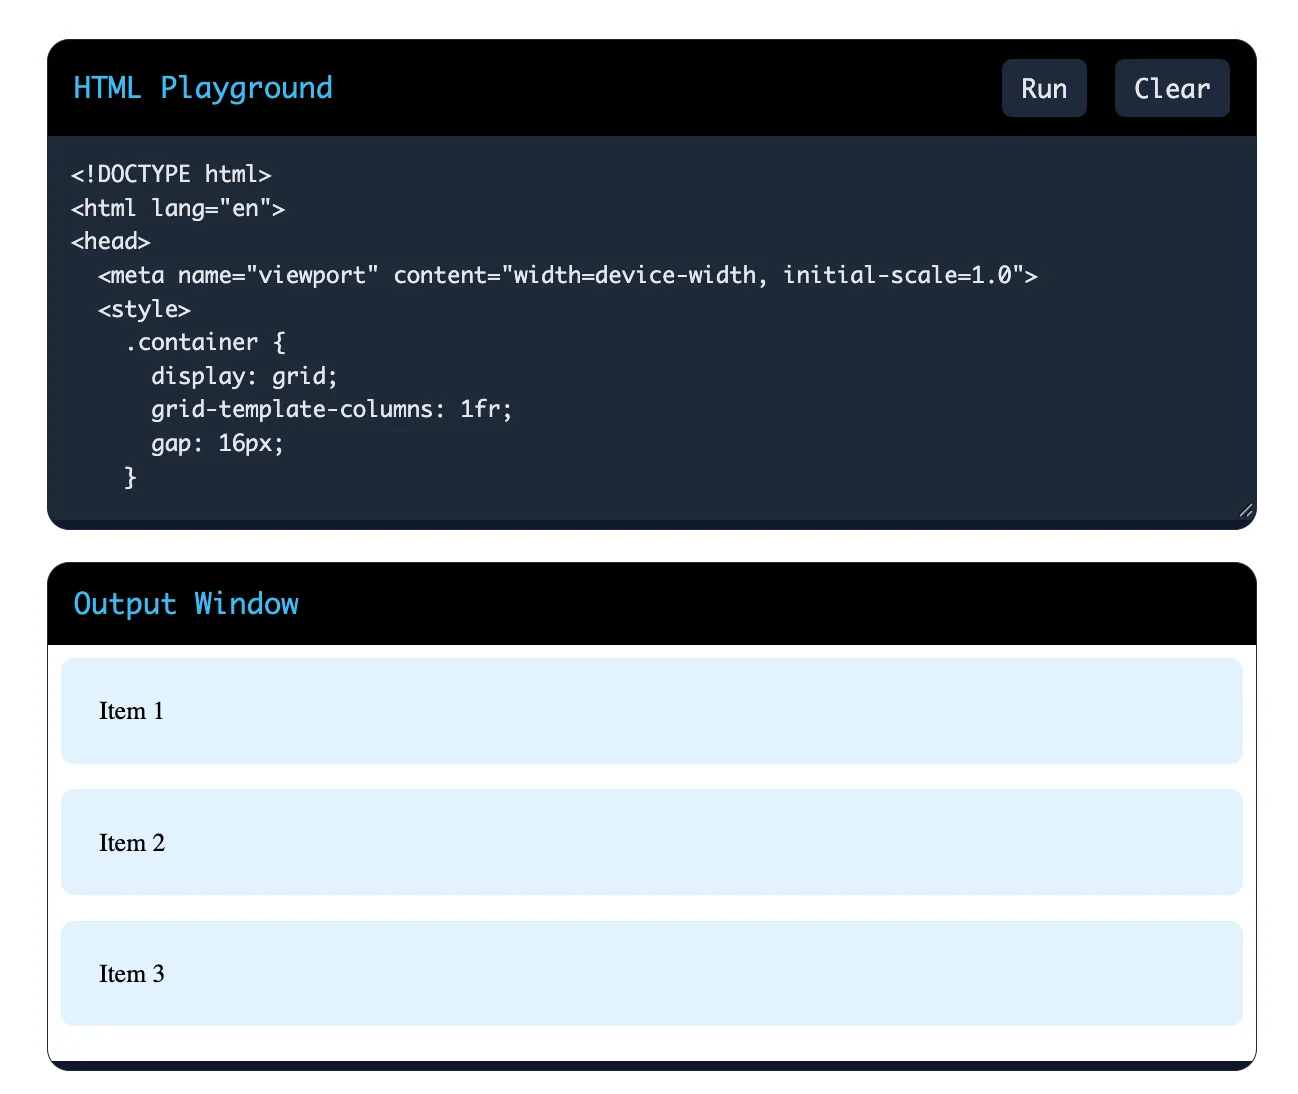
JavaScript modules let you split code into files. You load a module in HTML with type="module".
| <script type="module" src="app.js"></script> |
A static import sits at the top of a file. The browser loads it before the code runs.
import { add } from "./math.js";
A dynamic import() loads a module on demand and returns a promise. It helps with performance, because users download code only when they need it.
| <!DOCTYPE html> <html lang="en"> <head> <meta charset="UTF-8"> <title>HTML Playground</title> </head> <body> <button id="open-chart">Open Chart</button> <div id="chart-output"></div> <script> document.querySelector("#open-chart") .addEventListener("click", () => { document.querySelector("#chart-output").innerHTML = "<h2>Chart opened successfully!</h2>"; }); </script> </body> </html> |
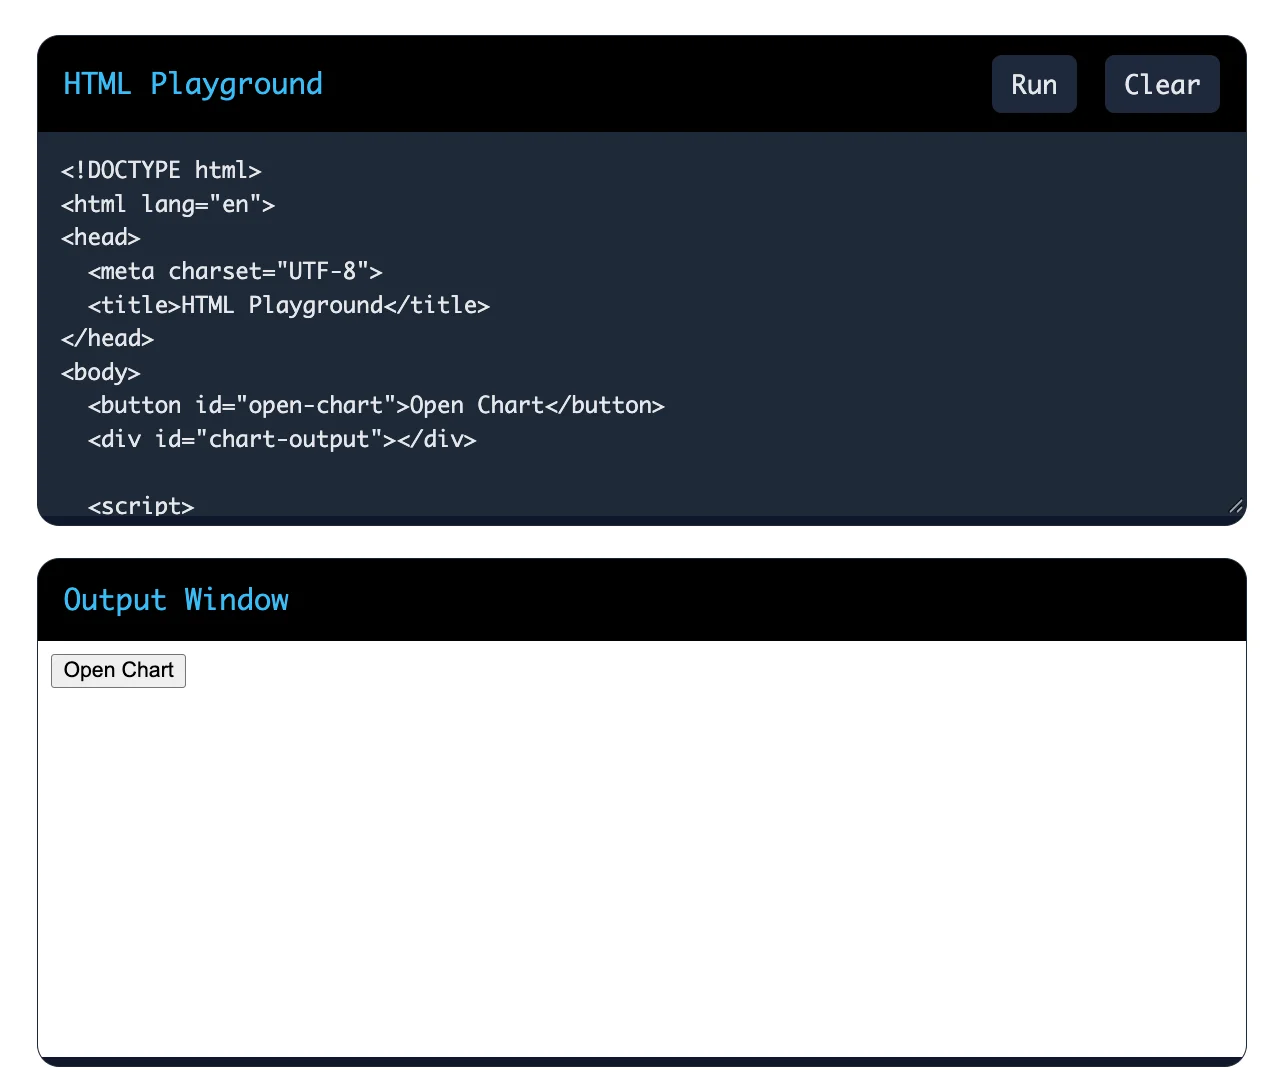
Modules run in strict mode and load deferred by default.
Also Read: Java Object Oriented Programming Concepts
Interviewers love these questions, because they show how you think. State the problem, give your solution and explain why it works.
There are a few elements on the form which are mandatory. The browser verifies these requisite elements before the final submission of the form. If the mandatory elements have not been filled up by the users, the browser will warn the user.
For example:
| <form action="/submit" method="post"> <label for="name">Name:</label> <input type="text" id="name" name="name" required> <button type="submit">Submit</button> </form> |
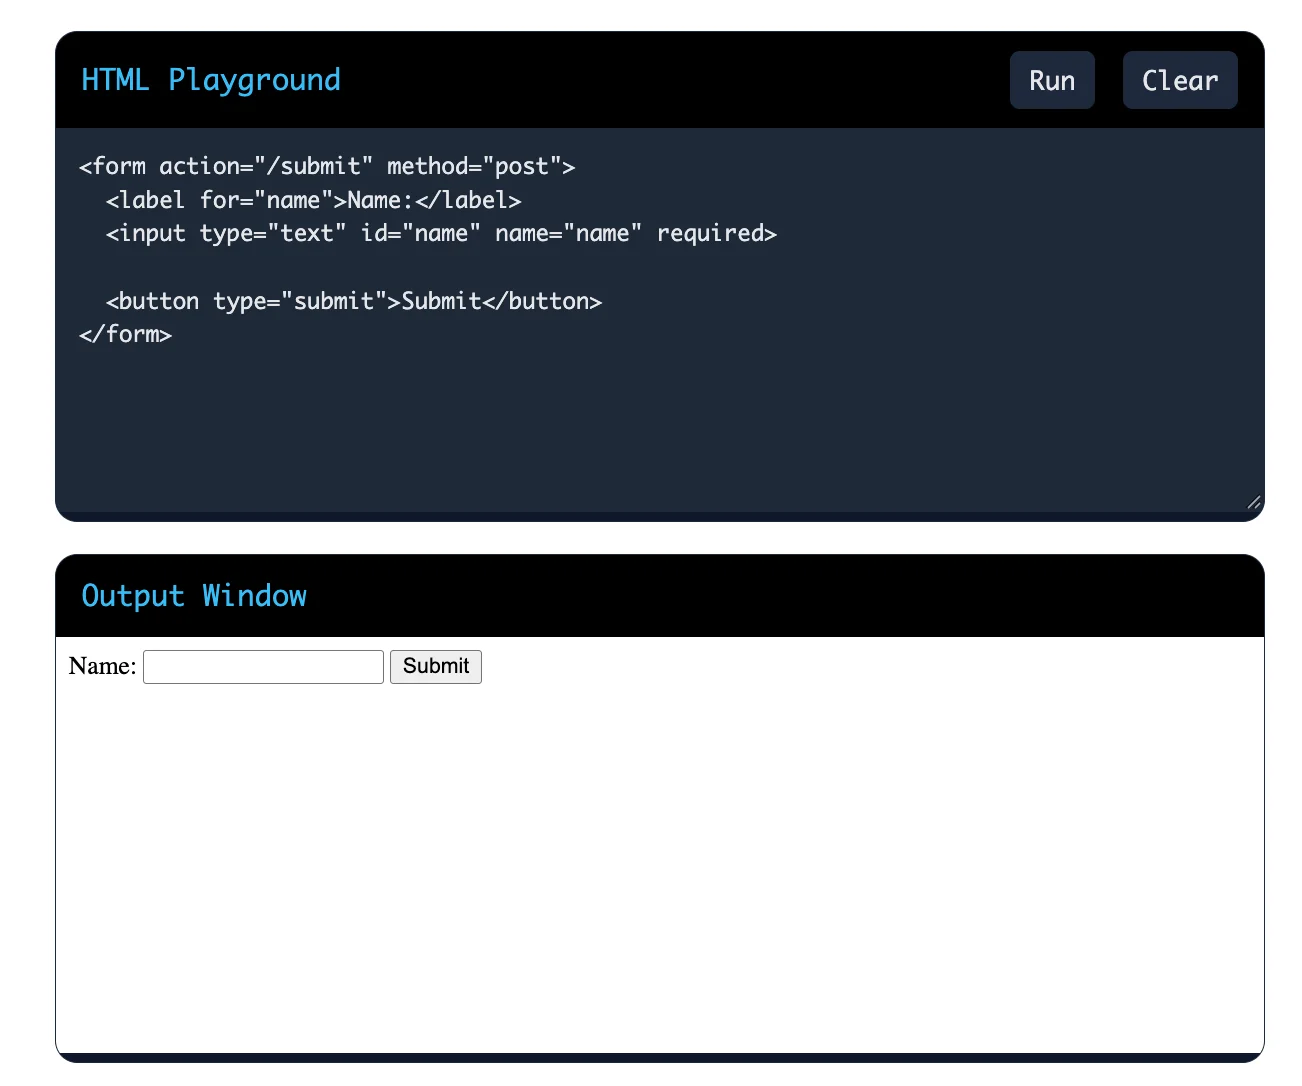
Here, the form cannot be submitted until the user enters a name. This works without JavaScript.
I would replace unnecessary <div> elements with semantic HTML elements. These elements clearly describe the purpose of each section and help screen readers understand the page.
For example:
| <header> <h1>My Website</h1> </header> <nav> <a href="/">Home</a> <a href="/about">About</a> </nav> <main> <h2>Welcome</h2> <p>This is the main content.</p> </main> <footer> <p>Copyright 2026</p> </footer> |
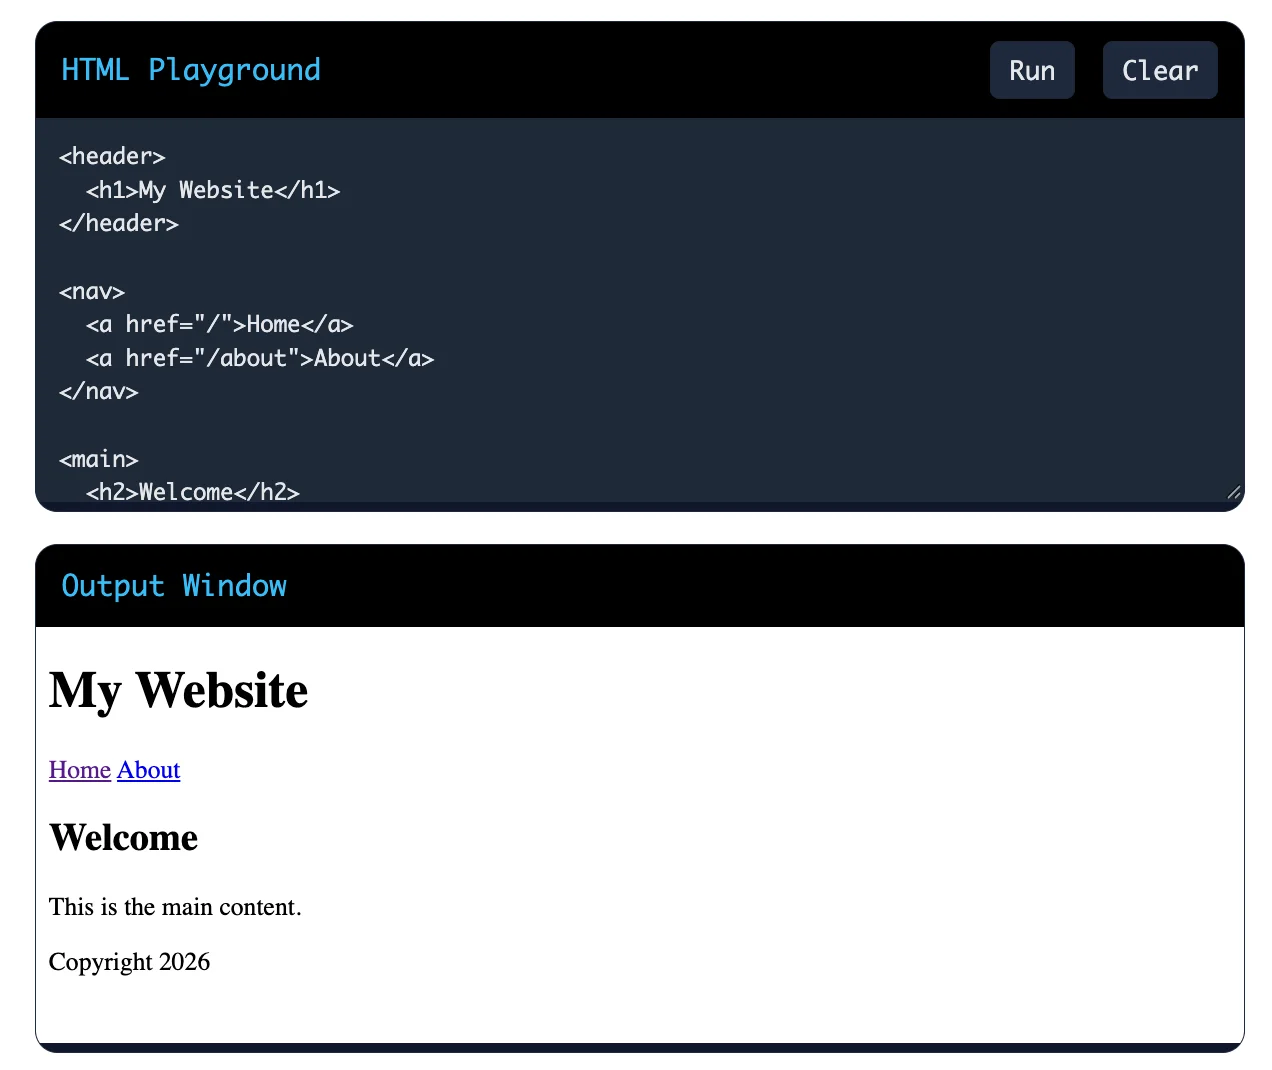
Here, <nav> identifies the navigation, <main> identifies the main content and <header> and <footer> define the top and bottom sections. This makes the website easier to understand and access.
I would take advantage of the loading="lazy" attribute to make sure images load only when they are near appearing on the screen. Smaller images should also be used with appropriate width and height attributes to make sure that space for loading is reserved at the browser.
For example:
| <img src="product.webp" alt="Blue product bag" width="300" height="200" loading="lazy" > |
In this case, the browser may hold off loading the image until it is required. As for the formats, I would utilize formats with compression options like WebP of AVIF for file size compatibility. For the main image that will show upon opening, I generally would refrain from lazy loading.
To create the confirmation dialog, I would utilize elements. The showModal() method will be responsible for displaying the dialog as a modal window, which will ensure that it is situated above all the page content. I will add buttons to confirm/cancel the action.
For example:
| <button onclick="confirmDialog.showModal()"> Delete Item </button> <dialog id="confirmDialog"> <p>Are you sure you want to delete this item?</p> <form method="dialog"> <button value="cancel">Cancel</button> <button value="confirm">Confirm</button> </form> </dialog> |
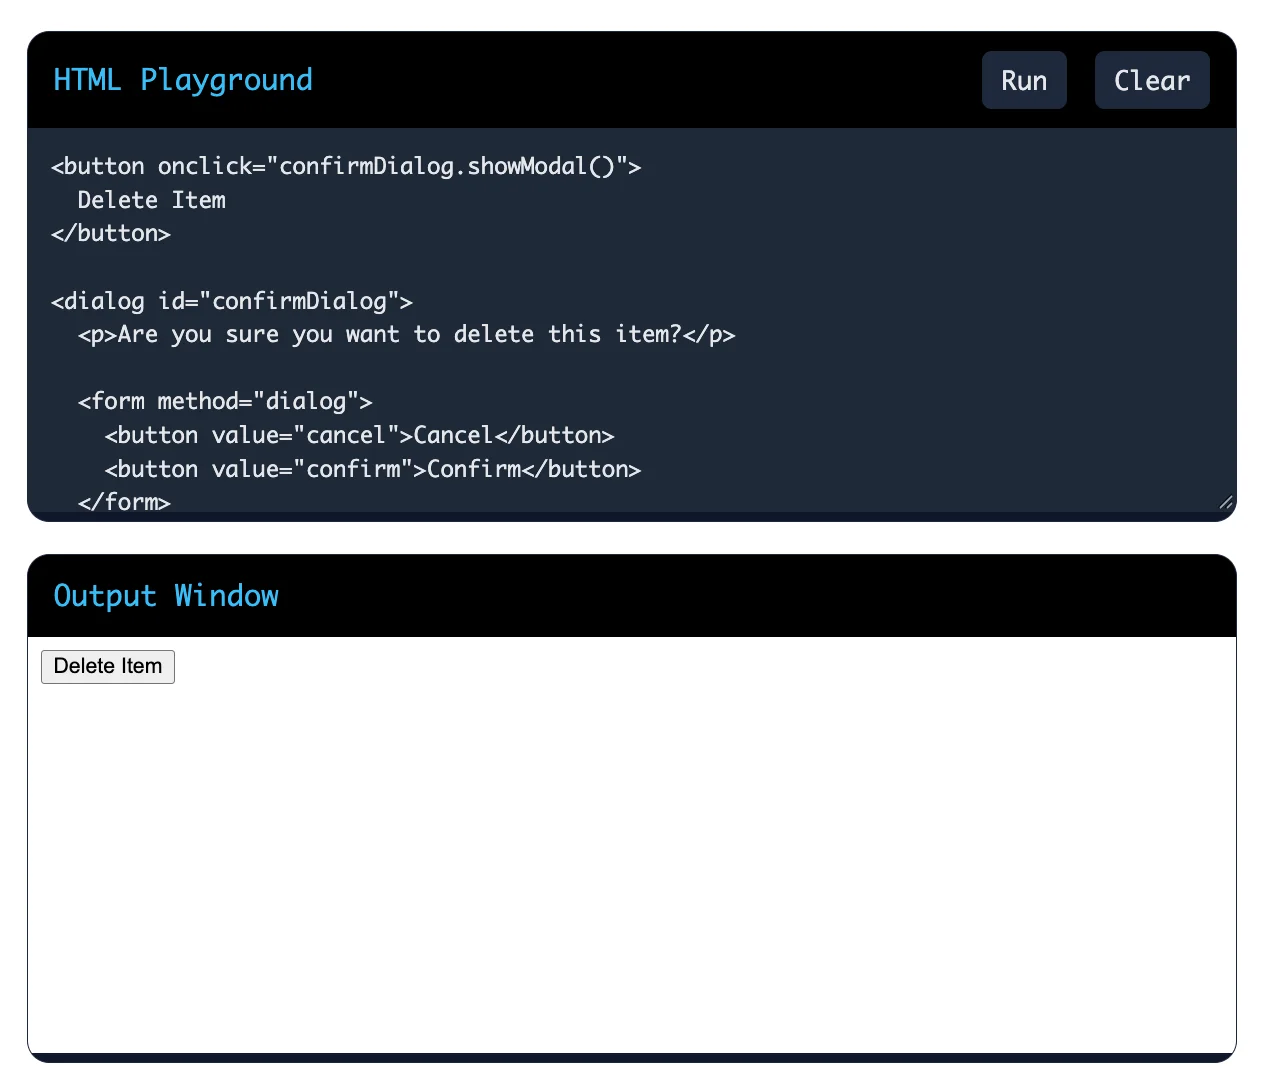
The dialog opens when the user clicks the button. The form with method="dialog" closes the dialog when either button is clicked and sets the dialog return value.
For completeness, I would add a little JavaScript to check for the return value and only proceed with the deletion if the user clicked Confirm. HTML can show the dialog and pick up the choice, but it cannot do the deletion on its own.
I would use the <picture> element with the <source> element. The media attribute lets the browser choose an image based on the screen size.
For example:
| <picture> <source media="(max-width: 600px)" srcset="mobile.jpg" > <img src="desktop.jpg" alt="Beautiful mountain view" > </picture> |
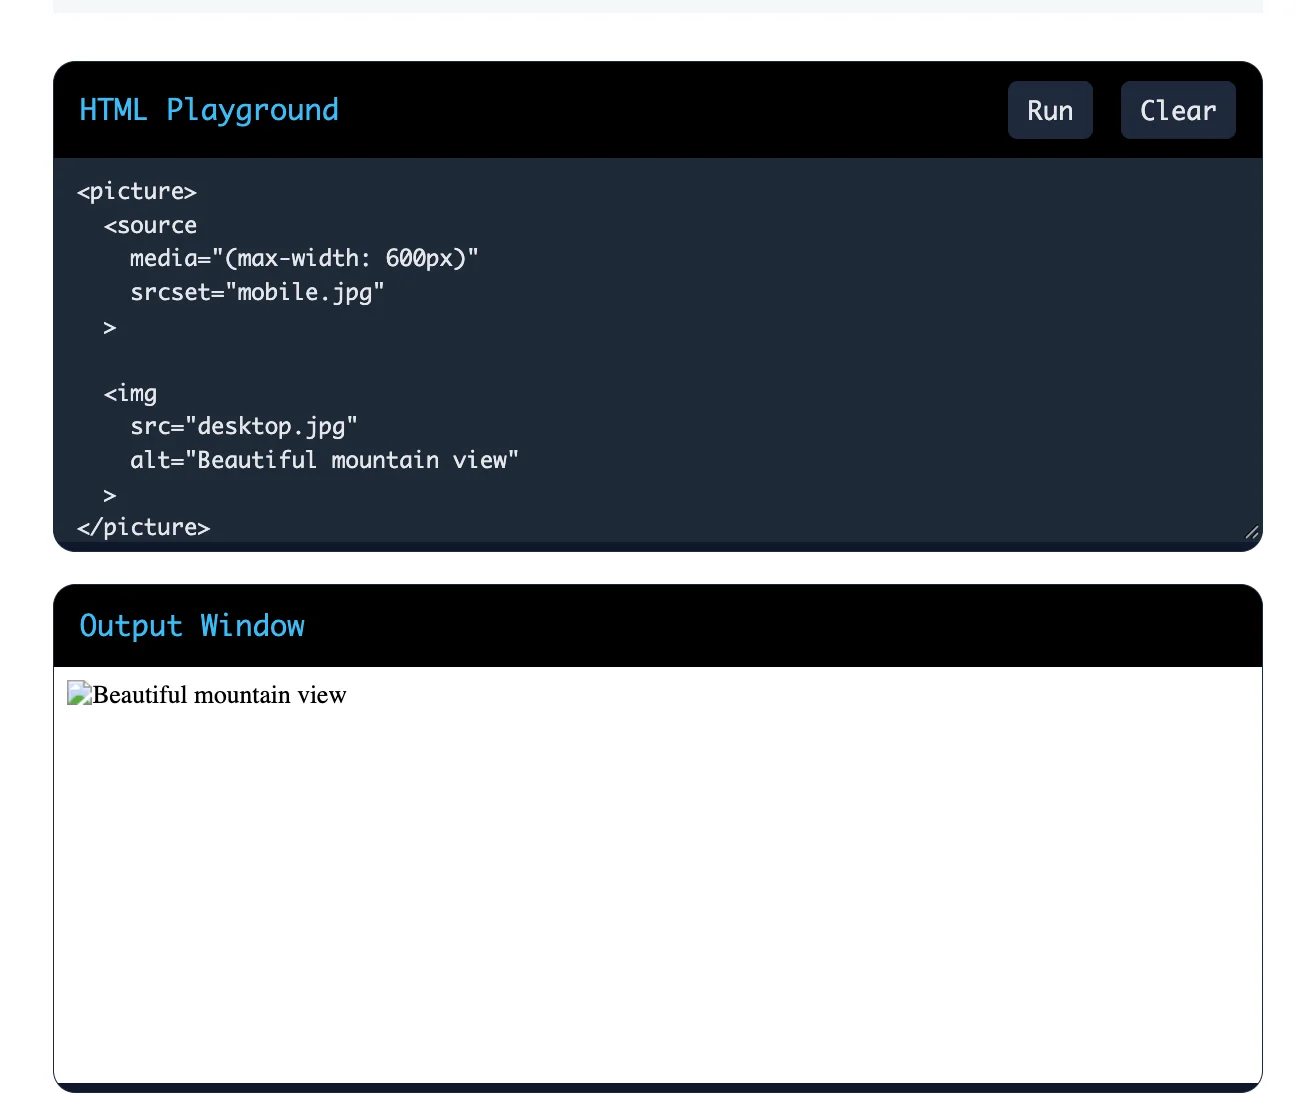
Here, the browser displays mobile.jpg on screens up to 600 pixels wide and uses desktop.jpg as the default image for larger screens. This helps provide suitable images for different devices.
I will look into checking the structure of the forms, the position of the input fields and the form features. It is important to verify that both the input and submit buttons are associated with the correct form. I also need to check that forms are not nested since that is not a valid HTML code.
For example:
| <form id="loginForm" action="/login" method="post"> <input type="text" name="username" required> <button type="submit">Login</button> </form> <form id="searchForm" action="/search" method="get"> <input type="search" name="query" required> <button type="submit">Search</button> </form> |
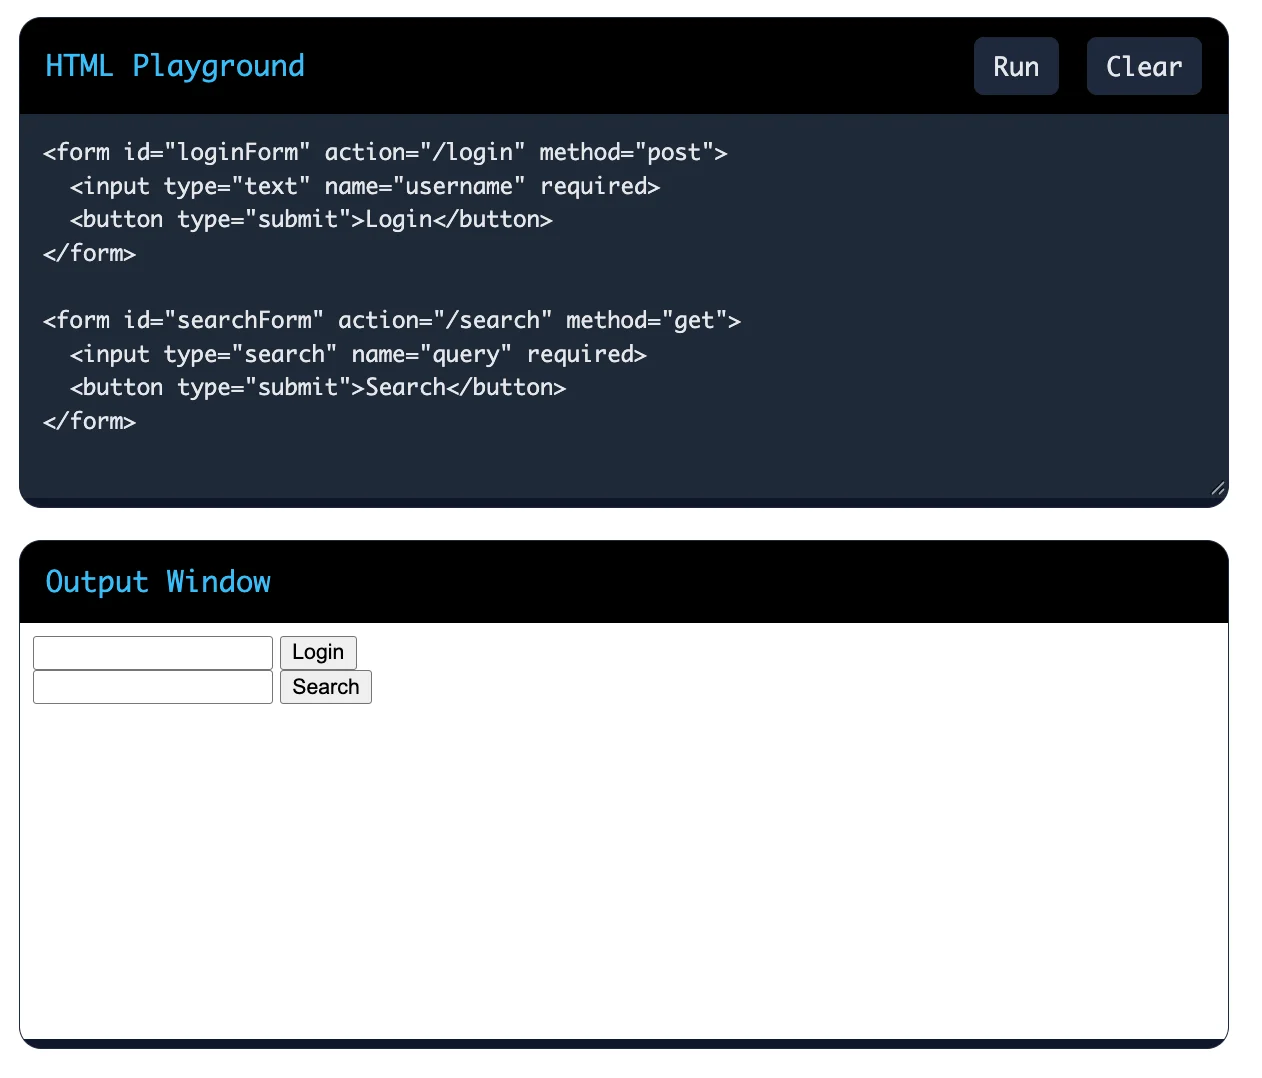
In this situation, each form has fields and submit button. In addition, I would check if hitting the Enter key in an input field triggers the submission button of the form in question. If necessary, I will apply the "form" attribute so that the input/button can work with the corresponding form.
I would use the <details> and <summary> elements. The <summary> element shows the question and the <details> element contains the answer. The browser allows users to expand and collapse the answer without JavaScript.
For example:
| <details> <summary>What is HTML?</summary> <p>HTML is used to structure content on a webpage.</p> </details> <details> <summary>What is CSS?</summary> <p>CSS is used to style a webpage.</p> </details> |
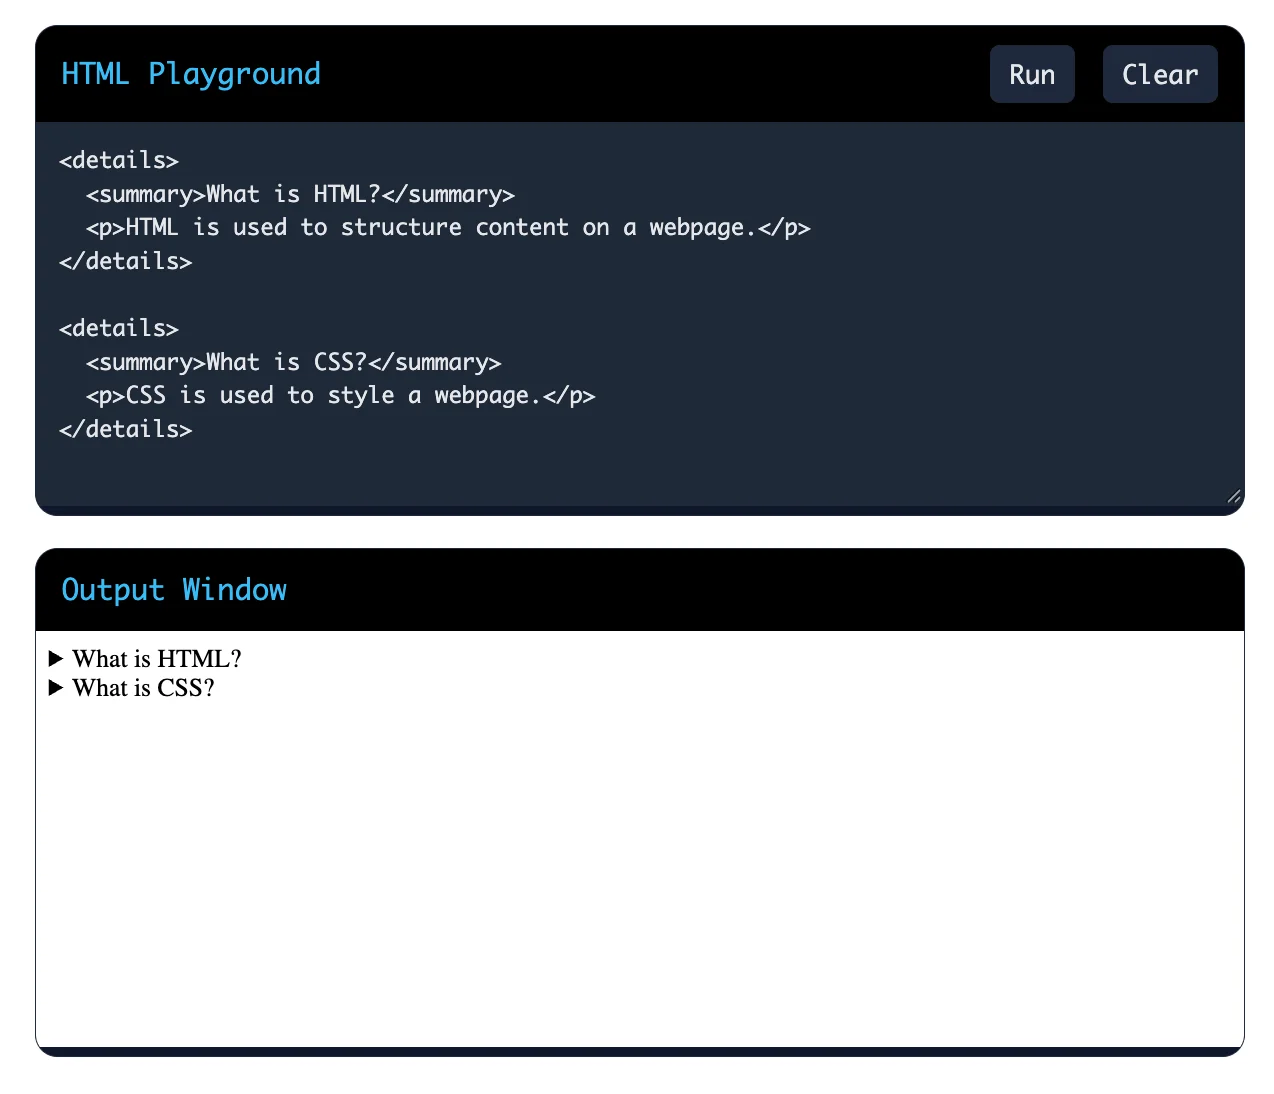
Here, users can click a question to show or hide its answer. This is a simple and accessible way to create an FAQ section using HTML alone.
Use an <iframe> element with the sandbox attribute. When you add sandbox with no values, the browser blocks almost everything: scripts, forms, popups, top-level navigation and access to the embedded page’s own origin. You then add back only the permissions that the embed needs, such as allow-scripts or allow-forms.
You can tighten control further with these attributes:
Be careful when you combine allow-scripts with allow-same-origin for content from your own origin. Together, they can let the embedded page remove its own sandbox. Also test the embed, because some websites block framing with their own server headers.
Inspect the <head> section first. These items affect what search engines show:
Also check whether JavaScript changes the title or description after the page loads, because crawlers may read the original version. After you fix the issue, use the URL Inspection tool in Google Search Console and request a recrawl. Keep in mind that Google may rewrite titles and descriptions when it believes another version fits the search query better.
I would use the HTML Popover API with the popover attribute and the popovertarget attribute. The popover attribute defines the popup, while popovertarget connects the button to that popup. The browser handles opening and closing it without a custom JavaScript click handler.
For example:
| <button popovertarget="helpPopup"> Need Help? </button> <div id="helpPopup" popover> <h3>Help</h3> <p>Contact support if you need assistance.</p> </div> |
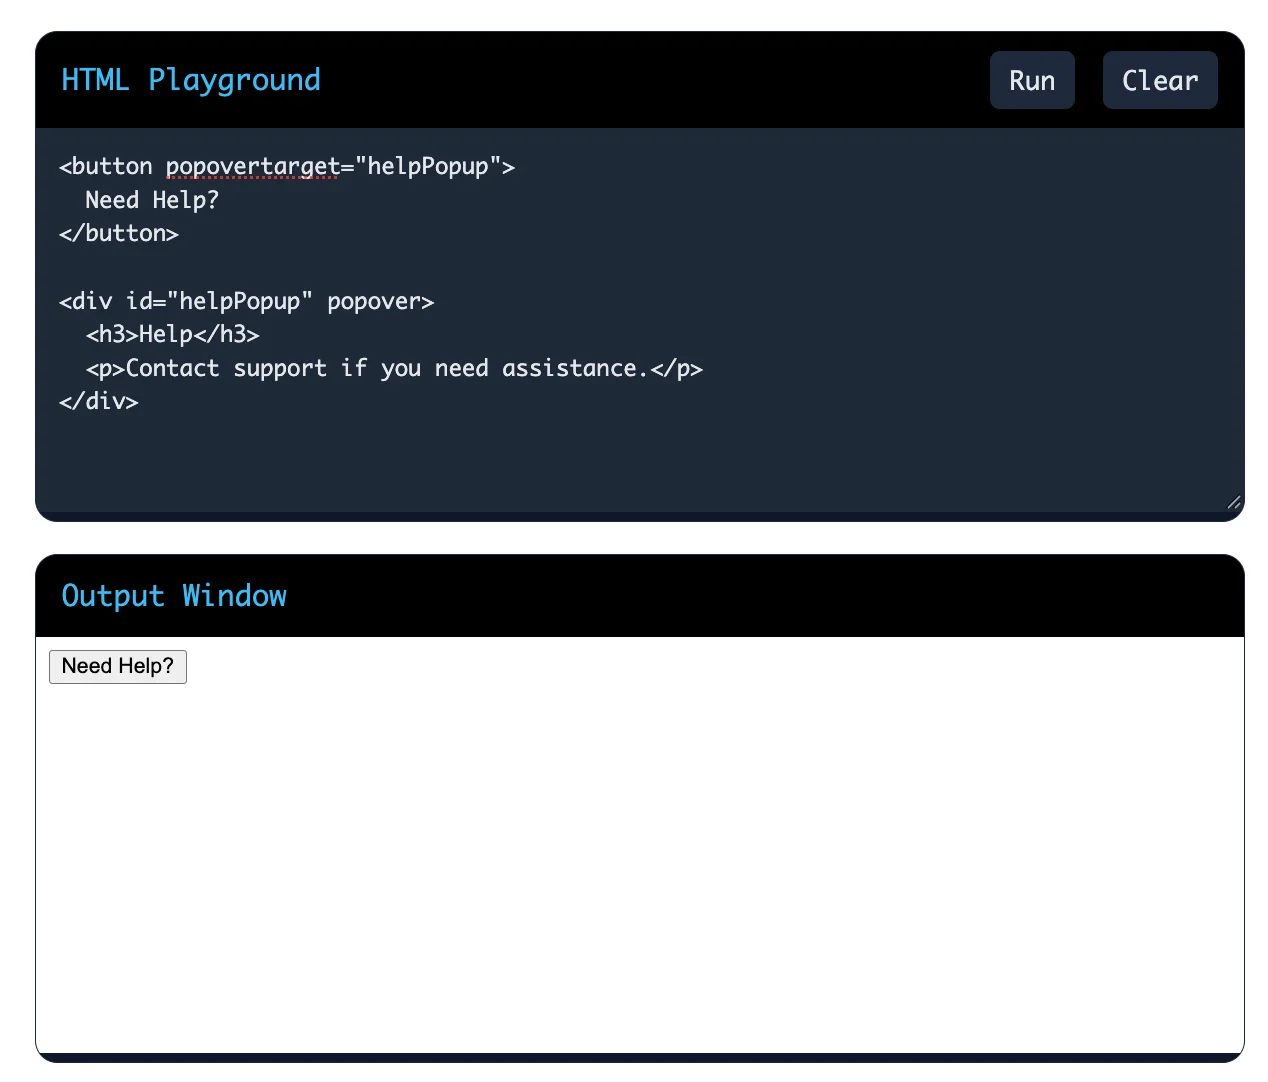
Here, clicking the button opens the help popup. The browser also allows the user to dismiss it, such as by pressing Escape.
This is a simple way to create a popup using built-in HTML features without writing a custom JavaScript click handler.
Knowing the answers is only half the job. These habits will help you perform better.
HTML looks simple, but interviewers use it to measure how well you build for people, search engines and performance. Start with the basics, such as tags, attributes and document structure. Then move on to semantic elements, forms and accessibility. Finally, master the modern features, such as responsive images, the <dialog> element and the Popover API.
Use these 50 HTML interview questions and answers as a practice list. Read each answer, write the code yourself and explain it out loud. That habit will help you answer with confidence in your next web developer interview.