Want to Master Snowflake?
Dive Into Our Guide on Snowflake Architecture.
The world of cloud data warehouse management can be explored well with Snowflake. This cloud-based platform presents many significant benefits for organizations. It helps in extracting insight from data quickly and efficiently. This comprehensive Snowflake tutorial is your step-by-step guide to understanding this platform, its uses and architecture, installation process, and much more, designed for both beginners and experienced professionals.
Before diving into this Snowflake tutorial, let's briefly define a data warehouse (DWH). A DWH refers to a centralized repository. It accumulates gigantic quantities of structured as well as organized information from multiple sources for an organization. Different employees in a company utilize the data for different insights.
No Snowflake tutorial is complete without understanding what this platform is about. It pertains to an exceptionally popular cloud-based data warehouse management platform. It flaunts the ability to manage large-scale workloads and data efficiently and rapidly. Its unique, multi-cluster shared-data architecture is behind its superior performance. Separate storage and compute layers are used to facilitate flexibility and scalability. It also natively integrates with various cloud providers like AWS, Azure, and GCP, making it a truly cloud-agnostic solution.
Explore igmGuru's Snowflake course to become a master in Cloud-based data warehousing platform.
Why use Snowflake? This DWH serves thousands of customers globally and processes billions of queries every day. Here is why this platform oozes so much appeal:
Snowflake distinguishes itself primarily through its approach to resource management:
Understanding the Snowflake architecture is crucial for best utilization. It is designed to ensure faster analytical queries through its distinction of the compute and storage layers. The three key layers are:
The storage layer stores information in a scalable and efficient manner.
The compute layer is the engine that executes all the queries. It operates using Virtual Warehouses (VWs) to process data.
This final layer is the brain of the operation, coordinating activities across the entire system. It fulfills the following responsibilities:
You will need a Snowflake environment to learn it. Let’s discuss its installation and account setup process.
snowsql --version |
snowsql -a <account_name> -u <user_name> |
Loading information into this data warehouse system is one of the most important skills to have. There are various methods, including the Web Interface, Hevo Data (ETL tool), and native SQL COPY INTO commands.
This is the fastest and most common method for loading large files. It involves staging the files on a cloud provider (Internal or External Stage) and then using SQL to load them into a table.
CREATE TABLE sales_data (
                    id INT,
                    item_name STRING,
                    quantity INT
                );
|
PUT file://sales.csv @%sales_data;
|
COPY INTO sales_data
FROM @%sales_data/sales.csv
FILE_FORMAT = (TYPE = 'CSV' FIELD_DELIMITER = ',' SKIP_HEADER = 1);
|
This process is highly optimized for bulk loading and is a key skill for a data engineer.
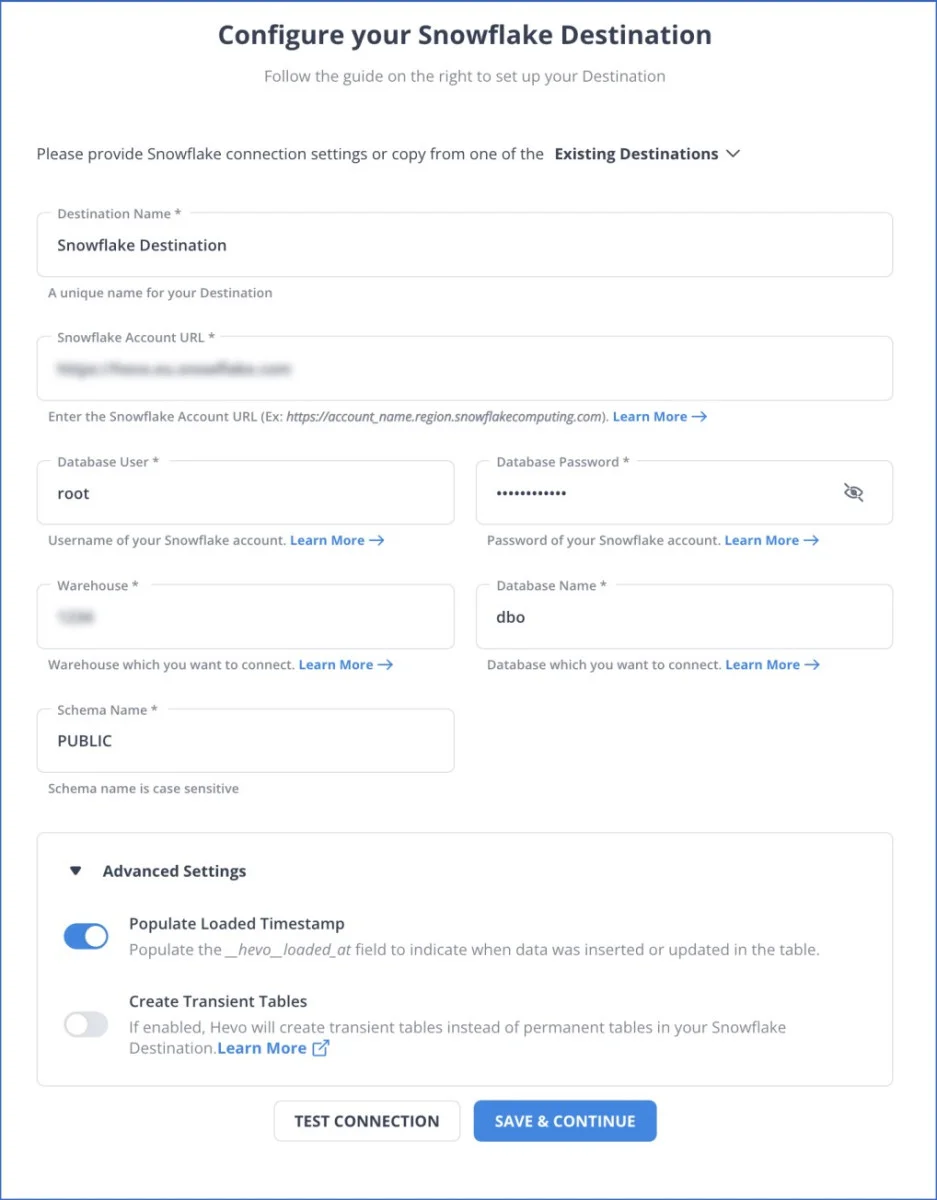
ETL tools like Hevo Data give you the capability to extract information from multiple sources, process it on the go, and ingest it into your desired location without writing complex code.

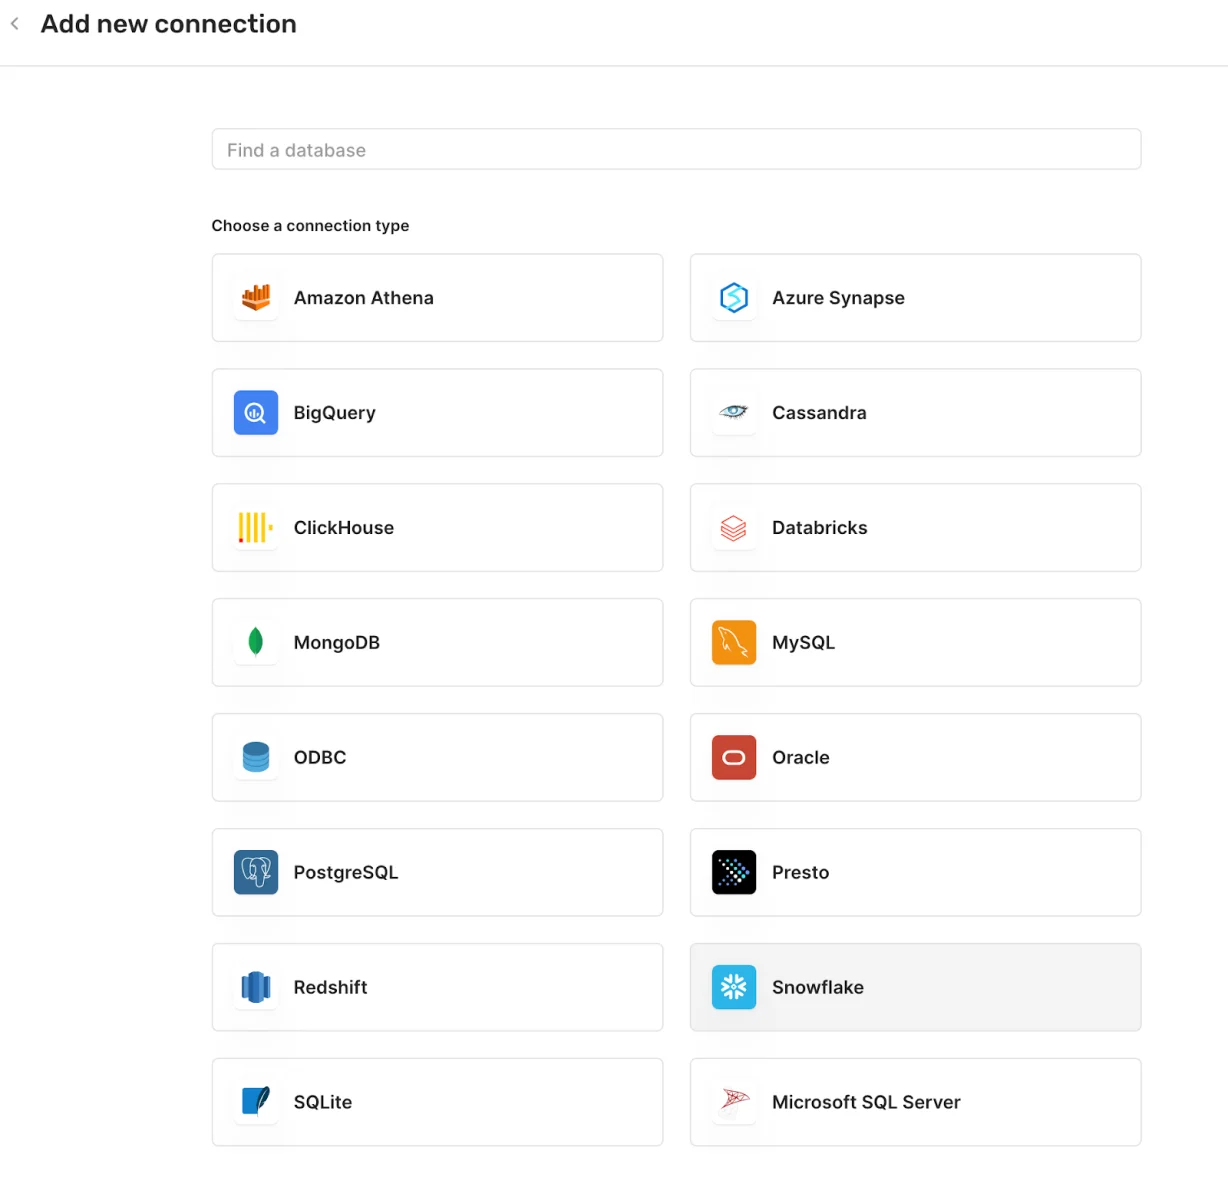
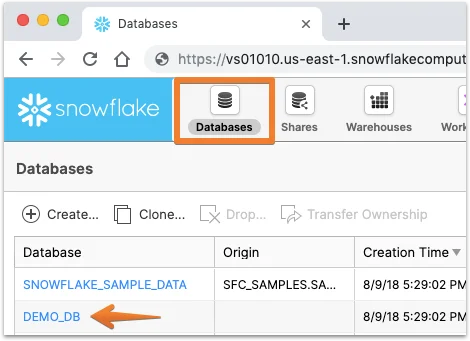
You are required to establish a secure and reliable connection before you can start running queries or working with your data in Snowflake. You will need a few key details: Account Name, Warehouse, Database, and Login Credentials.
Follow these steps in your preferred tool (e.g., DBeaver, Tableau, or a custom IDE):


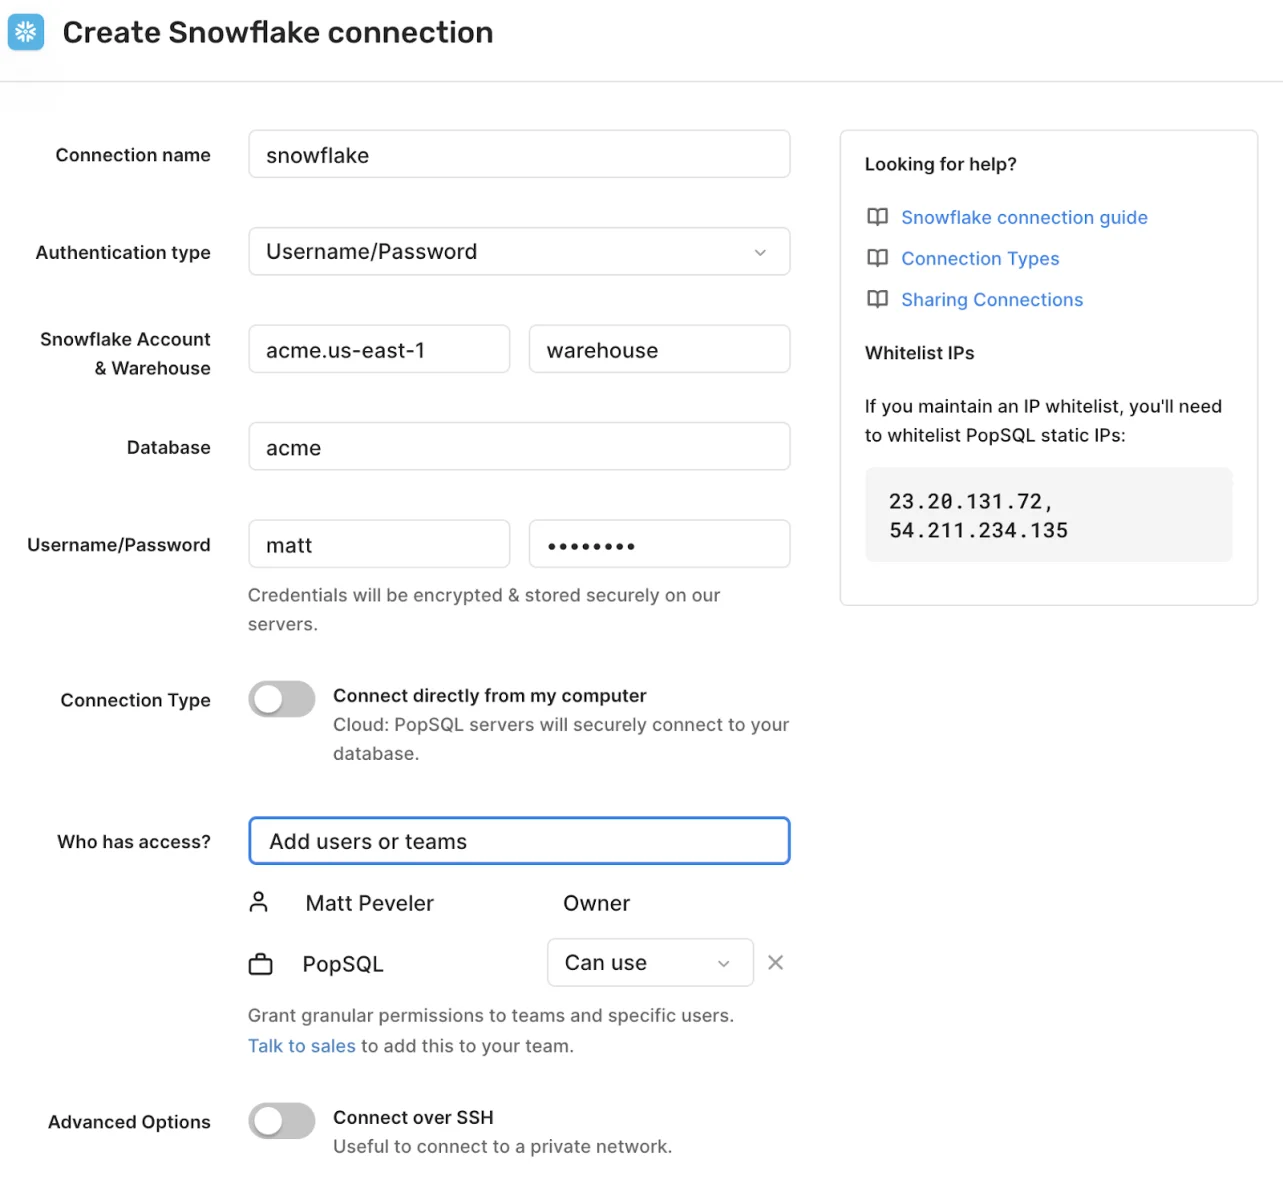
For data engineers, the connection is typically managed through a programmatic connector. Here is an example of the connection string parameters for Python:
# Example Python Connection Parameters
# pip install snowflake-connector-python

conn = snowflake.connector.connect(
    user='<username>',
    password='<password>',
    account='<account_identifier>',
    warehouse='<warehouse_name>',
    database='<database_name>',
    schema='<schema_name>'
)
|
Understanding the basic SQL commands is fundamental. This guide focuses on core DDL (Data Definition Language), DML (Data Manipulation Language), and Snowflake's unique Time Travel feature.
These commands help you in creating and managing the structure of your data environment.
CREATE DATABASE my_database;
CREATE SCHEMA my_schema;

USE DATABASE my_database;
USE SCHEMA my_schema;
|
SHOW DATABASES;
SHOW SCHEMAS;
SHOW TABLES;
|
The core structure where your data lives.
CREATE TABLE employees (
id INT,
name STRING,
department STRING,
salary FLOAT
);

-- DDL Command: Add a new column
ALTER TABLE employees ADD COLUMN start_date DATE;
|
-- DML Command: Insert Data
INSERT INTO employees (id, name, department, salary)
VALUES (1, 'John Doe', 'Sales', 55000);

-- DML Command: Update Data
UPDATE employees SET salary = 60000 WHERE id = 1;

-- DML Command: Delete Data
DELETE FROM employees WHERE department = 'Sales';
|
Retrieving meaningful data, including accessing historical data before a change was made.
SELECT  FROM employees;

SELECT name, salary FROM employees WHERE department = 'Sales' ORDER BY salary DESC;
|
SELECT department, AVG(salary) AS avg_salary
FROM employees
GROUP BY department;

SELECT a.name, b.project_name
FROM employees a
JOIN projects b ON a.id = b.employee_id;
|
Retrieve data from a point in time before a change occurred. This is critical for data recovery.
-- Query data as it was 5 minutes ago
SELECT  FROM employees AT(OFFSET => -605);

-- Query data as it was just before a specific query ID ran
SELECT  FROM employees BEFORE(STATEMENT => '<query_id_of_delete_command>');
|
Once you understand all the key concepts, the next logical step is certification. Earning a SnowPro credential can help you to demonstrate your skills and proficiency in this data warehousing platform.
| Attribute | Details |
| Level | Foundational |
| Description | Validates foundational Snowflake knowledge, including architecture, features, security, and use cases. |
| Duration | 115 minutes |
| Format | Multiple Choice (Online, proctored) |
| Cost | $175 |
| Recommended Experience | 6+ months of hands-on Snowflake usage |
| Target Audience | Data engineers, analysts, architects, and developers new to Snowflake |
| Validity | 2 years |
| Attribute | Details |
| Level | Advanced |
| Description | Assesses ability to design secure, scalable, and efficient Snowflake architectures. |
| Duration | 90 minutes |
| Format | Multiple Choice (Online, proctored) |
| Cost | $375 |
| Recommended Experience | 2+ years in data architecture and 1+ year with Snowflake |
| Target Audience | Solutions architects, enterprise architects |
| Prerequisite | SnowPro Core recommended (not mandatory) |
| Attribute | Details |
| Level | Advanced |
| Description | Focuses on designing and managing scalable data pipelines, transformations, and performance in Snowflake. |
| Duration | 90 minutes |
| Format | Multiple Choice |
| Cost | $375 |
| Recommended Experience | Strong data engineering background and Snowflake hands-on experience |
| Target Audience | Data engineers, ETL developers |
| Prerequisite | SnowPro Core recommended |
| Attribute | Details |
| Level | Advanced |
| Description | Validates ability to manage, secure, and monitor Snowflake environments effectively (users, roles, resource optimization). |
| Duration | 90 minutes |
| Format | Multiple Choice |
| Cost | $375 |
| Recommended Experience | Experience with Snowflake administration tasks, user roles, and resource optimization |
| Target Audience | Cloud administrators, platform engineers |
| Prerequisite | SnowPro Core recommended |
| Attribute | Details |
| Level | Advanced |
| Description | Tests knowledge of building machine learning workflows and analytics using Snowflake (e.g., Snowpark). |
| Duration | 90 minutes |
| Format | Multiple Choice |
| Cost | $375 |
| Recommended Experience | Experience in ML, Python, SQL, and working with Snowflake for data science |
| Target Audience | Data scientists, ML engineers |
| Prerequisite | SnowPro Core recommended |
This comprehensive Snowflake tutorial has provided an in-depth understanding of this platform's architecture, core features, and practical applications for data loading and querying. As information becomes more widespread, platforms like Snowflake are driving the future of data management. Learning it is a great way to stay current and is important to hiring managers. Continue your learning path with dedicated practice and hands-on exercises!
Snowflake can be considered easy to learn, especially for those who have prior data warehousing and SQL knowledge. Its managed nature removes many complexities associated with traditional DWH platforms.
Both Snowflake and its competitors offer exceptionally robust features and perks. Which one is "better" depends upon the business's goals. Snowflake is often praised for its superior separation of compute and storage, its simplified administration, and its multi-cloud agnosticism.
The biggest advantage is the Multi-Cluster Shared Data Architecture, which allows compute resources (Virtual Warehouses) to scale up/down or out/in instantly, completely independent of the shared storage layer. This provides unmatched flexibility and cost control.
Snowflake mainly uses SQL to manage and query data, so basic SQL knowledge is enough. Coding is only needed for complex tasks or advanced integrations.
Course Schedule
| Course Name | Batch Type | Details |
| Snowflake Training | Every Weekday | View Details |
| Snowflake Training | Every Weekend | View Details |