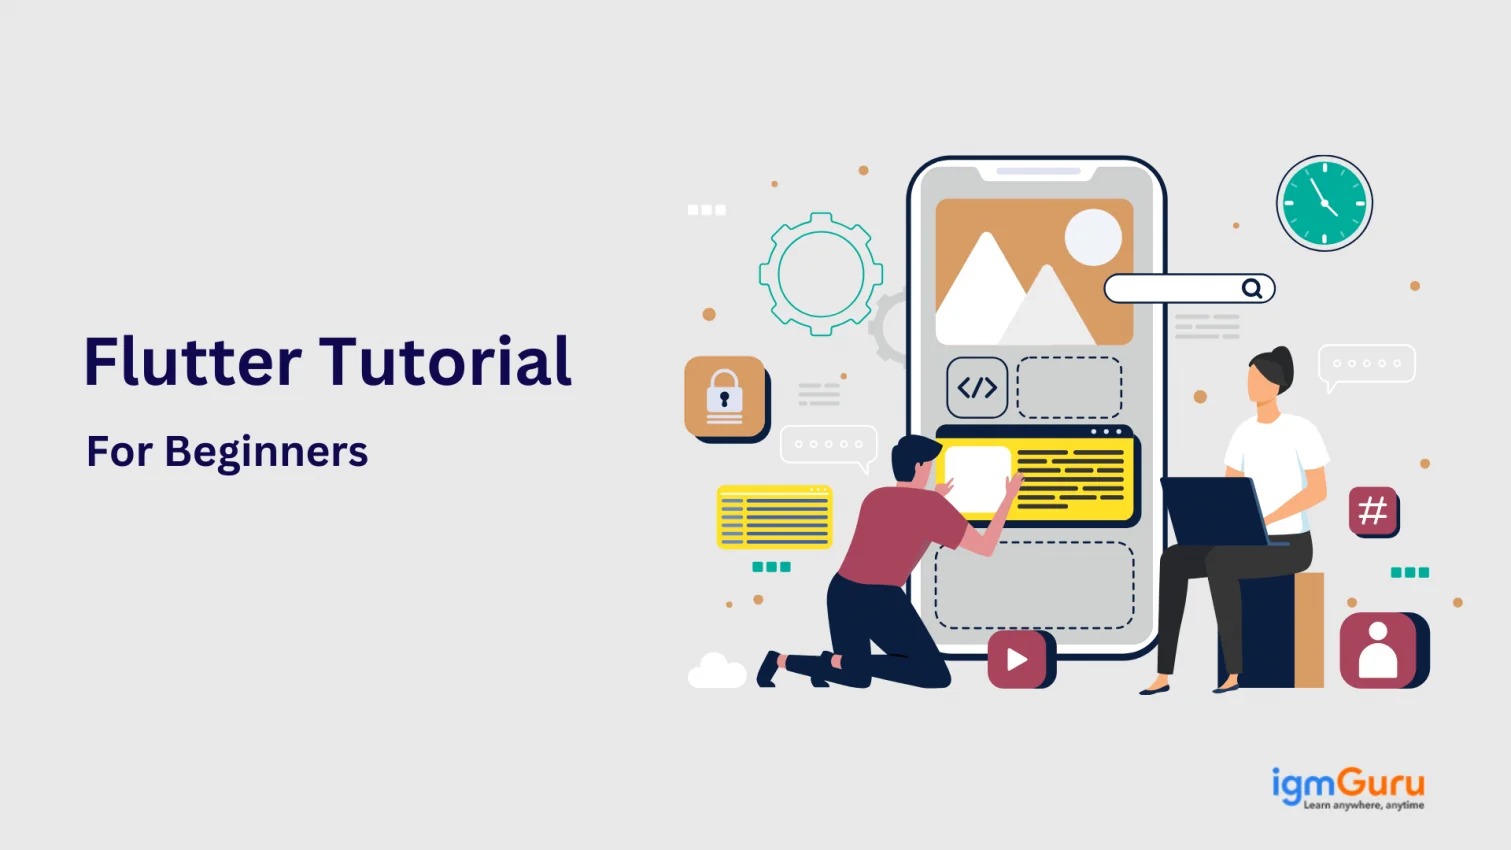
Do you want to build a career with Flutter? No problem! This Flutter tutorial is particularly designed for individuals like you. It covers the Flutter installation guide, essential concepts and terminologies. It also includes a practical example of how to create your first application using this mobile app development kit.
This comprehensive guide will give you a strong Flutter overview and its cross-platform development functionality. The demand for the Flutter development is high and increasing continuously, making it a great choice for beginners. Then why wait? Let's start with a basic introduction.
Flutter is a robust, cross-platform framework developed by Google to develop applications for different platforms. It initially only supported mobile app development upon its launch in 2018. It's now upgraded and supports app development on six different leading platforms. These include iOS, the web, Android, Windows, Linux & MacOS.
It is known for simplifying the process around the creation of consistent and appealing UIs. This stays stable across all apps created on the six platforms that are supported by it. It uses Dart programming language and has an extensive suite of widgets for building visually appealing applications.
So, what is Dart? It's the programming language that is used by Flutter. It builds visually appealing user interfaces for the front-end and apps. Both web and mobile apps are created with it. It was developed by Google and is an object-oriented, strongly typed & class-based programming language. Its syntax shares many similarities with other popular languages such as Java and JavaScript. Experience with those can make it easier to begin learning and using it.
Read Also: Flutter Interview Questions And Answers
The build UI layouts and everything that's visible on the screen are made of widgets. This includes windows, panels, buttons and even the text. These are designed to be customized easily. It's achieved through a composition approach wherein most widgets are composed of smaller widgets. Even the most basic widgets have specific purposes. Widgets can be edited or combined to create new ones.
Flutter renders widgets by using its personal graphic engine. It does not rely upon the built-in widgets of a platform. Users get to experience a similar feel and look in its applications across platforms. It also offers flexibility as some widgets can execute functions that are inexecutable by platform-specific widgets. Its architecture supports having various widget libraries and the community is encouraged to build & maintain new ones.
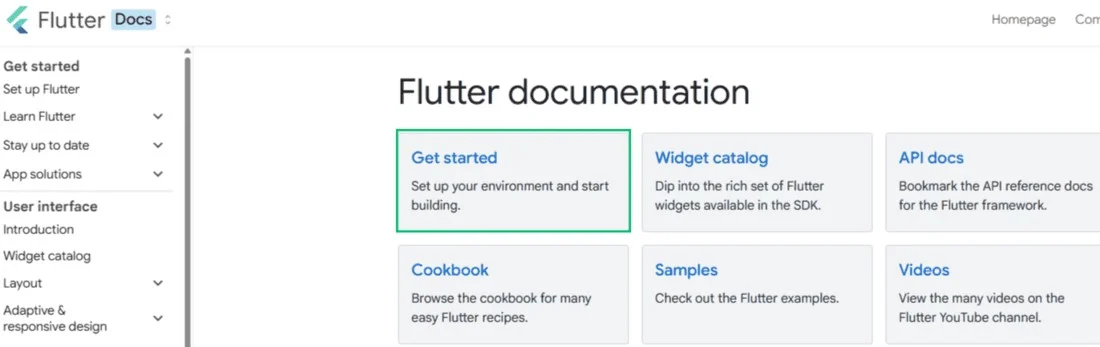
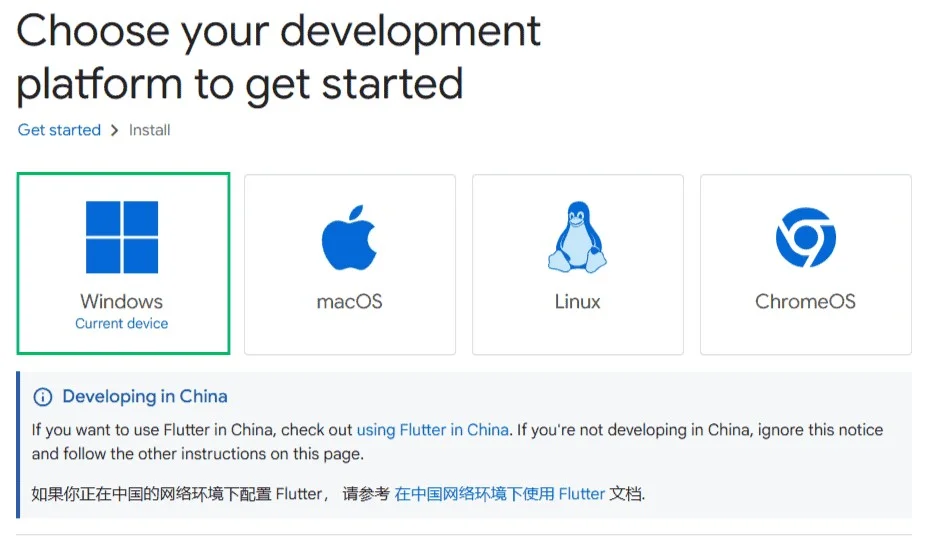
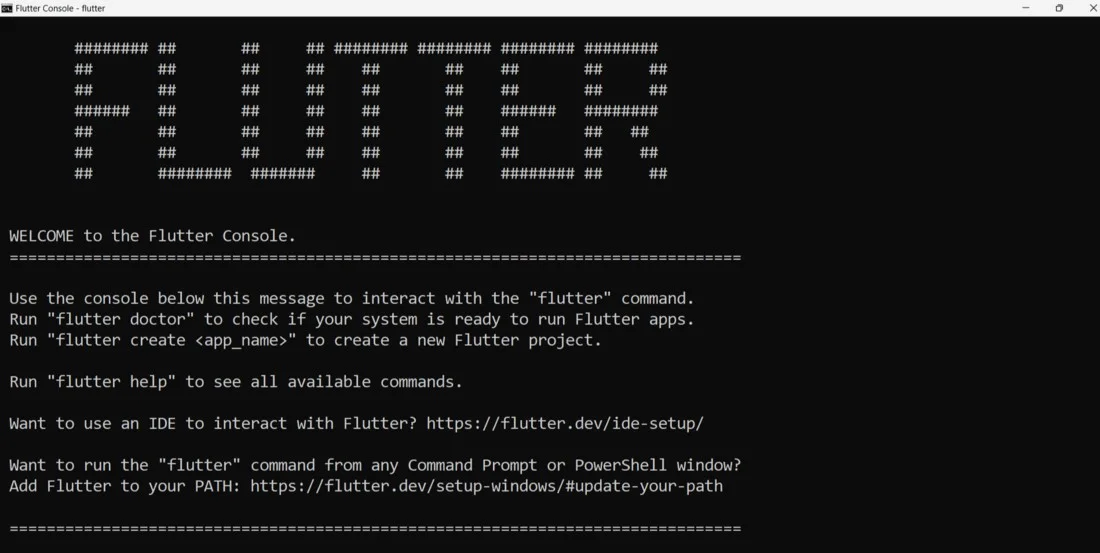
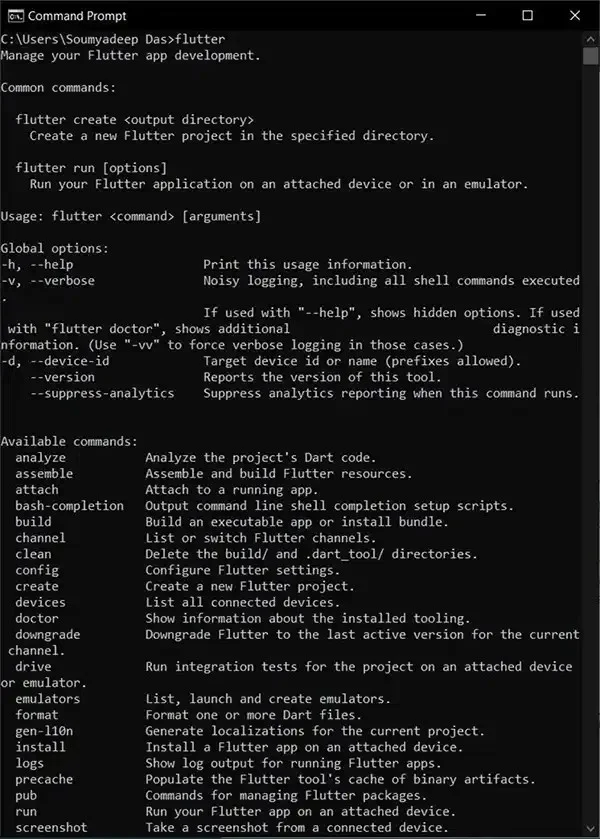
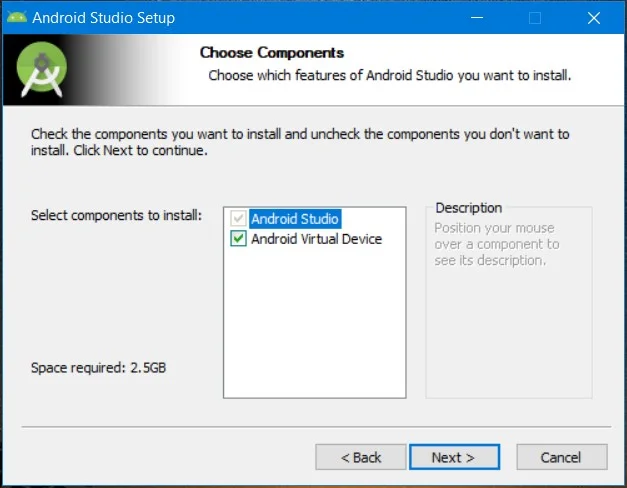
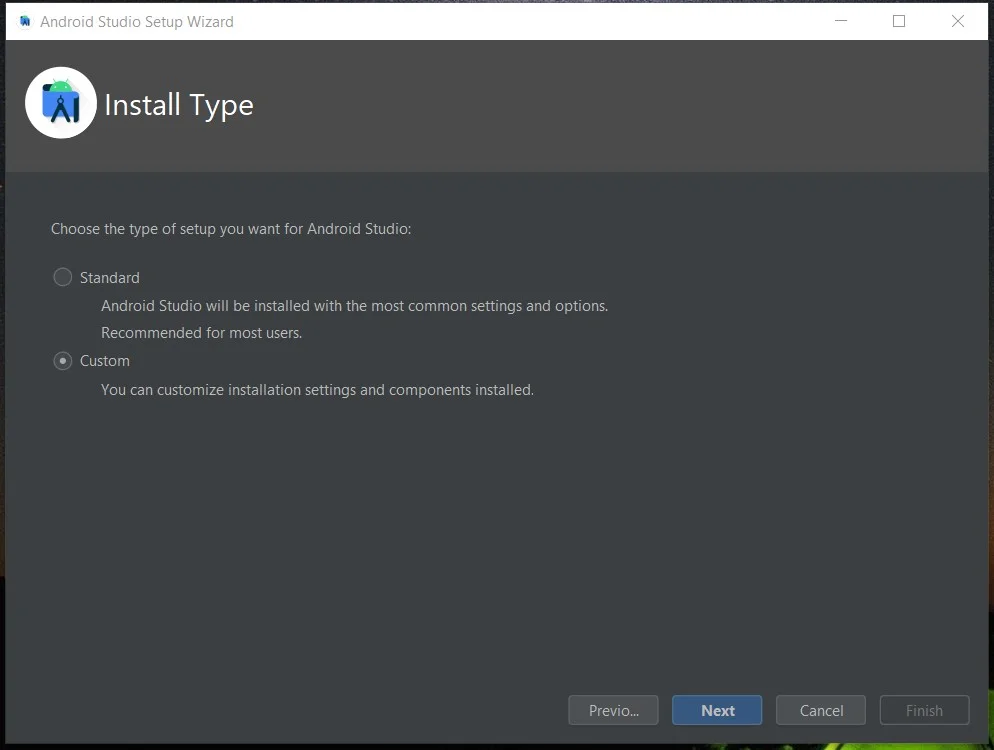
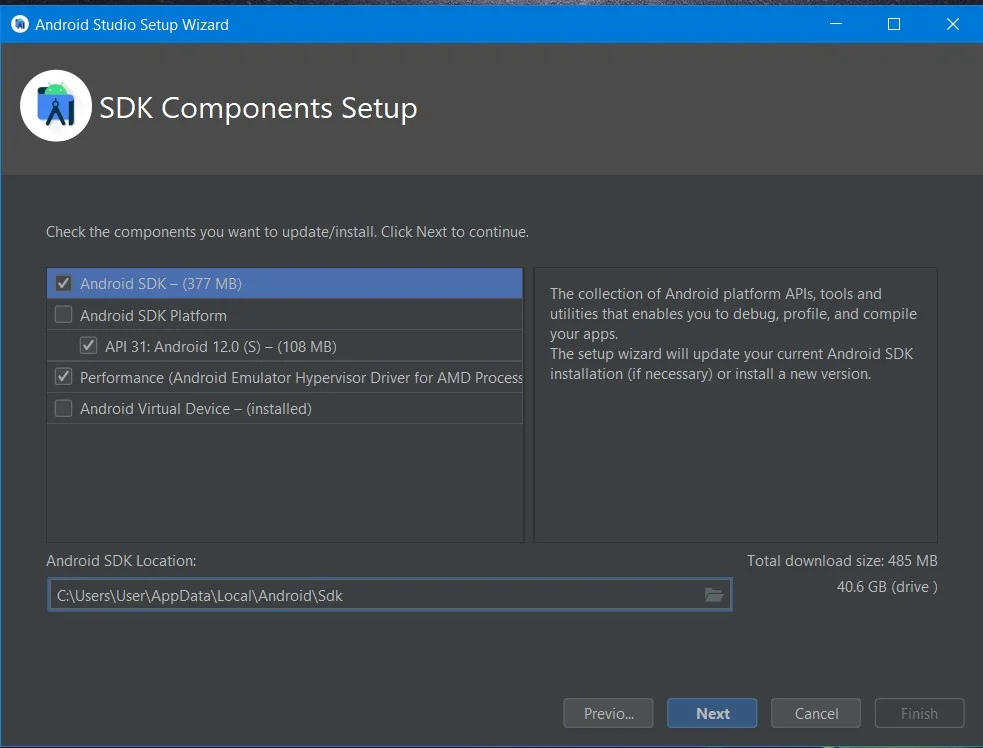
How to install Flutter is an important question. Every developer, whether fresher or experienced will have to follow these steps to install this framework to begin using it. We have given the steps to be followed for both Windows and Mac.
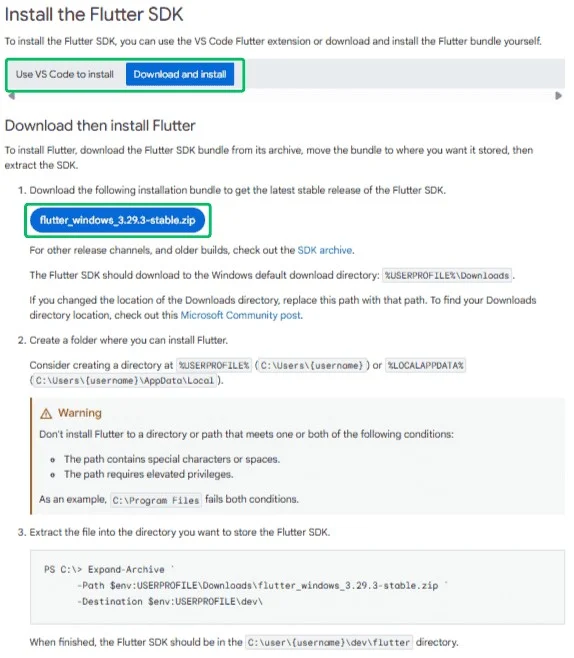
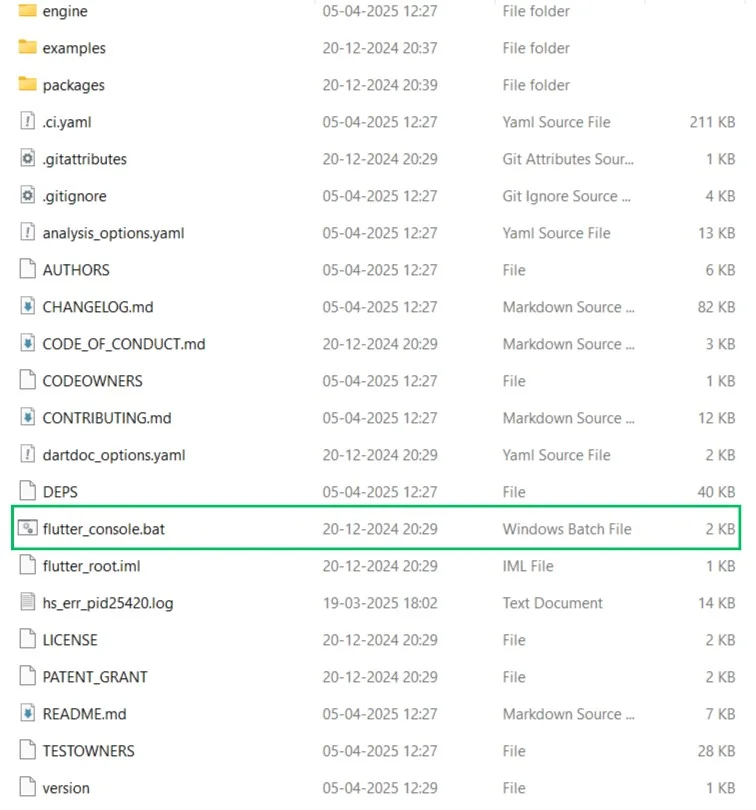
How to install Flutter is an important question. Every developer, whether fresher or experienced will have to follow these steps to install this framework to begin using it. We have given the steps to be followed for Windows.
There are certain hardware and software requirements along with development tools and configuration of text editor or IDE for this installation. You have to ensure all the tools, configurations and requirements are achieved prior to Flutter installation.
| Requirement | Minimum | Recommended |
| ×86_64 CPU Cores | 4 | 8 |
| Memory in GB | 8 | 16 |
| Display Resolution in Pixels | WXGA (1366×768) | FHD (1920×1080) |
| Free disk Space in GB | 11.0 | 60.0 |
| Operating System | 64-bit Windows 10 or Later With Windows PowerShell 5 or Later | - |

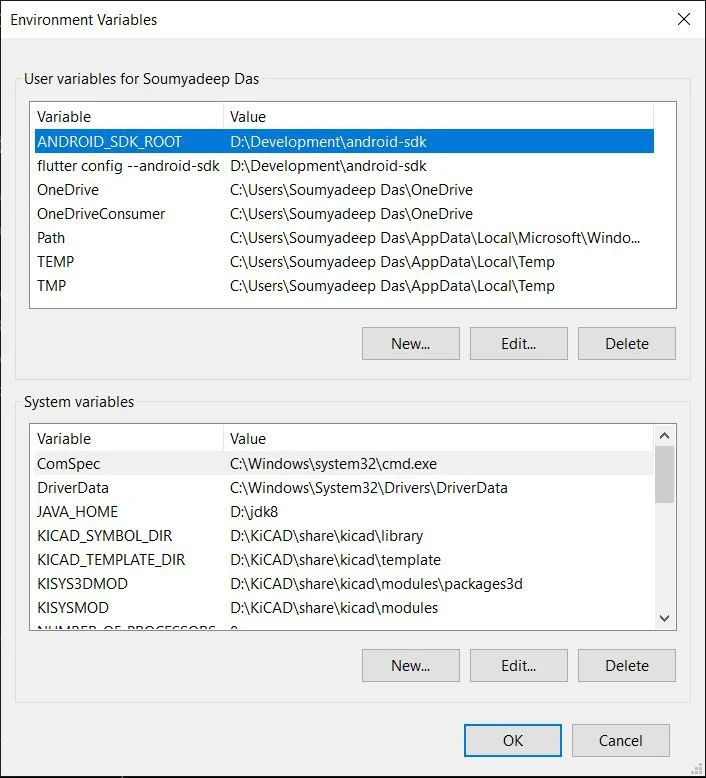
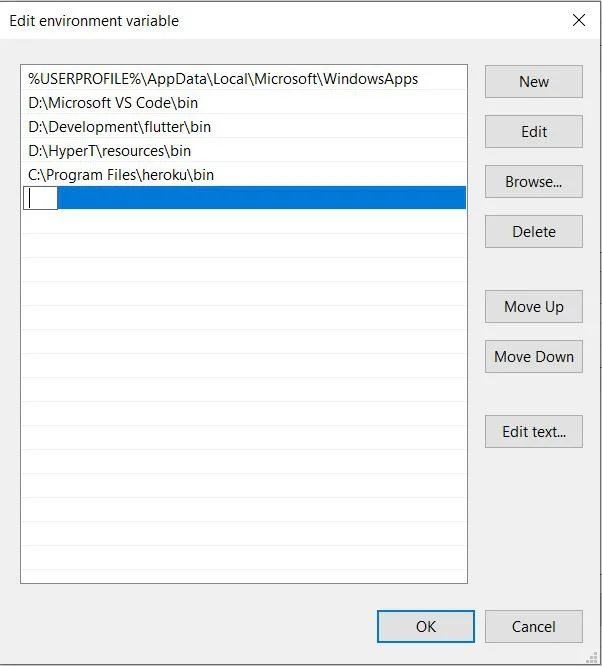


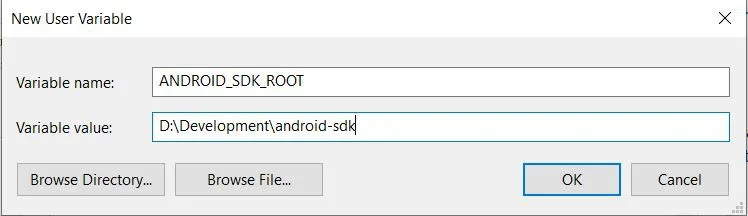
Run the Flutter Doctor command again to ensure that Android SDK is in your default directory. There is one more situation where if you install it in a non-default directory the Doctor will not detect it. In this case, go assign an environment variable with global access. To do this follow go to the environment variable as discussed in step 4, click on New and click on the Ok button.
flutter doctor --android-licenses
Accept? (y/N):
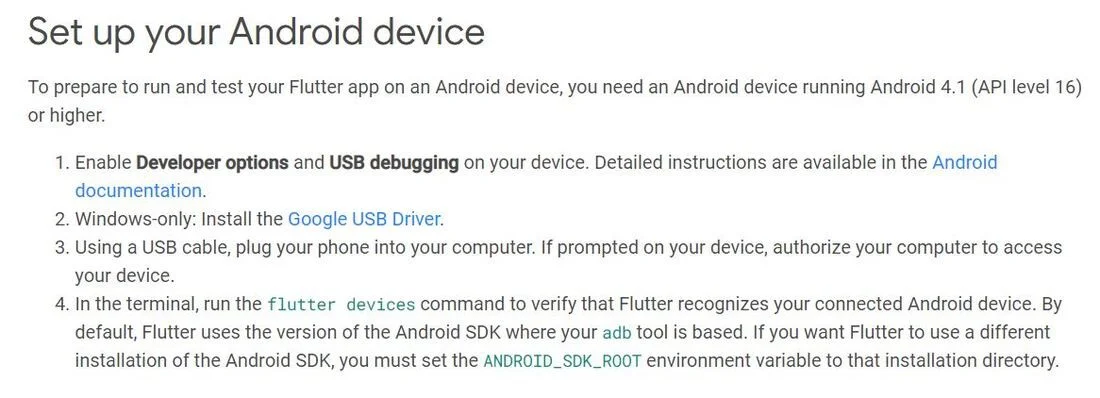
Now you will have an option to choose between Android Device and Android Emulator to build your next applications. Choose the one that is most suitable for you.
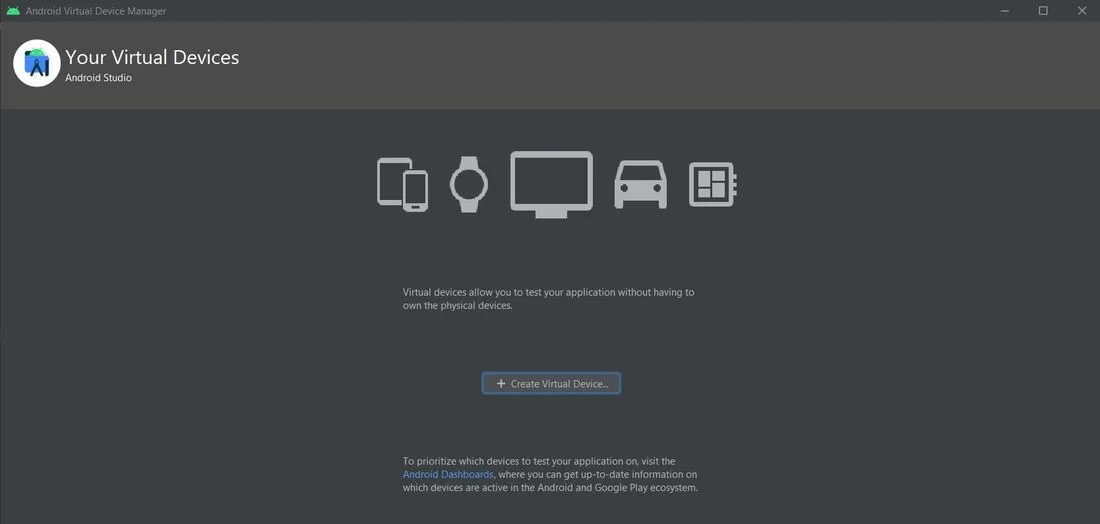
Go to the following steps to set up Android Emulator:
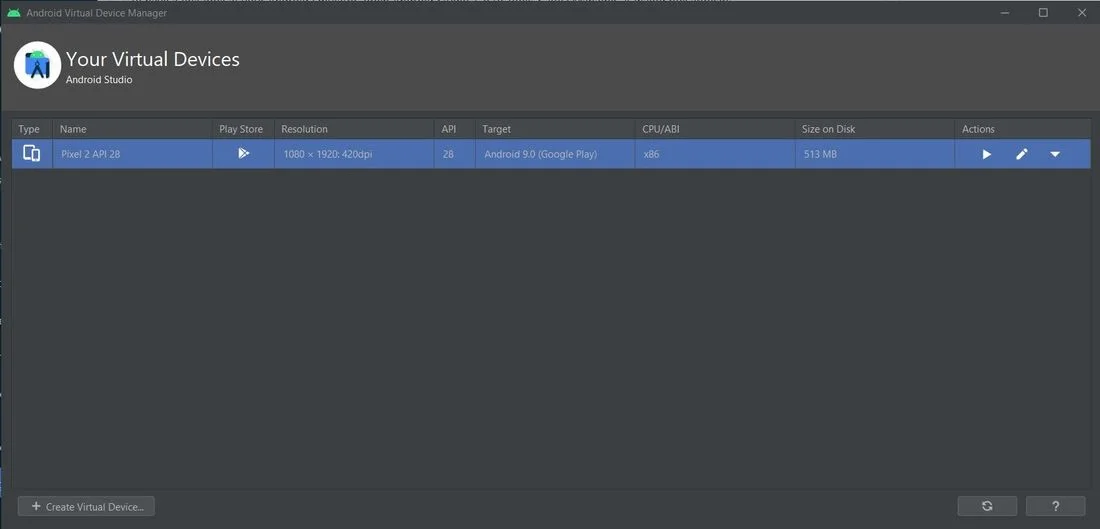
Now you are all set to build different types of applications in the Flutter environment.
Now that we have the Flutter environment, Let's explore some of its key concepts. It will help you to create user interfaces, manage data and access device features efficiently. It is crucial for effective development.
Flutter uses a declarative approach where you can describe the user interface of an application in its current state. Therefore, the remaining parts like rendering and updating will automatically be handled by the framework.
This approach lets you describe how your UI should look for a given state, rather than how it should be built or updated. It helps to focus on the UI's desired appearance.
Understanding the widget tree helps developers to build apps on this development framework. It is a hierarchical structure that defines the organization and presentation of the user interface of an application. It acts as a blueprint that specifies how widgets are arranged and nested. This shows how the app looks and behaves.
Layout is all about arranging and sizing the widgets within a user interface. Flutter provides numerous layout widgets in the form of intelligent containers that automatically handle the positioning and sizing of their child widgets based on various rules and constraints. This framework equips you with the tools to bring your visual designs to life responsively across different screen sizes.
Applications are rarely static as they respond to user interactions and data changes. This is where state management steps onto the stage. It is the art and science of handling the dynamic data that your application works with and ensuring that your UI reflects these changes accurately and efficiently. This platform has different types of state management techniques. It includes:
Hot Reload is an impressive method of updating the code without requiring to restart the application. With this method, you can inject your modified code into the Dart Virtual Machine (VM) and rebuild the widget tree while preserving the application's current state in most cases. It drastically accelerates the development workflow and allows for rapid experimentation and UI iteration.
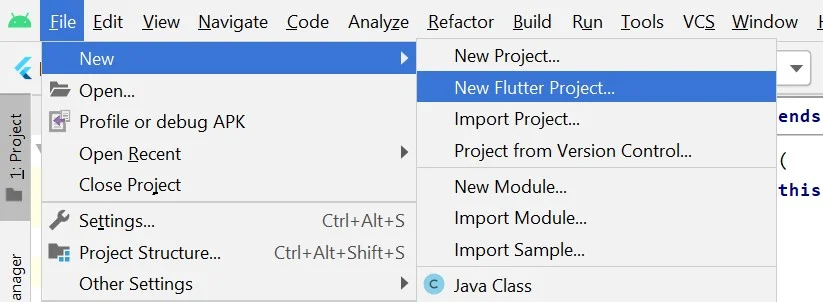
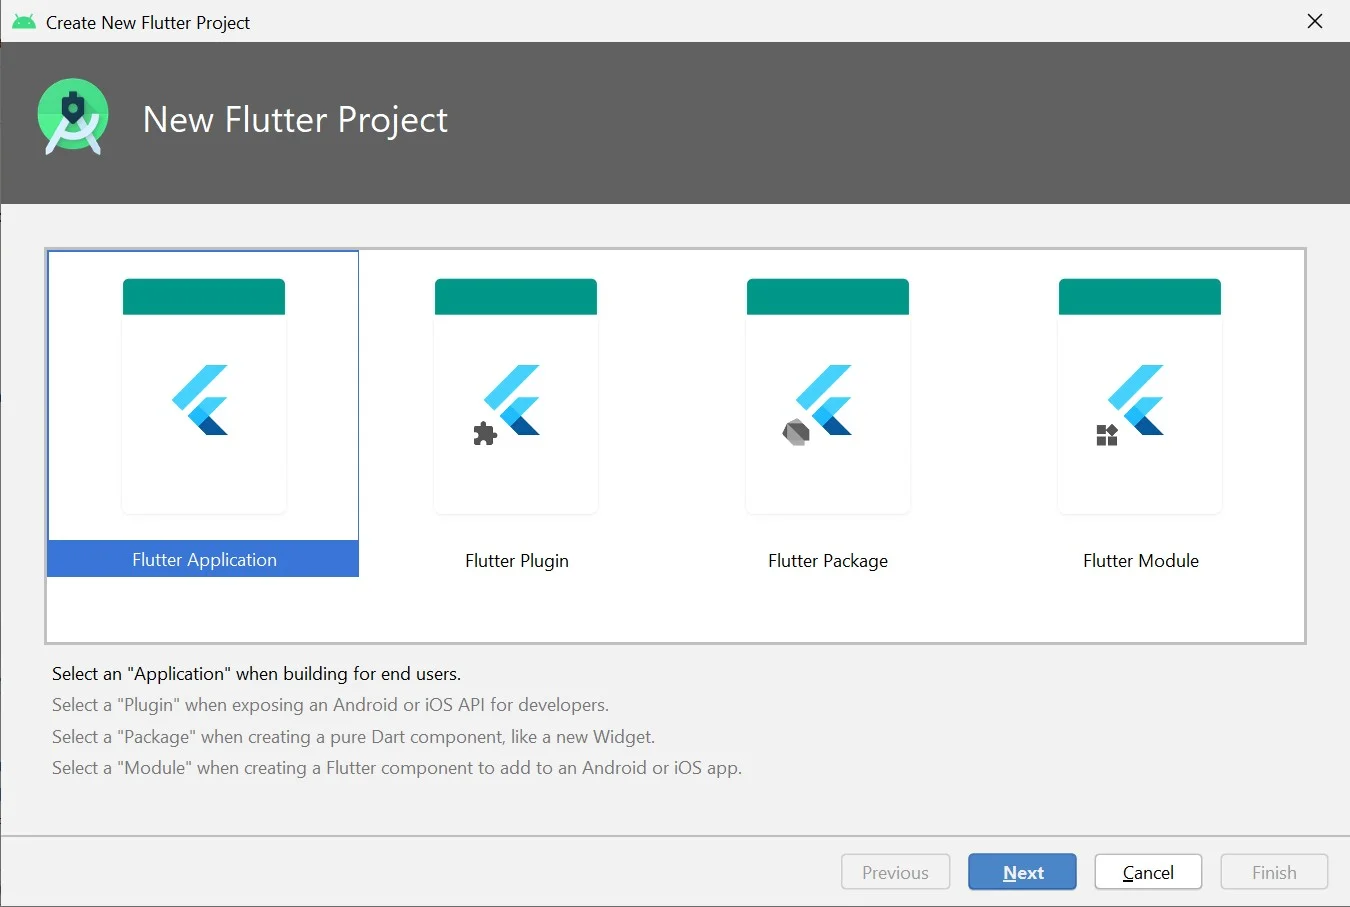
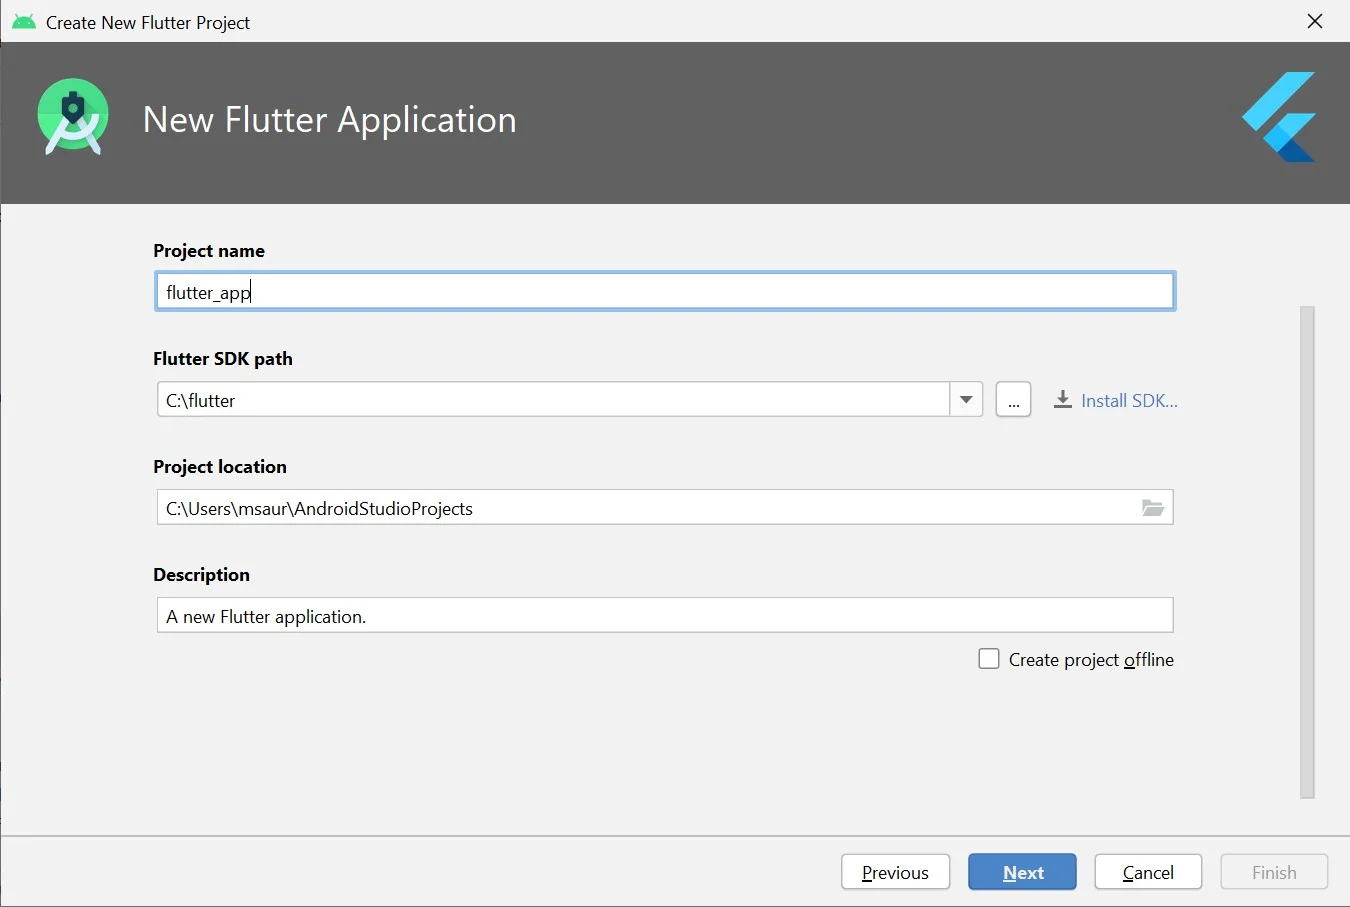
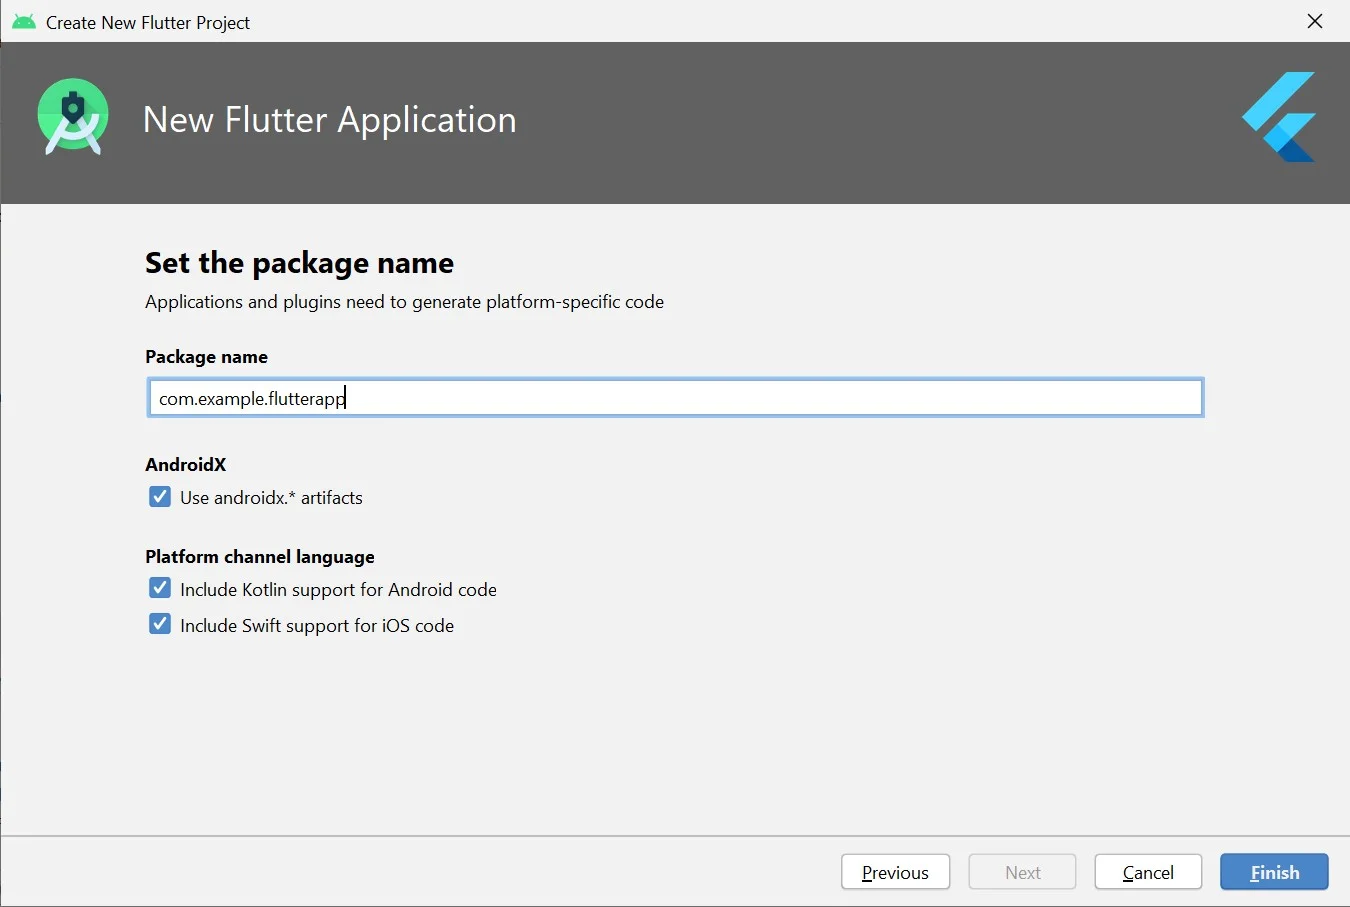
In this section, we will discuss how to create your first Flutter application. There are two methods to execute this instance based on the IDE you are using including Android Studio and Visual Studio Code. We are using Android Studio as it is best for beginners. This involves the following steps:
// Importing important packages require to connect
// Flutter and Dart
import 'package:flutter/material.dart';
// Main Function
void main() {
// Giving command to runApp() to run the app.
runApp(const MyApp());
}
// Widget is used to create UI in flutter framework.
class MyApp extends StatelessWidget {
const MyApp({Key? key}) : super(key: key);
// This widget is the root of your application.
@override
Widget build(BuildContext context) {
return MaterialApp(
// title of the application
title: 'Hello World Demo Application',
// theme of the widget
theme: ThemeData(
primarySwatch: Colors.lightGreen,
),
// Inner UI of the application
home: const MyHomePage(title: 'Home page'),
);
}
}
// This class is similar to MyApp instead it
// returns Scaffold Widget
class MyHomePage extends StatelessWidget {
const MyHomePage({Key? key, required this.title}) : super(key: key);
final String title;
@override
Widget build(BuildContext context) {
return Scaffold(
appBar: AppBar(
title: Text(title),
backgroundColor: Colors.green,
foregroundColor: Colors.white,
),
// Sets the content to the
// center of the application page
body: const Center(
// Sets the content of the Application
child: Text(
'Welcome to Android Studio!',
)),
);
}
}

This Flutter tutorial includes some of the core must-know aspects of this framework. An overview of Dart, Google's programming language, is also given. There is information about its installation and creating your first application instance to help you get started in learning it. Learning more of its key concepts is needed to understand why it's opted more often by certain companies as compared to others.
Ans. Flutter is definitely an easy-to-learn app development framework compared to other ones. It is one of the best choices when you want to work on both Android and iOS development.
Ans. Flutter itself focuses on the frontend operations with its impressive visual and interactive elements for user interface. On the other hand, Dart programming language can be used in backend development.
Ans. A Flutter Developer earns up to INR 5.60 LPA, with an average salary of INR 5 LPA.
Flutter and Java are different. Flutter is mainly used to build apps using Dart, while Java is used for many types of programs.
You need the Flutter SDK, Dart and an IDE like VS Code or Android Studio to begin development.
Course Schedule
| Course Name | Batch Type | Details |
| Flutter Training | Every Weekday | View Details |
| Flutter Training | Every Weekend | View Details |