The software development industry is rapidly evolving, with automation testing tools driving efficiency and innovation. Selenium, an open-source automation testing tool, is a top choice for companies like Netflix, Google, Amazon, IBM, Salesforce, and Accenture due to its robust browser automation capabilities. According to the Bureau of Labor Statistics, computer and IT jobs are projected to grow significantly from 2023 to 2033, with approximately 356,700 annual job openings, offering salaries in India ranging from INR 4 lakhs to INR 14 lakhs per annum.
This guide provides a clear, step-by-step process to install Selenium WebDriver and its prerequisites, empowering you to start automation testing.
To use Selenium WebDriver effectively, install the following:
Installing the JDK is essential for running Selenium scripts.
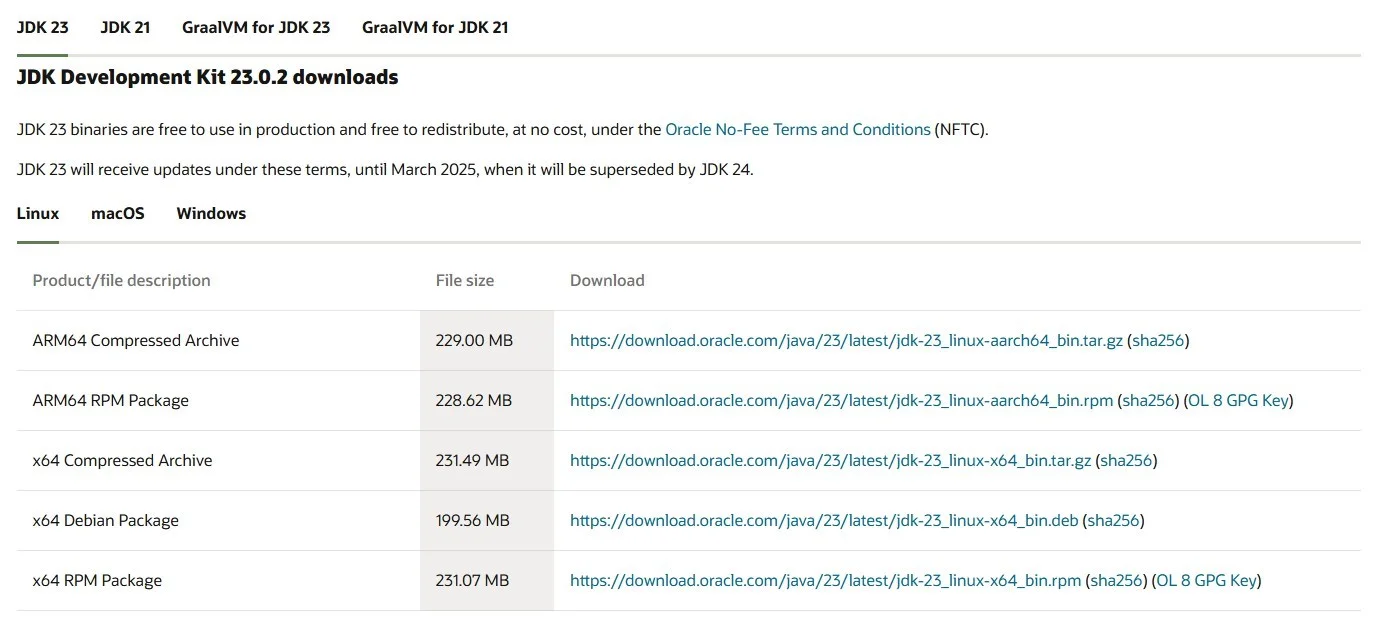
Visit the Oracle website or adoptium.net to download the latest JDK (e.g., JDK 21). Choose the version compatible with your operating system (Windows, macOS, or Linux).
Locate the downloaded installer, double-click to launch it, and follow the setup wizard. Select the installation path and include the public Java Runtime Environment (JRE) if prompted.
Set the JAVA_HOME environment variable to the JDK installation directory (e.g., C:\Program Files\Java\jdk-21). Add %JAVA_HOME%\bin to the system's PATH variable.
Open a terminal or command prompt and run:
java -version javac -version |
These commands should display the installed JDK version.
Related Article: Selenium Tutorial For Beginners
Eclipse is a popular IDE for developing Selenium scripts.
Visit the official Eclipse website and download the latest Eclipse IDE for Java Developers, ensuring compatibility with your system.
Locate the installer, double-click to start the setup, and follow the prompts to select the installation folder and Eclipse version.
Launch Eclipse and select a workspace directory to store your projects. Confirm the settings to complete the setup.
Open Eclipse and create a new Java project to ensure the IDE is functioning correctly.
With JDK and Eclipse installed, you're ready to set up Selenium WebDriver.
Visit the official Selenium website and download the Selenium WebDriver Java bindings (provided as a ZIP file).
In Eclipse, create a new Java project, then:
.jar files to your project's build path (Right-click project > Build Path > Configure Build Path > Libraries > Add External JARs).Download the WebDriver for your browser:
Ensure the version matches your browser. Extract the executable and save it in a known directory.
Add the WebDriver executable's directory to your system's PATH variable or specify the path in your script using:
System.setProperty("webdriver.chrome.driver", "/path/to/chromedriver"); |
Create a simple Selenium test script in Eclipse:
import org.openqa.selenium.WebDriver; import org.openqa.selenium.chrome.ChromeDriver; public class SeleniumTest { public static void main(String[] args) { WebDriver driver = new ChromeDriver(); driver.get("https://www.example.com"); driver.quit(); } }
|
Run the script. If the browser opens and navigates to the URL, your setup is correct.
This guide outlines the steps to install Selenium WebDriver and its prerequisites. By setting up JDK, Eclipse, and browser-specific WebDrivers, you're ready to begin automation testing. Verify each step to ensure a smooth setup, and explore Selenium's documentation for advanced features.
Yes, Selenium is an open-source tool, freely available for download and use, making it a versatile choice for automation testing.
While coding knowledge (e.g., Java, Python) enhances Selenium usage, beginners can learn it with basic programming skills through online tutorials.
Yes, VS Code supports Selenium with Java or Python, though Eclipse or IntelliJ IDEA are preferred by traditional automation engineers for their robust Java support.