KPI's exist because as a data worker we already know that numbers do not mean anything unless given some kind of context about where they came from. When you combine KPIs with the use of Power BI you effectively have a report that tells both what happened as well as whether it was good/bad, an idea about how far you are from your goals, etc.
In this document you will find instructions on all parts mentioned above i.e. what KPIs are within Power BI, how to select the right ones, how to actually create them step as well as how to build dashboards which will drive decision making.
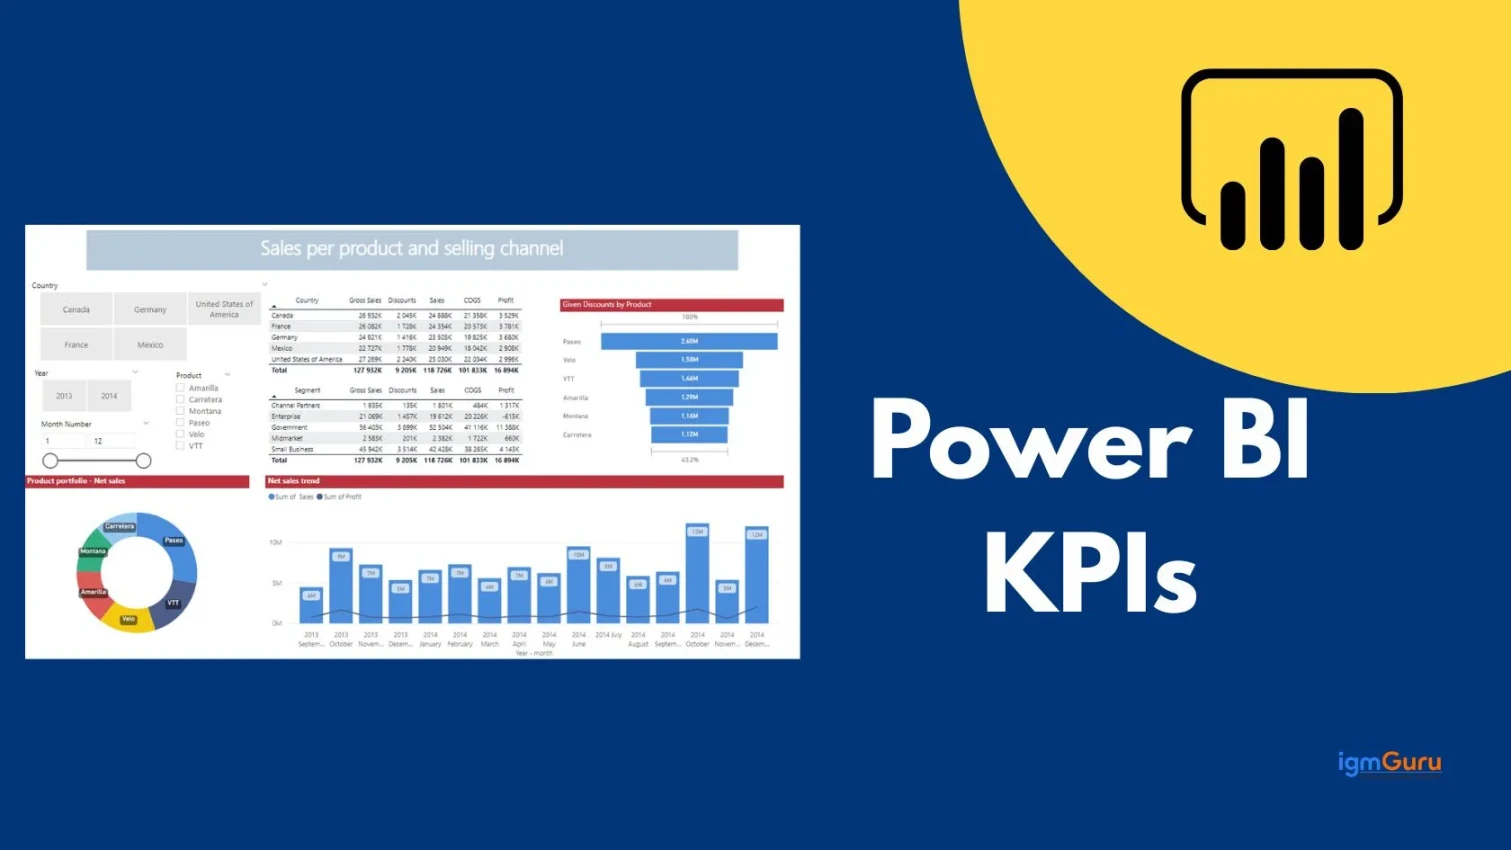
Shall we begin?
Key Performance Indicator in Power BI is a visual measurement tool that shows how well a business is performing against a defined target.
Think of it this way. You want your sales team to hit $500,000 in monthly revenue. At the end of the month, actual revenue is $430,000. A Power BI KPI visual shows you both numbers side by side, calculates the gap ($70,000), and uses color coding (usually red or green) to tell you whether you are on track.
Power BI KPIs answer three core questions:
Where are we right now? (Actual value)
Where do we want to be? (Target value)
Are we trending in the right direction? (Trend indicator)
Power BI supports KPIs through dedicated visuals, gauge charts, card visuals, and custom calculations using DAX (Data Analysis Expressions). You can track performance in real time, compare it against goals, and share it across your organization in a single interactive dashboard.
Read Also: Power BI Tutorial for Beginners
Not every metric deserves to be a KPI. Choosing the wrong ones leads to cluttered dashboards that nobody reads. Follow these principles when selecting your KPIs.
Every KPI must link to an actual business objective. If your goal is to reduce customer churn, then "Monthly Churn Rate" is a valid KPI. "Number of support tickets opened" might be a metric, but it is not a KPI unless it directly measures your goal.
A KPI needs a number. Vague goals like "improve customer satisfaction" are not KPIs. "Customer Satisfaction Score (CSAT) above 80%" is a KPI because it is specific and trackable.
Without a target, you cannot measure success. Your target should be based on historical data, industry benchmarks, or business planning figures.
Each KPI should be:
Specific — clearly defined
Measurable — expressed as a number
Achievable — based on realistic expectations
Relevant — tied to your business goal
Time-bound — measured over a defined period
Most dashboards should show five to ten KPIs at most. More than that, and decision-makers start ignoring the dashboard entirely.
Before you can create a KPI visual in Power BI, you need three things in your data model:
1. A Base Measure (Actual Value): This is the metric you are measuring, such as Total Sales, Total Orders, or Customer Count. It must be a numeric measure in your data model.
2. A Target Measure or Value: This is your goal. It can come from a budget table, a manually entered constant, or a calculated DAX measure. Power BI compares your actual value against this target.
3. A Date or Time Field: Power BI KPI visuals require a date field to display the trend line. This field must be a proper date column, not a text field formatted as a date.
If any of these three elements is missing, the Power BI KPI visual will either not render correctly or will show incomplete information.
Read Also: Power BI Interview Questions And Answers
Power BI gives you several visual types to display KPI data. Each one serves a different purpose.
This is the native Power BI KPI visual. It shows the actual value, a comparison against the target, and a trend line over time. It is compact, color-coded, and designed specifically for goal tracking.
The gauge chart looks like a speedometer. It shows where your actual value sits on a scale between a minimum and maximum. It is excellent for showing a single metric against a target range, like "74% of monthly target achieved."
The card visual displays a single number prominently. It does not have a built-in target comparison, but you can pair it with conditional formatting or combine it with other visuals to create a KPI summary panel.
This shows multiple metrics in a tile format. It is useful for comparing several KPIs side by side.
You can also build custom KPI visuals using bar or column charts with a reference line representing your target. This approach works well when you need to show multiple time periods together.
Read Also: Power BI vs Qlik Sense
This is the practical section. Follow each step carefully and you will have a working KPI dashboard at the end.
Your data quality determines your KPI quality. Start here before opening Power BI.
What your data needs:
A fact table with your measurable values (Sales Amount, Order Count, Revenue, etc.)
A date table with a continuous date column
A target table with goal values for each period
Proper relationships between these tables in your data model
| OrderDate | SalesAmount | Region |
| 2024-01-01 | 12,500 | North |
| 2024-01-02 | 8,200 | South |
| Month | TargetAmount |
| January 2024 | 400,000 |
| February 2024 | 420,000 |
Steps to load your data:
Open Power BI Desktop.
Click Home > Get Data > Excel (or your data source).
Select your sales table and target table.
Click Load.
Go to Model view and create a relationship between the date column in your sales table and the date column in your date table.
Verify that your target table connects to the date table on the Month or Date field.
Pro Tip: Always build a dedicated Date Table using DAX or Power Query. A continuous, unbroken date table ensures your time intelligence functions work correctly.
Create a Date Table in DAX:
|
Mark this table as a Date Table by right-clicking it in the Model view and selecting Mark as Date Table.
DAX (Data Analysis Expressions) is the formula language in Power BI. You use DAX to create the measures that power your KPI visuals.
Open the DAX editor:
In Report view, click on your Sales table in the Fields pane on the right.
Click New Measure from the ribbon.
Type your DAX formula in the formula bar.
|
This gives you the total actual sales amount.
|
This gives you the total target sales amount.
|
This shows the gap between your actual and your goal. A positive number means you exceeded the target.
|
The DIVIDE function safely handles division by zero. This gives you the variance as a percentage, which is more intuitive for most stakeholders.
|
This shows how much of the target has been achieved. For example, 0.87 means 87% of the target is complete.
|
Use this measure when you want to show month-over-month trend in your KPI visual.
|
Important DAX Tips:
Always use DIVIDE() instead of the slash operator (/) to avoid divide-by-zero errors.
Use CALCULATE() to apply filters or change the evaluation context.
Name your measures clearly. "Total Sales" is better than "Measure1."
Now you will build the actual KPI visual using the measures you just created.
Steps:
1. Go to Report view in Power BI Desktop.
2. Click on the KPI visual icon in the Visualizations pane. It looks like a small chart with a trend line and a number.
3. A blank visual placeholder appears on your canvas.
4. In the Fields pane, drag your fields to the correct buckets:
Value: Drag Total Sales here. This is your actual value.
Trend Axis: Drag DateTable[Month] or DateTable[Date] here. This drives the trend line.
Target: Drag Total Target here. This is your goal.
5. Power BI automatically calculates the variance and applies color coding. Green means you met or exceeded the target. Red means you are below it.
Formatting your KPI visual:
With the KPI visual selected, click the Format tab (paintbrush icon) in the Visualizations pane.
Under Callout value, adjust the font size so the number is readable at a glance.
Under Goal, set whether to show the actual target number or just the variance indicator.
Under Color coding, you can customize what "good" means. For a KPI like customer complaints, lower is better. Set the direction to "Low is good" in the formatting options.
Under Title, add a clear label like "Monthly Sales vs Target."
Result: You now have a KPI visual that shows your actual sales, your target, a trend line, and a color indicator showing whether you are on track.
The Gauge visual is ideal when you want to show how close you are to a goal on a dial-style chart.
Steps:
1. Click the Gauge visual icon in the Visualizations pane. It looks like a semicircle with a needle.
2. Drag your fields to the correct buckets:
Value: Drag Total Sales here.
Minimum value: Leave blank or drag a minimum measure (such as zero or last month's low).
Maximum value: Drag Total Target here, or create a separate "Max Target" measure.
Target value: Drag Total Target here. This adds a target marker on the dial.
3. The gauge will show a filled arc representing how much of the range your actual value covers.
Formatting the Gauge:
Go to Format > Gauge axis to set the minimum, maximum, and target values manually if needed.
Under Colors, set the fill color for the arc. You can use conditional formatting to make the arc turn red when below 70% and green above 90%.
Under Callout value, adjust the font size for the central number display.
Add a title using Format > Title.
Use Case Example: Set up a gauge for Monthly Revenue with a minimum of $0, a maximum of $600,000, and a target of $500,000. The gauge will show the needle pointing to your actual revenue, with a target marker at $500,000.
Card visuals display a single, prominent number. They are perfect for at-a-glance metrics at the top of a dashboard.
Steps:
Click the Card visual icon in the Visualizations pane. It looks like a single bold number on a rectangle.
Drag your measure (such as Total Sales, Achievement Rate, or Sales Variance %) to the Fields bucket.
The card immediately shows the number.
Formatting Card Visuals:
Go to Format > Callout value to adjust font size. For a hero metric card, use a large font (40pt or higher).
Go to Format > Category label to show or hide the measure name below the number.
Use Format > Background to add a subtle colored background that matches your dashboard color scheme.
For percentage measures like Achievement Rate, go to the measure in your Fields pane, right-click, select Format, and choose Percentage with 1 decimal place. The card will display "87.3%" instead of "0.873."
Adding Conditional Formatting to Cards:
Select your Card visual.
Go to Format > Callout value > Font color.
Click the fx button next to Font color.
Set rules:
If Achievement Rate is less than 0.7, color is Red.
If Achievement Rate is between 0.7 and 0.9, color is Orange.
If Achievement Rate is greater than or equal to 0.9, color is Green.
This turns your card into a color-coded KPI indicator without needing a separate visual.
Read Also: Data Visualization Tools To Consider
Power BI KPIs offer real, practical benefits for any data-driven team.
1. Real-time visibility: When your data source refreshes, your KPIs update automatically. You always see the latest numbers without manually recreating reports.
2. Goal alignment across teams: When everyone looks at the same KPI dashboard, there is no confusion about priorities. Sales, marketing, and operations can all track their targets in one place.
3. Faster decision-making: Color-coded indicators remove the need to interpret raw numbers. Leaders can scan a dashboard in seconds and know where to focus.
4. Drill-through capability: Power BI lets you click on a KPI and drill down to the 4. underlying data. You can go from "Sales are below target" to "Region X is underperforming" to "These three salespeople need support" in a few clicks.
5. Custom alerts: With Power BI Service, you can set data alerts on KPI visuals and cards. You will receive an email or mobile notification when a KPI crosses a threshold.
6. Integration with the full Microsoft ecosystem: Power BI KPI dashboards connect directly to Excel, SharePoint, Teams, and Azure. You can embed a live KPI dashboard directly inside a Teams channel or a SharePoint intranet page.
Every tool has its limitations, and Power BI KPIs are no exception.
1. The built-in KPI visual is rigid: The native KPI visual has limited formatting options compared to custom visuals. You cannot easily change the layout, add icons, or add secondary metrics to the same tile.
2. It requires a proper date table: If your date column has gaps, duplicate values, or is formatted as text, the KPI trend axis will not work correctly.
3. Target data must exist in the model: You cannot type a target number directly into the KPI visual. You must have it in a table or as a DAX measure. This adds setup time.
4. No built-in traffic light system: The native KPI visual only shows green and red. If you want an amber/yellow middle state, you need to build a custom solution using DAX measures and conditional formatting.
5. Performance issues with large datasets: KPI visuals that use complex DAX measures on very large datasets can load slowly. You should use aggregations, DirectQuery optimization, or Power BI Premium for enterprise-scale deployments.
6. Licensing affects refresh frequency: In the free version of Power BI, dashboards refresh once per day. Real-time KPI monitoring requires Power BI Premium or Power BI Embedded.
This is one of the most commonly confused topics in Power BI reporting.
| Feature | KPI | Metric |
| Has a target | Always | Not necessarily |
| Tracks goal progress | Yes | No |
| Triggers action | Yes | Not always |
| Example | Monthly Sales vs $500K Target | Total Page Views |
| Power BI visual | KPI Visual, Gauge | Card, Chart |
Read Also: Qlik Sense Tutorial for Beginners
Key Performance Indicator (KPI) dashboards exist within the vast majority of industries via Power BI.
1. Sales: Monthly revenue versus budgeted revenue, deal close rates, average deal size, potential revenue also known as pipeline coverage ratio.
2. Marketing: Costs to make a sale (in addition to your monthly total) for quality prospects (MQLs), return on investment by marketing campaign, email open rates compared to the benchmark open rates of similar emails.
3. Finance: Actual expenditures compared to budget expenses, profit margins, length of store credit sales, liquid revenues compared to budgeted revenues.
4. Operations: Percent of orders shipped in an acceptable time frame, average time taken to complete a task, returned merchandise for difference reasons (defective or damaged), percent of orders delivered on time.
5. Human Resources: Total employee turnover ratio, average time required to recruit new employees, percent of training completed by employees within the first six months of hire, total headcount versus forecasted headcount based on average daily activity.
6. Customer Service: Number of times customers received a resolution on the initial contact, customer satisfaction scores (CSAT), loyalty scores (NPS) and average customer response times.
A well-designed KPI dashboard is not just about the data. It is about making the right information visible to the right people at the right time.
An executive dashboard needs fewer numbers and bigger fonts. An analyst dashboard can have more detail. Build separate views for different audiences using Power BI bookmarks or report pages.
Place your top three to five KPIs in the upper left corner of the dashboard. Eye-tracking studies consistently show that users scan dashboards from top left to bottom right.
Decide on a color scheme and stick to it. Green means good, red means bad, orange means warning. Changing this logic across different visuals confuses users.
A sales figure of $430,000 is meaningless without context. Show the target ($500,000), the variance ($70,000 below), and the trend (up 12% from last month). This transforms raw data into insight.
Avoid cluttering the dashboard with decorative elements. Every chart, every color, and every label should serve a purpose.
Let users filter KPIs by region, product, time period, or business unit. This makes one dashboard serve many use cases without you having to build separate reports.
Before publishing your dashboard, share it with someone who will use it. Watch how they interact with it. If they are confused by a visual or cannot find what they need in five seconds, redesign it.
Read Also: How to Create a Dashboard in Tableau
Monitoring performance against targets in Power BI requires a systematic setup. Here is how to do it properly.
Step 1: Build a clear target table: Create a table in Excel or your data warehouse that stores target values by time period, department, and metric. Import this table into your Power BI model.
Step 2: Create variance measures in DAX: Use the formulas from Step 2 earlier in this guide to calculate Sales Variance, Achievement Rate, and Month-over-Month Growth.
Step 3: Apply conditional formatting: Go to each KPI visual or card. Use Format > Conditional Formatting to apply red, orange, and green based on your achievement thresholds.
Step 4: Set up Power BI alerts: In Power BI Service (the online version), open your dashboard, click on a KPI tile, and select Manage Alerts. Set a threshold. Power BI will email you when the KPI crosses that value.
Step 5: Schedule data refresh: In Power BI Service, go to your dataset settings and configure a scheduled refresh. Most teams refresh daily. For operational KPIs, connect to a live data source using DirectQuery for near real-time monitoring.
Trend tracking shows you whether your performance is improving or declining. Power BI handles this well when your data model is set up correctly.
Use the KPI Visual's Trend Axis: The built-in KPI visual already includes a trend line when you add a date field to the Trend Axis bucket. This shows you the last several periods at a glance.
Add a Line Chart below your KPI cards: A line chart showing monthly actual vs. target over the last 12 months gives users historical context that a single KPI visual cannot provide. Add two lines: one for Actual Sales and one for Total Target.
Steps to create a Trend Chart:
Click the Line Chart visual in the Visualizations pane.
Drag DateTable[Month] to the X-axis bucket.
Drag Total Sales to the Y-axis bucket.
Drag Total Target to the Y-axis bucket (it will appear as a second line).
Format each line with a different color. Use solid lines for actuals and dashed lines for targets.
Add data labels on the last data point so users can see the most recent value without hovering.
Use time intelligence DAX for rolling comparisons.
|
This measure always shows sales for the trailing three-month window, regardless of which month is selected. Use it alongside your current month KPI to show rolling performance.
Read Also: How to Install Power BI Desktop on Windows
These tips will make your KPI reports more useful, more accurate, and more trusted.
In Power BI Desktop, you can add a description to any DAX measure. Right-click the measure and select Properties. Write a brief description of what the measure calculates. Your colleagues will thank you.
Before making major changes to a live dashboard, save a copy. Power BI Desktop files (.pbix) are easy to duplicate. Label them with the date. This protects you from accidentally breaking a live report.
Before publishing any KPI dashboard, verify that the numbers match your source system. Run a spot check on three to five data points and compare them to the original data.
Power BI lets you hover over any visual to see additional data. You can customize the tooltip to show Variance, Achievement Rate, and Last Month value, all in a single pop-up. This reduces clutter on the main canvas.
If your organization has multiple Power BI reports, all of them should use the same Date Table structure. This ensures consistency in how months, quarters, and years are calculated across dashboards.
Targets set at the start of the year may change. Build a process to update your target table when business plans change. Outdated targets make your KPI dashboard misleading.
A KPI dashboard is only valuable if people know how to use it. Spend 30 minutes walking key stakeholders through the dashboard. Explain what each KPI measures, what the target is based on, and what action they should take when a KPI turns red.
Power BI KPIs are one of the most powerful features in the entire platform. When you set them up correctly, they transform raw data into clear, actionable signals that help your team stay focused and your business stay on track.
Your next step is to open Power BI Desktop, load your data, create your measures, and build your first KPI visual. Start simple. Add one KPI visual, one gauge, and one card. Once those are working, expand from there.
Yes, you can use existing columns directly in the KPI visual without writing DAX. However, DAX gives you far more flexibility. It lets you create calculated measures, handle time intelligence, and apply custom business logic.
The trend line requires a date or time field in the Trend Axis bucket. Make sure you are using a proper Date column (not a text field formatted as a date) and that your Date Table is correctly marked in Power BI.
Most effective dashboards show five to ten KPIs. More than ten makes it hard for users to focus on what matters most.
Yes, in Power BI Service, you can set data alerts on KPI and Card tiles. Power BI will notify you via email or the mobile app when a KPI crosses your defined threshold.